Einleitung

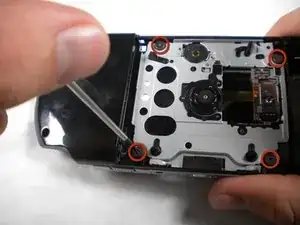
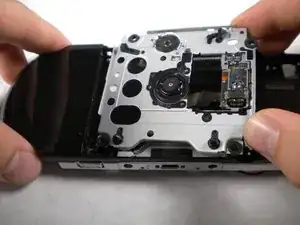
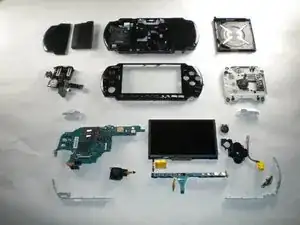
This teardown guide shows step-by-step how to take apart your PSP 3000

  1. YAEEQgxVayu3dsuQ
    YAEEQgxVayu3dsuQ
    aIUshobDJdsqASmM
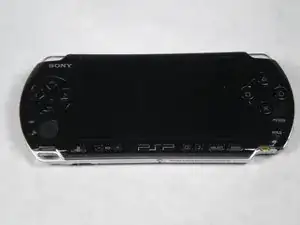
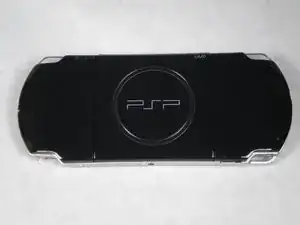
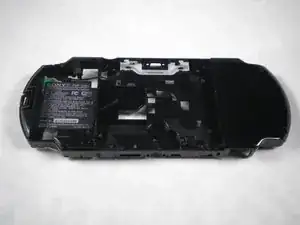
    • The first picture is a view of the front of the PSP-3000. The second picture is of the back.

  2. 5CI1kOruXdWxlwXP
    5CI1kOruXdWxlwXP
    acJVTisqDgFIetZD
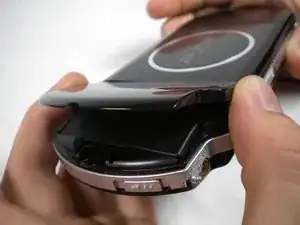
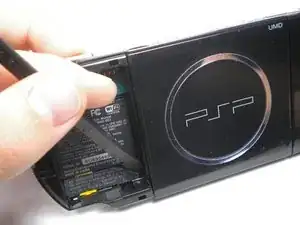
    • Lift the covering from the left side on the back of the PSP to reveal the battery.

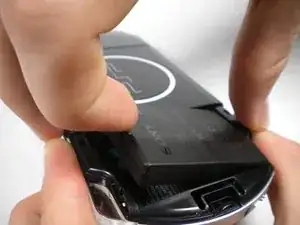
    • Pull up on the top at the top of the battery with your fingernail and remove it.

  3. QitgWcdhFCsKVqgf
    QitgWcdhFCsKVqgf
    C5dxg6hOOoRPboJg
    CpBNPE2L2XwUmJBm
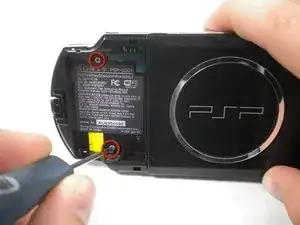
    • Using a spudger or fingernail (spudger set available at iFixit) Metal Spudger Set peel back the warranty sticker that was behind the battery.

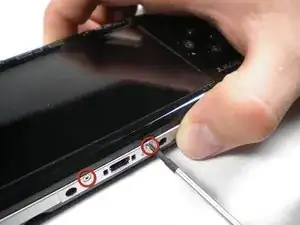
    • Using a Phillips #0 screwdriver (screwdriver available at iFixit http://www.ifixit.com/Tools#0-Phillips), Unscrew all four screws from the back of the PSP.

    • Two from behind the battery.

    • And two on the right side of the PSP.

  4. UTrGvXNHTEljHrZg
    UTrGvXNHTEljHrZg
    dZKfVKRxQuhXkfLM
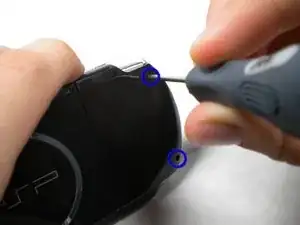
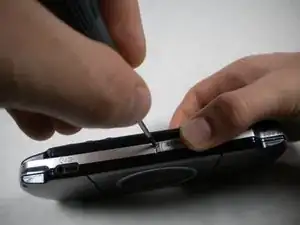
    • Unscrew two screws from the top of the PSP.

    • Turn the PSP around, and unscrew a single screw from the bottom edge.

  5. vwNaPebQGBZqjidx
    vwNaPebQGBZqjidx
    xsm4Oe61JlbmWKIY
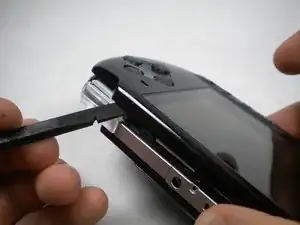
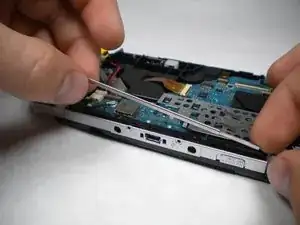
    • Starting from the 'R' trigger, slide the spudger in between the outer casing the the PSP, and gently pry off the casing.

    • Remove the outer casing completely.

  6. wcvBsDaIjbTr2SMA
    wcvBsDaIjbTr2SMA
    4PumNKSiQYygUDRq
    F1WKfKZy4w5O3TgD
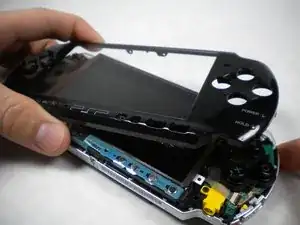
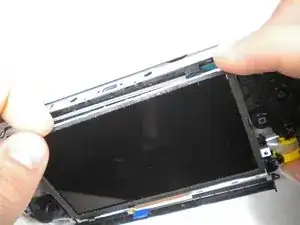
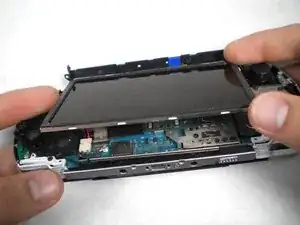
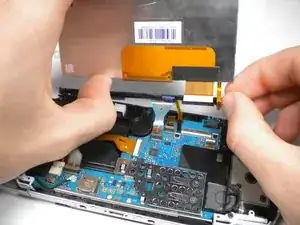
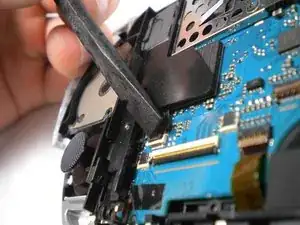
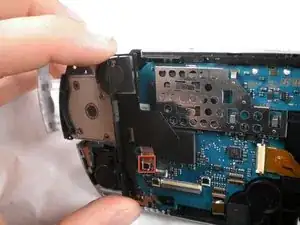
    • Push the homebar to the right to release the tab on the right side of the LCD screen.

    • DO NOT completely remove the homebar, as it is still connected by ribbon cables.

    • Slowly begin to lift the LCD screen off the PSP from the top edge.

    • Again, the LCD screen is attached by ribbon cables, so do not remove it completely.

  7. PryFiIsTSAojd5Zl
    PryFiIsTSAojd5Zl
    OlfkUV3ZYPYYtZoD
    LvOyZomcOJ4PglNq
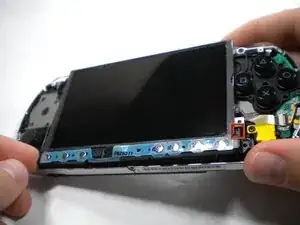
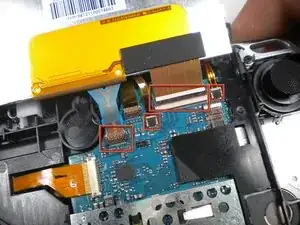
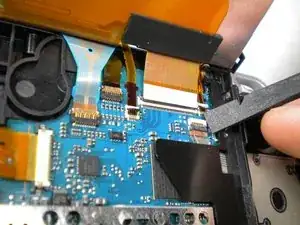
    • Using a spudger or fingernail, flip the small brown locks on the four ribbon cable connectors up.

    • WARNING! Be carefull removing the small ribbion from the LCD connector, it is very delicate. Using a spudger lift the black plastic up, NOT the white part on the connector!

    • Pull all four ribbon cables out, and remove the LCD screen and homebar from the PSP.

  8. RaFng5g1GtWkyyeP
    RaFng5g1GtWkyyeP
    xkELAAwcI5uHsDGf
    ECSLkdabsTftcy6K
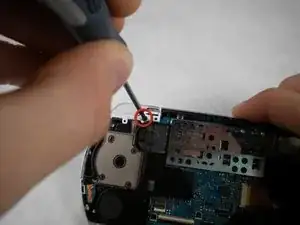
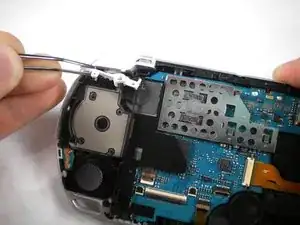
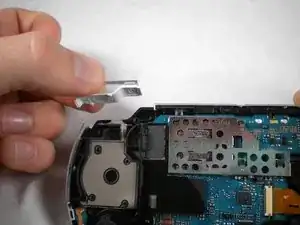
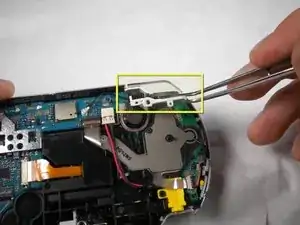
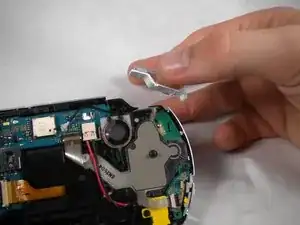
    • Remove the small metal bar from the top edge of the PSP. (This was helping to hold the LCD screen in place)

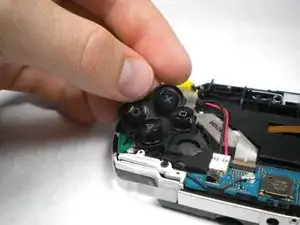
    • Remove the button pad from the PSP.

  9. KHH3HaltJcJVNbiP
    KHH3HaltJcJVNbiP
    M5SpftcnOVYPxRQS
    KKGOt3xKl6HrL43Q
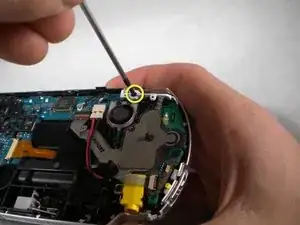
    • Unscrew the the screw securing 'L' trigger.

    • Remove the white plastic piece that holds the 'L' trigger in place.

    • Remove the 'L' trigger from the PSP.

  10. O2LBDF4KWmli2pXC
    O2LBDF4KWmli2pXC
    EWdVfsBHGB2SW2EN
    5SUkifWLXA2mwTLv
    • Unscrew the 'R' trigger and remove both pieces. (Refer to step nine by applying the procedures to this, the right, side)

  11. wJRQdt2q2NbdJTtW
    wJRQdt2q2NbdJTtW
    5VXISUWGKAjBCJNr
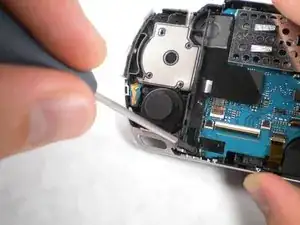
    • Remove the screw from the bottom left edge.

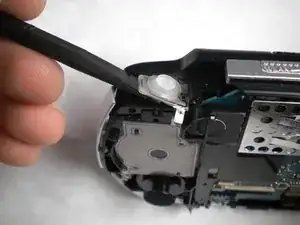
    • Being careful not to break the ribbon cable, use the spudger, to carefully peel the adhesive button from below the 'L' trigger.

  12. GQTxQRaGxZAsQcbJ
    GQTxQRaGxZAsQcbJ
    PwK4AFVIlYXrCTEJ
    VtPBOV1mK5QS53b3
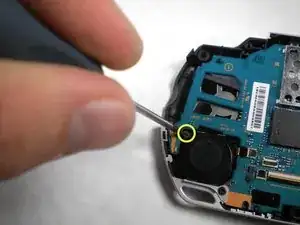
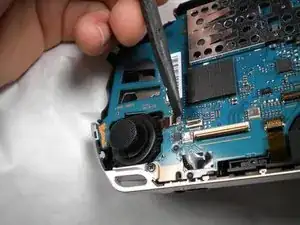
    • Using the spudger or fingernail, flip up the brown lock on the ribbon cable.

    • Remove the cable from the connector and remove the entire black piece from the PSP.

    • Remove the screw from the analog stick.

  13. UMXt4nOYfIdfYrPS
    UMXt4nOYfIdfYrPS
    ROUZW6yagEhE1cIH
    jlC6dwMCEUw4ZnQA
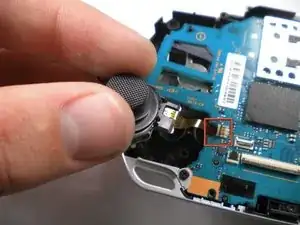
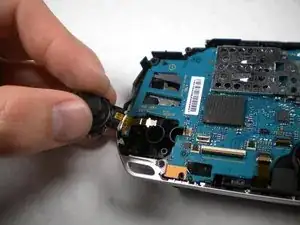
    • Unlock and remove the ribbon cable connection the analog stick to the main board.

    • Remove the analog stick from the PSP.

  14. 1ujsmKWFUNtjNZ4V
    1ujsmKWFUNtjNZ4V
    Zlcp2ixBVwdYXdjk
    gt42TB2lvscGa2QM
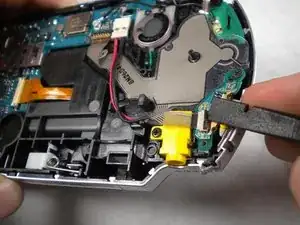
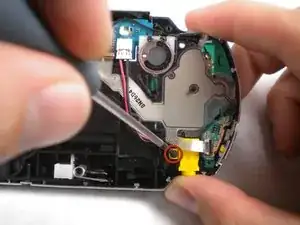
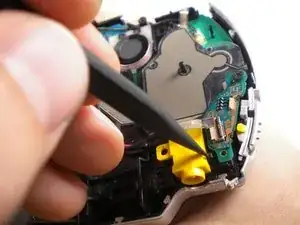
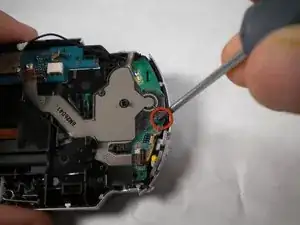
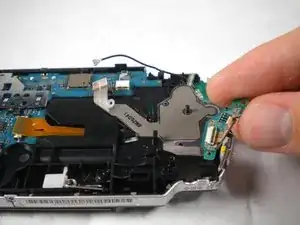
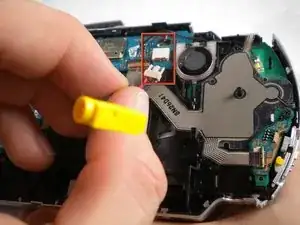
    • Unlock and remove the ribbon cable from the power switch on the right side of the PSP.

    • Unscrew and remove the screw from the yellow power jack.

    • Carefully bend back the black tab holding the power jack in place and start pulling the plug up to release it from this clip.

  15. doUGZF1GCVFqj4Jx
    • Pull the plug connecting the power jack to the motherboard.

    • Remove the power jack.

    my power jack on psp 3004 seems to be rigidly stuck to that tiny white socket for it

    it came off the motherboard together with the power jack

    i used too much force because i was frustrated about doing the same thing for about 30 minutes

    is it repairable, replaceable?

    JOSHUA -
  16. v2aI5AMgCxuX6AVD
    v2aI5AMgCxuX6AVD
    3HMpJ53TmWyZMoov
    • Push the black tab at the bottom of the speaker over.

    • The speaker should pop out of place, and you should be able to remove it easily.

  17. paRLGjLnJXyQBCQo
    paRLGjLnJXyQBCQo
    TTeeXQkZxeFxctD1
    XdAr2bKfXAAmmlrD
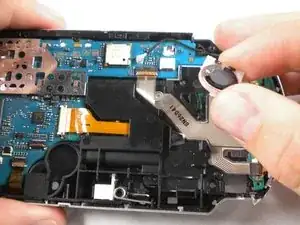
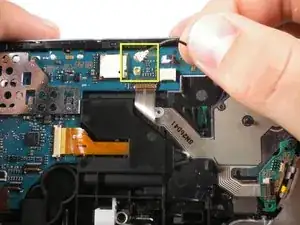
    • Pull the wireless antenna cable from its plug.

    • Unlock and remove both ribbon cables from the mother board.

  18. LN5WM1VTQRkFYkjS
    LN5WM1VTQRkFYkjS
    yPWCqtwLAtbLuanx
    • Remove the screw from the power switch board.

    • Remove the power switch assembly/board.

  19. CRnObiJLpvU16qvV
    CRnObiJLpvU16qvV
    fPoZohUdBEDBgGQj
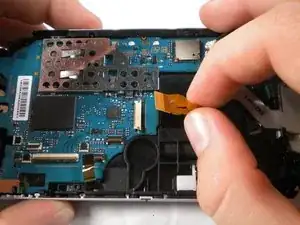
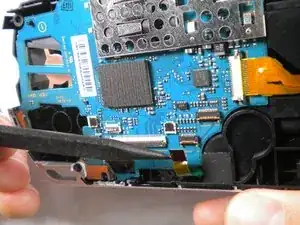
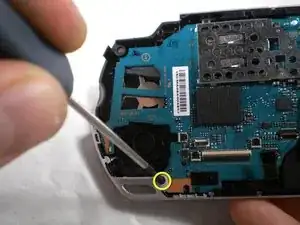
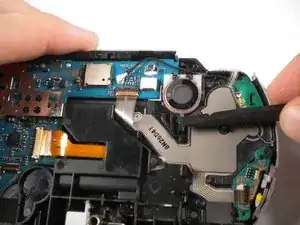
    • Unlock and remove one last ribbon cable from the bottom edge of the PSP.

    • Remove the screw from the bottom left corner of the PSP.

    you need to caerfully unplug the big orrange ribbon cable. push the little black parts from the white part appart and caerfully unplug the cable

    Václav Vyhnálek -
  20. DRrYjQgGEQmQGwqs
    DRrYjQgGEQmQGwqs
    e4pBlxu4sadVghEA
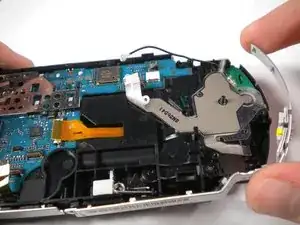
    • Lift the silver rim on the right side of the PSP up and off.

    • Lift the silver rim on the left side of the PSP up and off.

  21. UICqJYGhtfNW53Cr
    UICqJYGhtfNW53Cr
    IcSMmaFdWFgDqI5J
    ODmGSswPoL2Ha5t1
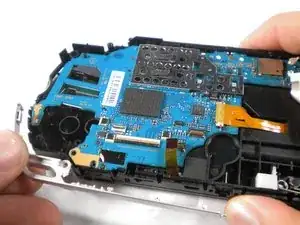
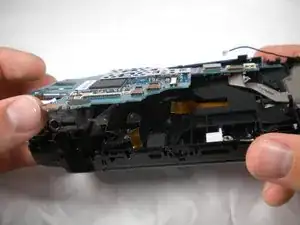
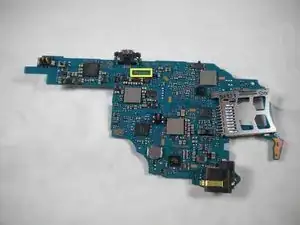
    • Lift the motherboard up slowly starting from the bottom of the PSP, being careful not to damage the port on top.

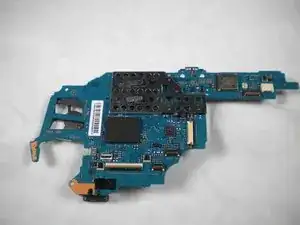
    • Pull the motherboard out and remove it from the PSP.

    • The specific motherboard model of this PSP-3000 is TA-090

  22. RAnknrhME52rW1BE
    RAnknrhME52rW1BE
    JOIhH6MK2rHUHHMw
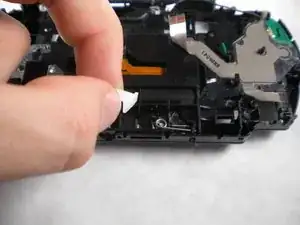
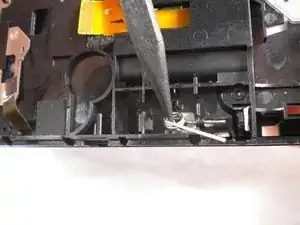
    • On the top of the back of the PSP, pull the white plastic piece out.

    • Pull the spring out and remove it from the PSP.

  23. vcLkZCPgXOIOHFUD
    vcLkZCPgXOIOHFUD
    SN1SFbK4xjCIYhNT
    RuHsuomGyuUVmBfB
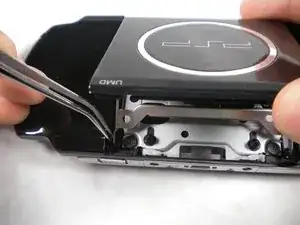
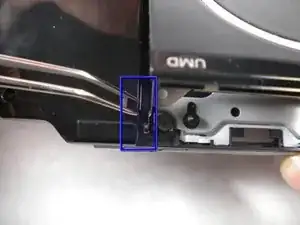
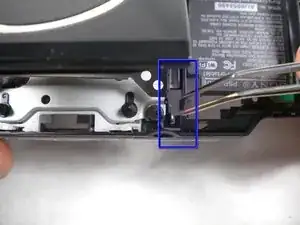
    • Open the UMD (disk drive) and locate the two small black rubber squares wedged in the space between the casing and the metal drive hinge on either side.

    • Pull these out using a pair of tweezers.

  24. c5xu5JZMUHEqo4Oy
    c5xu5JZMUHEqo4Oy
    pQYURhMHPmBgpWoH
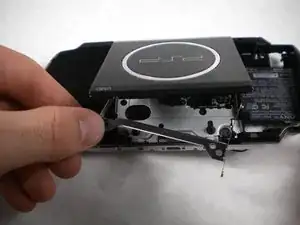
    • Remove the metal piece from the drive.

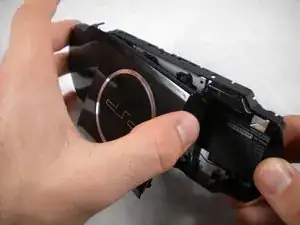
    • Grabbing the PSP with both hands, gently pinch the UMD lid towards the right side (the side without the battery).

    • Pull up and the the left side carefully to remove the lid from the PSP. (The casing may have to flex a little bit to allow this)

  25. 6UZEHbBUNWoXBMhB
    6UZEHbBUNWoXBMhB
    T1jodZ26FPDDABlu
    • Remove the four screw from the UMD drive.

    • Remove the drive.

  26. rBOXKfUMPtQacVyJ
    rBOXKfUMPtQacVyJ
    oOC4g5LqsFkVKfAy
    6ZwNtMP1muoSYCIo
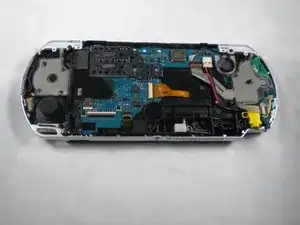
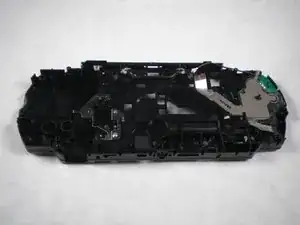
    • Enjoy the eye-candy.

    for a change, user submitted teardown with Great quality photos, Awesome!

    mahonen -

    Awesome Job....... I never know that my PSP has a lot of things in it

    Ummayer Rehan -

mbnewsom

Mitglied seit: 29/10/09

3007 Reputation

8 Kommentare

Can you get me in pdf

Aayush -

Does a PSP have any bearings inside of it?

Brooke Payne -

No ball bearings. Thumbsticks are probably just Lubed plastics rubbing against eachother

mahonen -

Thank you very much for the guide.

C. JONES -

This has inspired me to build my own PSP. I had one as a child, and want one now for the nostalgia. Thanks!

Sheenyl Hassan -

I was putting a new screen on a psp3001

and the ribbon flex connector broke and now there’s nothing to hold the small ribbon in place

how do I fix this

C mattingly -

my power jack on psp 3004 seems to be rigidly stuck to that tiny white socket for it

it came off the motherboard together with the power jack

i used too much force because i was frustrated about doing the same thing for about 30 minutes

is it repairable, replaceable?

JOSHUA -

Trying to figure out the size screw to fit the holes on either side of the USB port. Anyone know? I believe the tv tuner addon used it to mount to the psp, but I plan to use it to mount something externally for a battery mod.

Iguana Bob -