Einleitung
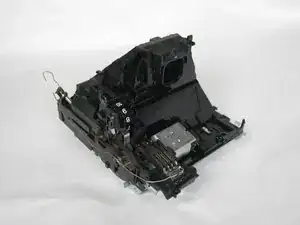
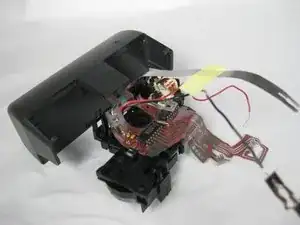
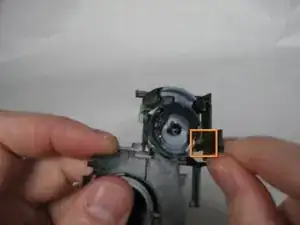
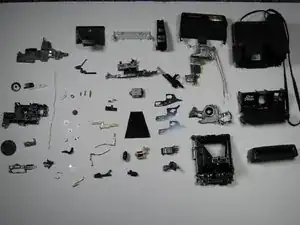
This guide shows you how to completely disassemble your camera.
Werkzeuge
-
-
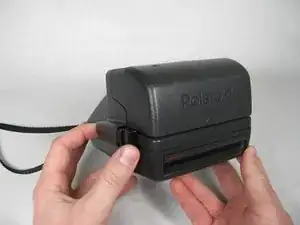
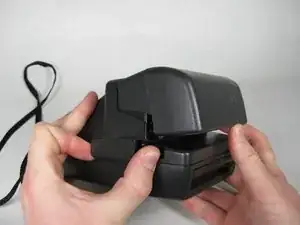
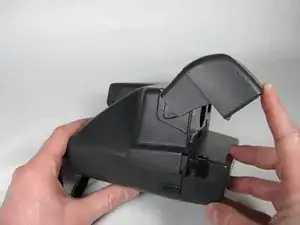
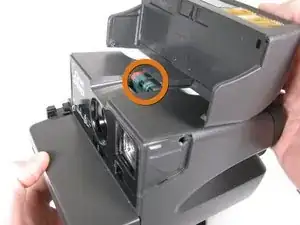
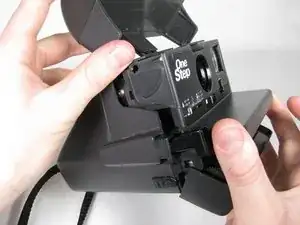
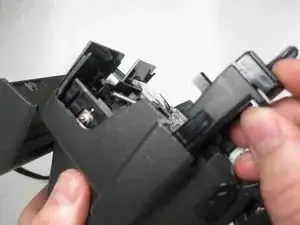
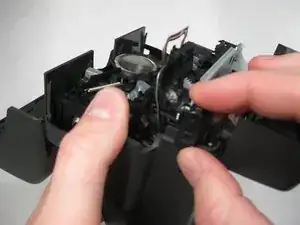
Open the flash/lens compartment of the Polaroid camera to a 30 degree angle with the horizontal.
-
-
-
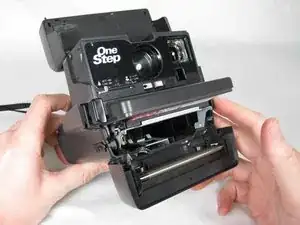
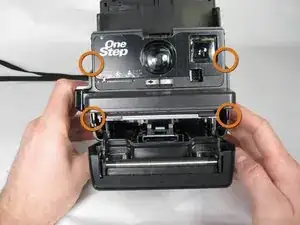
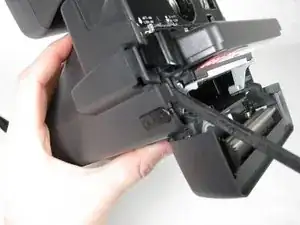
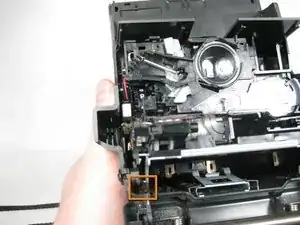
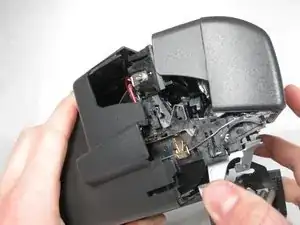
To remove the back of the camera, you have to find the tabs located near the hinges of the battery and film compartment.
-
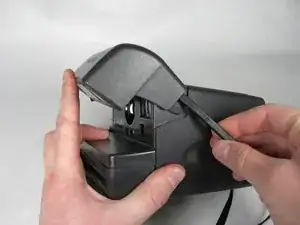
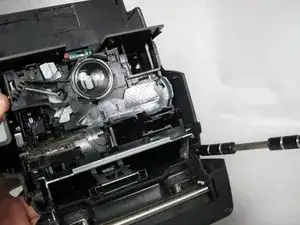
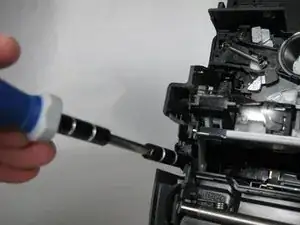
Using a screw driver, pry the tabs of the outer case away from the metal frame.
-
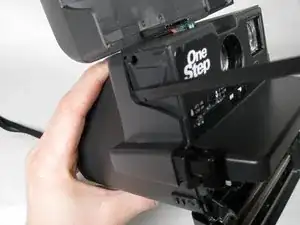
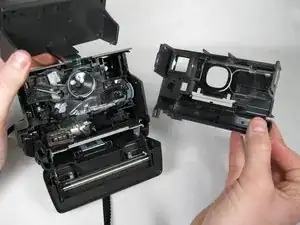
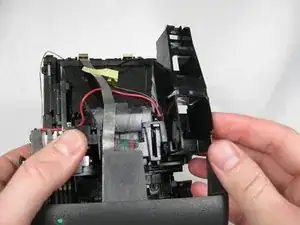
Once the tabs are removed slide the metal frame forward.
-
-
-
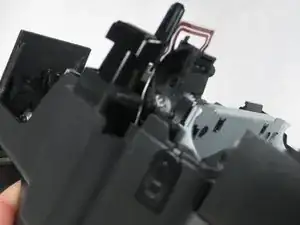
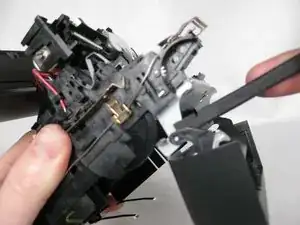
Using a spudger, pop the battery and film cartridge hatch from its hinges.
-
The tabs are located at the bottom of the metal frame.
-
-
-
Remove the sight by lifting it straight up.
-
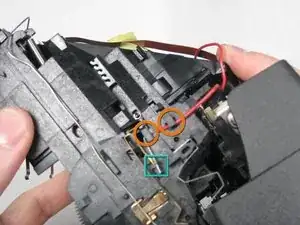
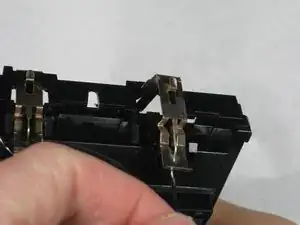
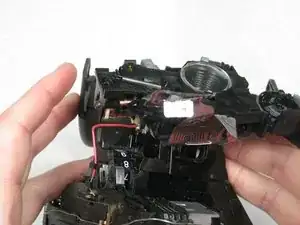
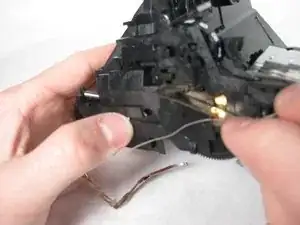
Follow the red wire from the flash compartment
-
Take the red wire off of the 2 hooks
-
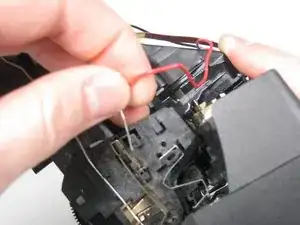
Slide the uncovered wire end out of the small brass clip. Move wire away from camera.
-
-
-
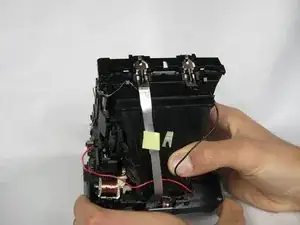
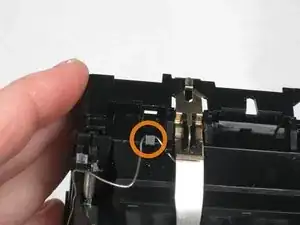
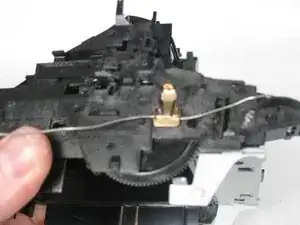
Follow the black wire from flash bulb to the back of the case.
-
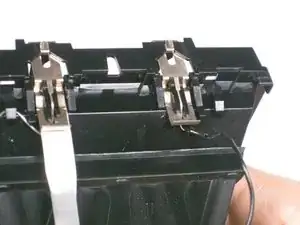
When you find the brass tab, pull it up. When the tab is free, remove the tab from the black wire.
-
-
-
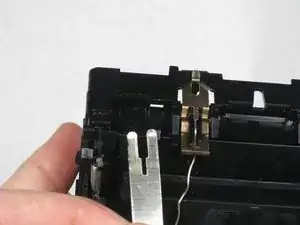
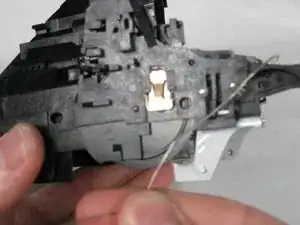
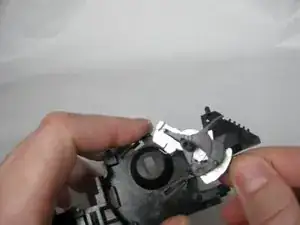
Follow the metal band from the flash compartment to the brass tab.
-
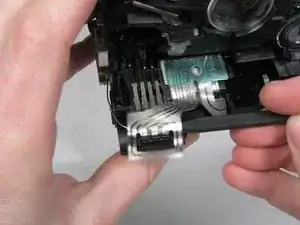
Unhook the wire on the left of the brass tab.
-
Remove the metal band from behind the brass clip.
-
Set the now detached flash compartment to the side.
-
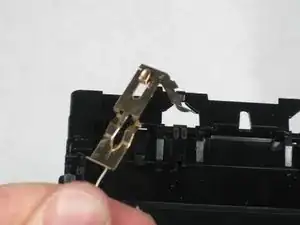
Pull the brass tab up and out like the first one and remove the uncovered wire.
-
-
-
Slide the brightness adjuster to right and off the camera.
-
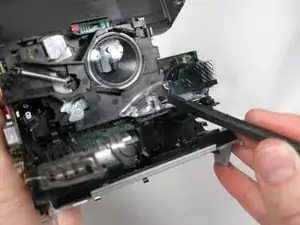
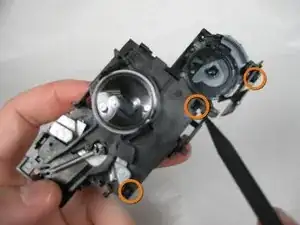
Use the pointed end of the spudger to lift a small latch located next to the bottom of lenz plate
-
Then find the small latch located below the plastic bridge that is over the shutter mechanism
-
-
-
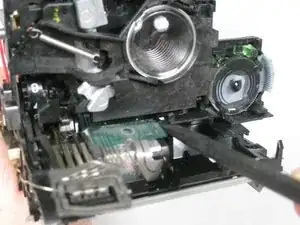
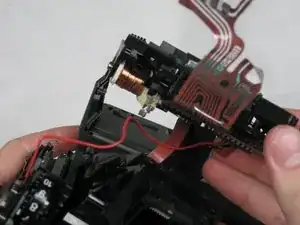
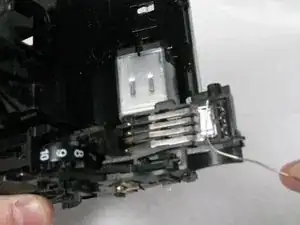
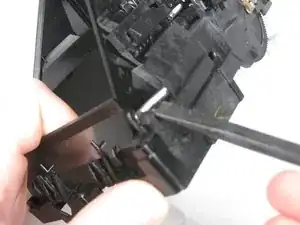
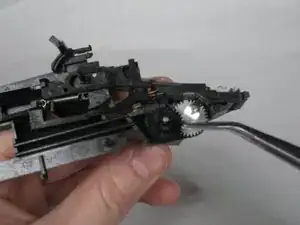
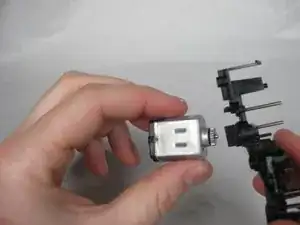
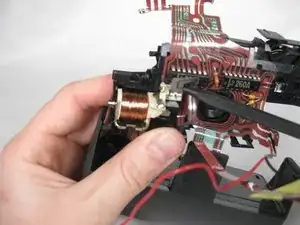
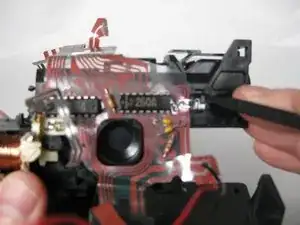
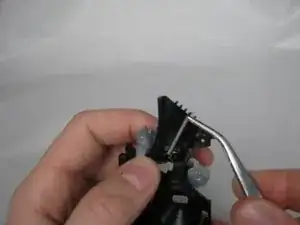
Using the pointed end of the spudger, pull the band wire out of the electric motor.
-
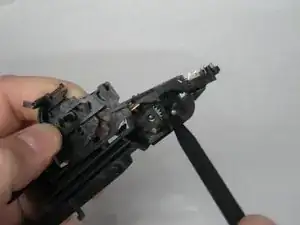
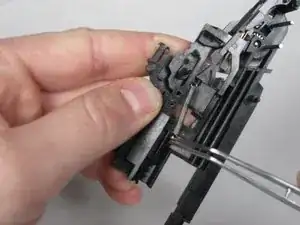
In the same manner as above, remove the band wire from the plastic extension.
-
-
-
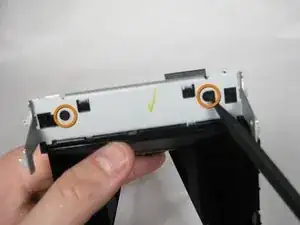
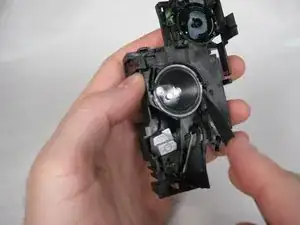
Rotate the lens plate up to unhook the plat from two tabs located at the top of the plate.
-
Remove the lens plate, flash compartment and wires from the camera.
-
-
-
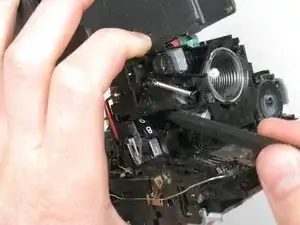
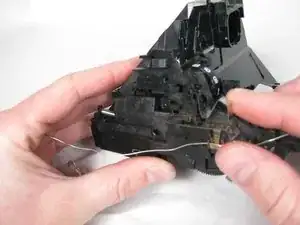
Follow the uncovered wire around the side of the camera
-
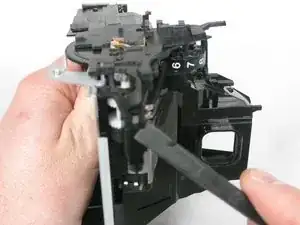
Remove the metal spring tab next to the counter
-
Remove the brass tab by lifting the top piece over the notch and sliding back.
-
-
-
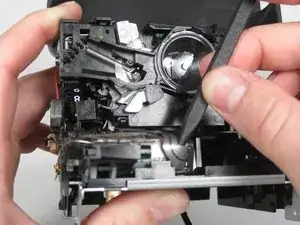
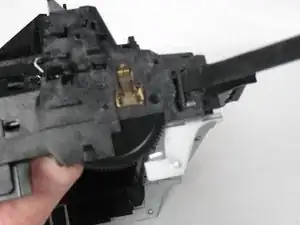
Locate the small brass tab with the uncovered wire running through it.
-
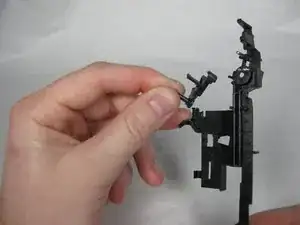
Remove the wire by sliding under the hooks.
-
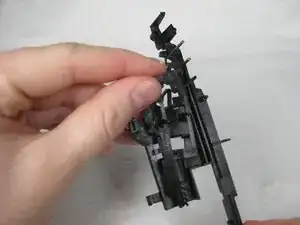
then unhook the uncovered wire from the the final latch located on the top of the plastic extension.
-
-
-
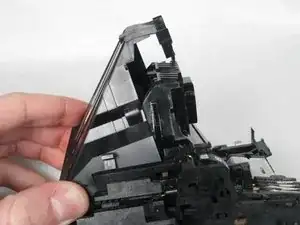
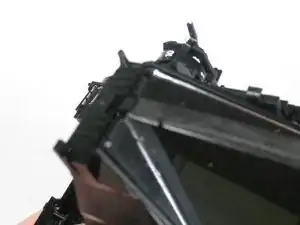
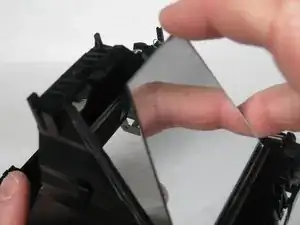
The top of the pyramid has cover that can be lifted off
-
Below is the mirror which is held in by a tab.
-
Lift the tab with the spudger and pop out the mirror.
-
-
-
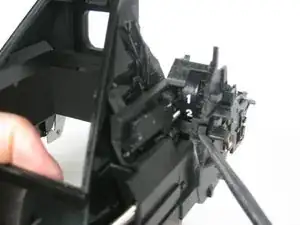
There are 4 tabs total that must be removed for the next step
-
The first is directly under the spring mounted at the back left of the camera
-
The next is located on the front of the plastic extension
-
The third tab is used to connect the metal frame to the outer plastic
-
-
-
The final tab is located below the backside of the photo-counter dial.
-
Once all four tabs are removed the plate pulls out from the slot in the rear.
-
-
-
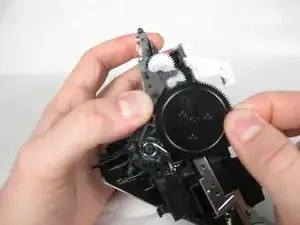
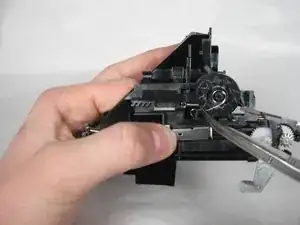
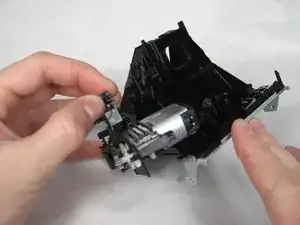
Lift the large gear away from its pin
-
Carefully lift the "Y" shaped plastic piece from its pin and pull the spring from the pin as it is removed.
-
-
-
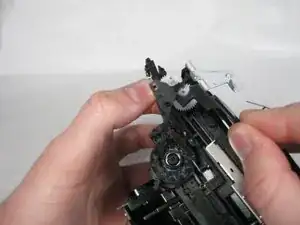
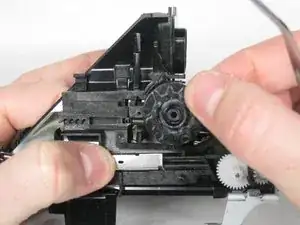
Remove the Spring attached to the photo-counter dial.
-
Lift the photo-counter Dial off of its pin.
-
-
-
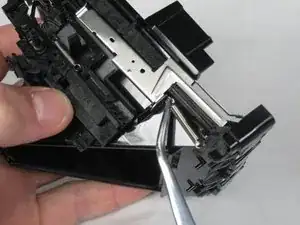
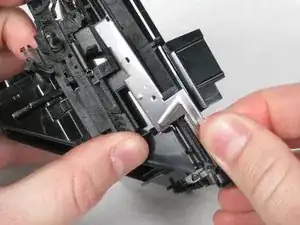
Remove the spring attached to the film eject metal slide.
-
Remove the film eject metal slide
-
-
-
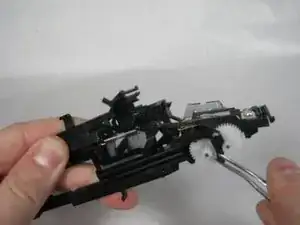
Remove the metal gear from the gear set.
-
Pull the "L" shaped black plastic piece off of its pin.
-
-
-
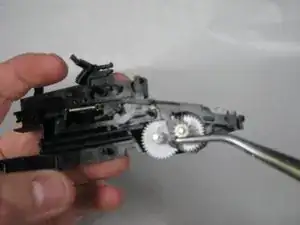
There are four gears to remove.
-
The gear on the left goes first, followed by the the right.
-
The right gear has a small leaf spring between it and the gear below it.
-
Then remove the black gear and then the last white gear.
-
-
-
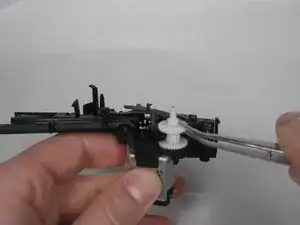
Using the pointed end of the spudger, press the clip that is beneath all the gears next to the electric motor gear.
-
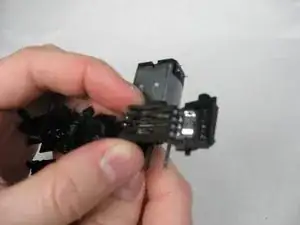
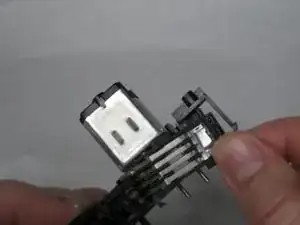
Lift the plastic box containing several long metal tabs
-
Then slide the box out.
-
-
-
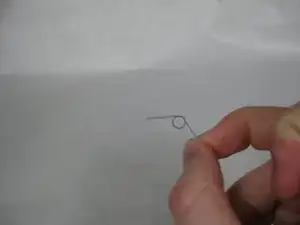
Remove the spring located in the middle of the plastic mechanism.
-
Remove the two loose plastic pieces.
-
-
-
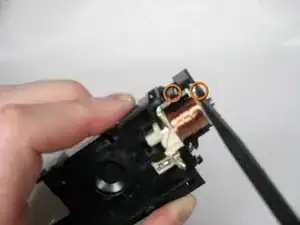
With the point of the spudger, remove the band wire from the solenoid.
-
Remove the small LED from its clip, and then lift the flat wire array and the flash compartment away from the back of the lens plate.
-
-
-
Remove the lens by pressing the tab.
-
Remove the back of the lens plate by unhooking the three clips that hold it together.
-
-
-
Remove the spring on the plastic bridge that attaches to the shutter mechanism
-
Remove the Shutter mechanism from the back of the lens plate.
-
-
-
Remove the Clear dial by unhooking the tab at the bottom of the dial
-
Lift the light blue piece out of the mechanism.
-
Lift the black piece out of the plastic plate.
-
9 Kommentare
Is it possible to remove and change the camera straps for this camera?
Yes, after step 8 you will have the back case free then in the inside you will see the latches of the plastic plate that holds the strap, pry them carefully are 6, 2 on each side and 2 in the middle, in the middle of doing it myself have stopped since was no need for that so cannot tell you more.
Show me how to teardown the flash plz
RAW Fish -
RAW Fish: Get a terminal driver or other thin device, and wedge it where you can see a line between the outer casing and front panel (where it says “Polaroid” with the rainbow logo). This will need a bit of brute force, but you will be able to seperate a right-angle of outer casing, from the back of the flash, and another right angled bit full of electrics and the front panel. DO NOT touch any of this electrical gubbins - discharging the capacitor through your fingers will HURT. From here you can take out the circuit board and do with it what you wish.
Ariane N -
