Einleitung
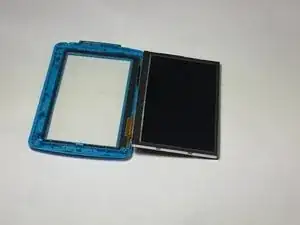
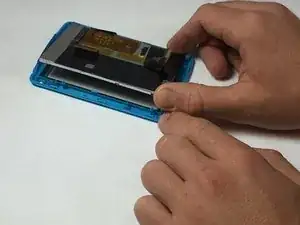
The digitizer is glued to the screen and heat gun is recommended to separate the two parts properly.
Werkzeuge
-
-
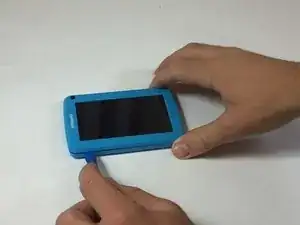
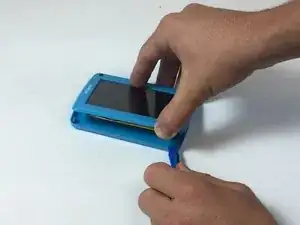
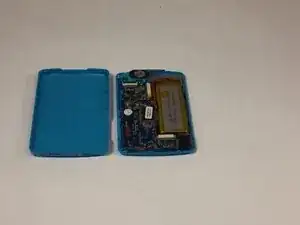
Insert the plastic opening tool into the groove between the two halves of the cover. Pry the two halves apart working your way around the perimeter of the case.
-
-
-
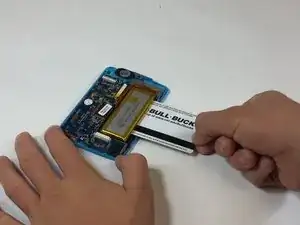
Pry the battery from the casing by sliding an ID or credit card underneath and applying some force.
-
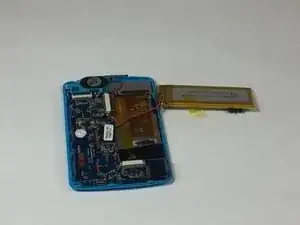
Peel back any yellow tape not directly attached to the battery.
-
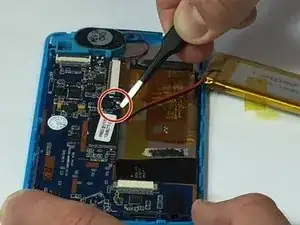
Using a soldering iron, desolder the two wires that connect the battery to the motherboard.
-
-
-
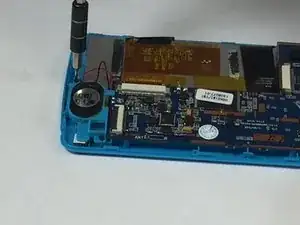
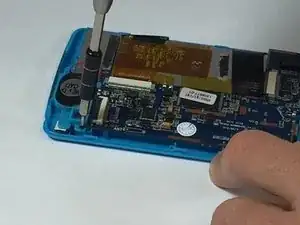
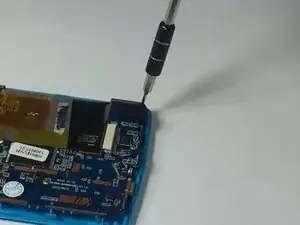
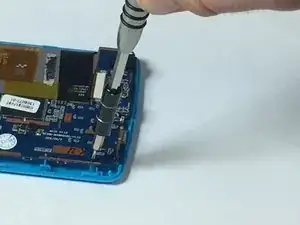
Using the ph#00 screwdriver, remove the four 5mm screws that connect the motherboard to the casing.
-
-
-
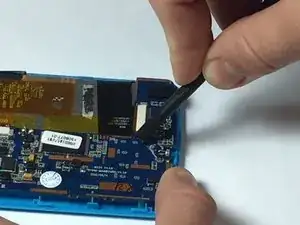
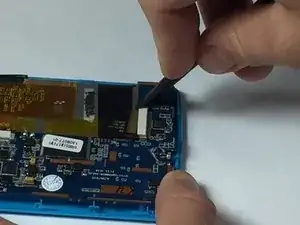
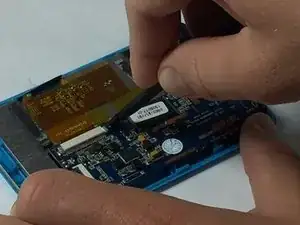
Using a spudger, detach the two ribbons from the motherboard by pushing the gray plastic tabs away from their white receivers.
-
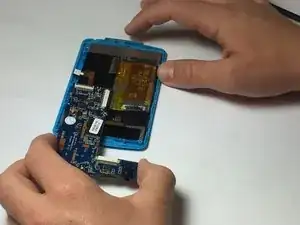
Once the casing is unlocked, remove the two ribbons from the motherboard.
-
-
-
Using a heat gun, apply heat to the front of the screen for 3-5 minutes to release the glue.
-
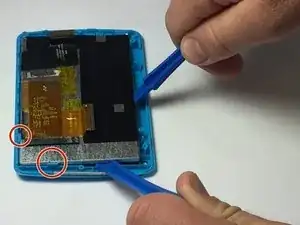
Using a plastic opening tool, pull back on the plastic blue tabs to release the digitizer and pry it back from the screen.
-
Remove the black trim the lines perimeter of the screen and is attached to the digitizer.
-
To reassemble your device, follow these instructions in reverse order.
