Einleitung

  1. KAXcGwBZhqFeWCAF
    KAXcGwBZhqFeWCAF
    J1Zib2WIYDyRituU
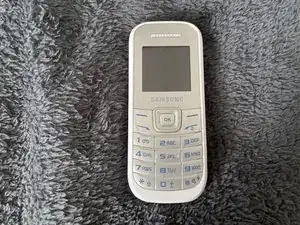
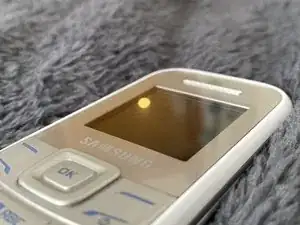
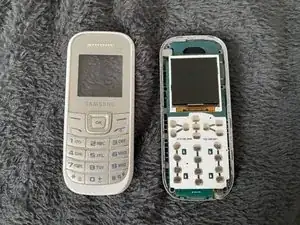
    • Welcome to my teardown of an Samsung GT-E1205Y!

    • In this teardown we will take apart an keypad phone without any touchscreen!

  2. wVfRvrcrBSE1qVKW
    wVfRvrcrBSE1qVKW
    BgRTSLxBHvwt3g6a
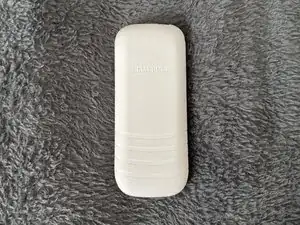
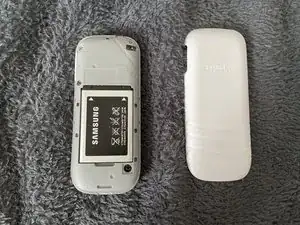
    • Lets take off the back cover shall we?

  3. KLIJF3UFnOltWCQ2
    KLIJF3UFnOltWCQ2
    4PJgGQHJUKBKjXG4
    LxvhiSaceRba2Ddy
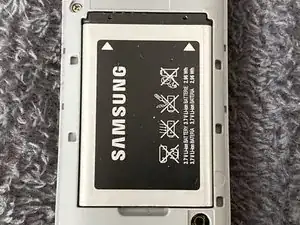
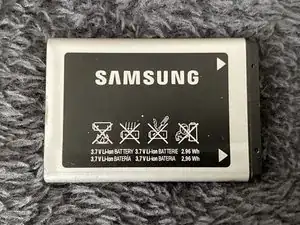
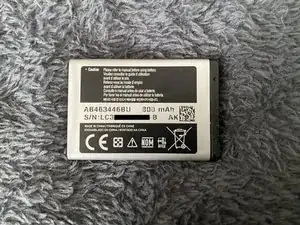
    • Inside the back cover we have an 3,7 Volts 800mAh Li-ion battery which is enough for a phone like that.

  4. uhGZ2if5U6pbVlHQ
    uhGZ2if5U6pbVlHQ
    SXPDFuu1KZfY1JJa
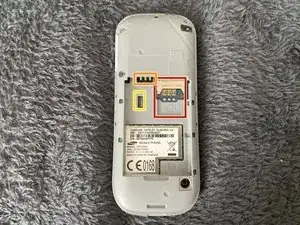
    • Looking further we have the following things:

    • Sim-Card Slot

    • Battery Pins

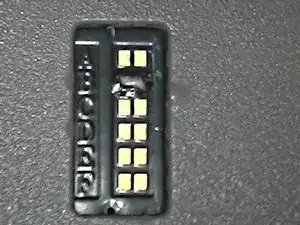
    • Unknown Pins which are labeled with letters?

    • If we zoom in we can actually see these letters close up, Mine was soldered at B, Everyone might have different soldering

  5. 6sLCHWNnW5JPG3CA
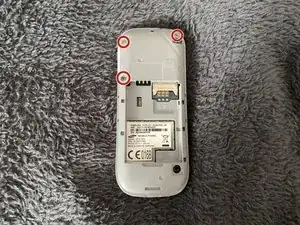
    • Continuing with the teardown, We will have to unscrew the following screws

    • PH00 Screws

  6. qVjZSeW3dHCoJk1Y
    qVjZSeW3dHCoJk1Y
    HgLwZGHuZcrTX3gB
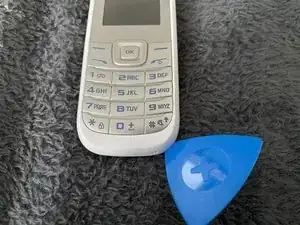
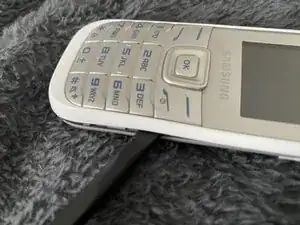
    • After unscrewing them, I will make opening with a pick and then continue with a spudger

  7. EgmIDCUHOXYrvWbx
    • We are now inside the of the components of the phone! Hooray!!

  8. qMp5e6WTqd5SfhHH
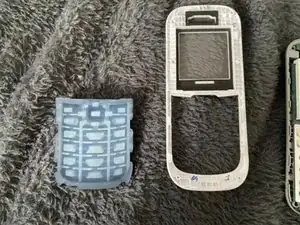
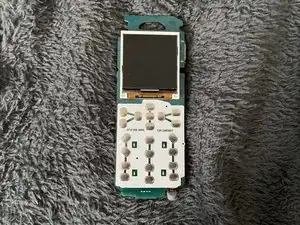
    • Now its time to take out the keypad.

  9. ScKfkmRFkNJAVfW1
    ScKfkmRFkNJAVfW1
    WEEoXcQXGB1VY6iF
    AijAnLccJCrgW4eu
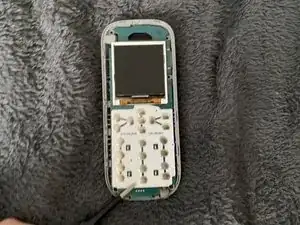
    • Now its time to take out the motherboard...

  10. Fdv4mgrL4PMYI5lL
    Fdv4mgrL4PMYI5lL
    MVrqUSMqDrmXnL6Y
    eRslcpaxWBWPcD6Q
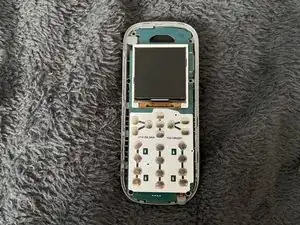
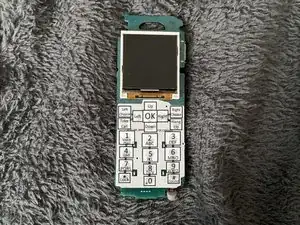
    • Lets take a look at the motherboard, At the second image I have labeled what the buttons do.

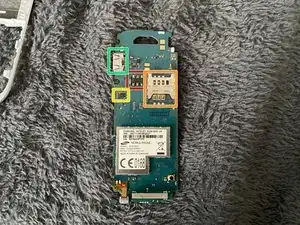
    • Looking at the back side of the motherboard we can see the following things

    • Battery Connector

    • Sim-Card Slot

    • Possible chip where the firmware is stored

    • Headphone and charger connector

  11. XkJvG6FYSoWnkuTG
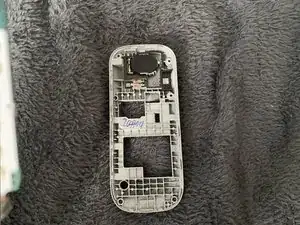
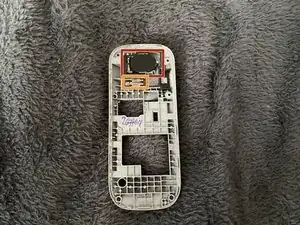
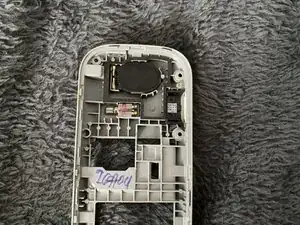
    • Lets look at the shell. We have the following things!

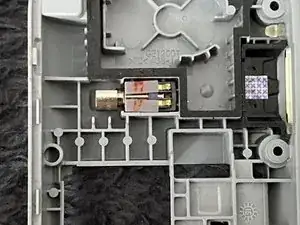
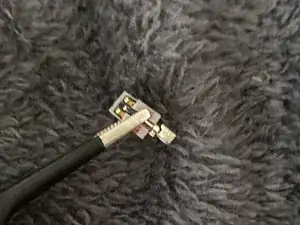
    • Speaker

    • Vibrating Motor

  12. VTWoXhT5EgTAZ1IC
    VTWoXhT5EgTAZ1IC
    GNriACe4Mn3G5hGV
    RrR1UHjbBZTOcmGO
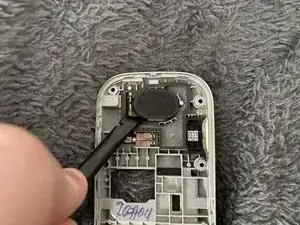
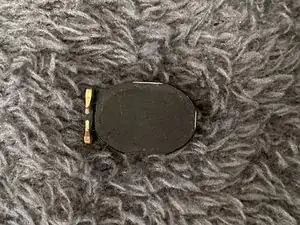
    • Time to take out the speaker!

  13. g4BI5NM6ZblTNUu5
    g4BI5NM6ZblTNUu5
    wZJqJVbANqHqLZNf
    • And now lets take out the vibrating module!

  14. riBHy2sXnPsTNuMq
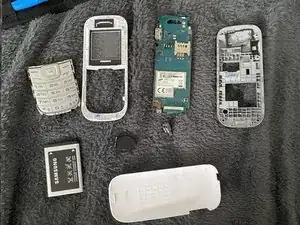
    • Thats it! We have taken apart the following things!

    • Keypad

    • Battery

    • Speaker and Vibrator

    • Back and Front Shell

    • The Motherboard

    • And the back cover!

Artem Ivat

Mitglied seit: 05/02/20

2287 Reputation

0 Kommentare