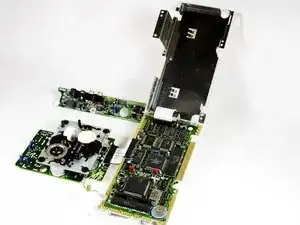
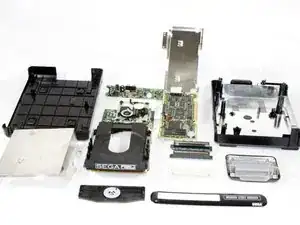
Einleitung
Werkzeuge
-
-
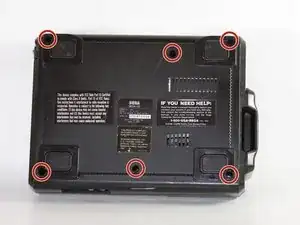
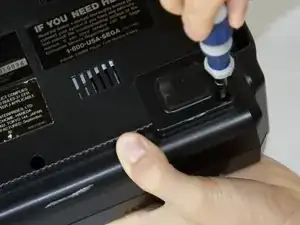
Using a Phillips head screwdriver remove six screws from the bottom of the console.
-
The six screws are marked.
-
-
-
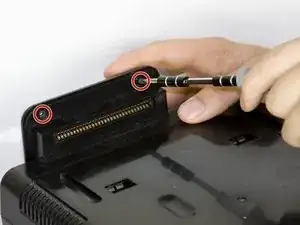
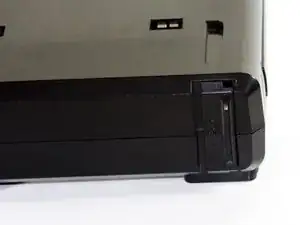
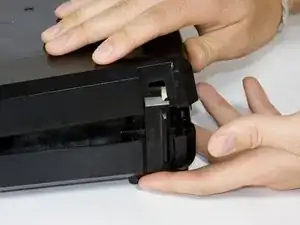
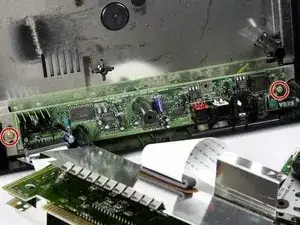
Remove the two screws that attach the Genesis' connector to the rest of the console.
-
The two screws are marked in the diagram.
-
-
-
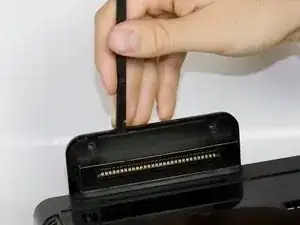
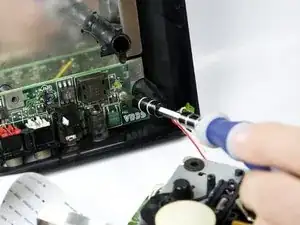
Using a #00 Philips screwdriver remove the two screws that attach the Genesis adapter to the console.
-
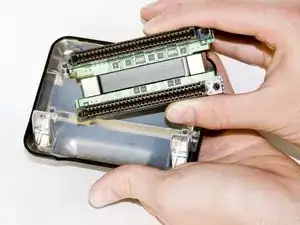
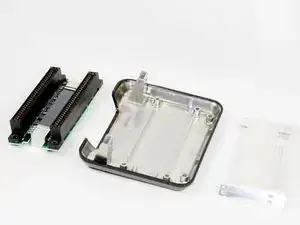
Disconnect the adapter from the console by carefully pulling the adapter out.
-
-
-
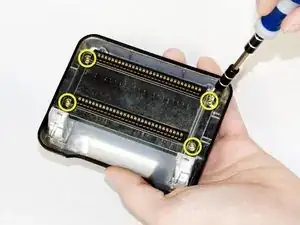
Remove the four screws from the metal plate as shown using a #00 Philips screwdriver.
-
The four half inch bronze screws are indicated by the yellow marking circles.
-
-
-
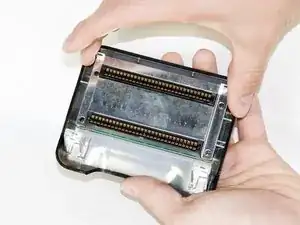
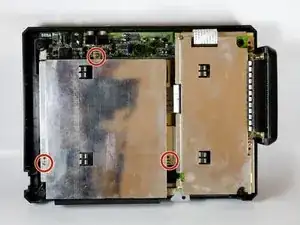
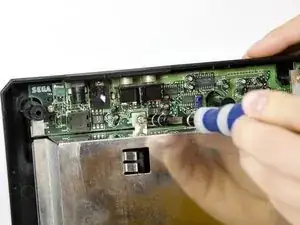
Remove metal plate by unscrewing the three screws with the Phillips head screwdriver and then lifting the plate.
-
The three screws are shown on the diagram.
-
-
-
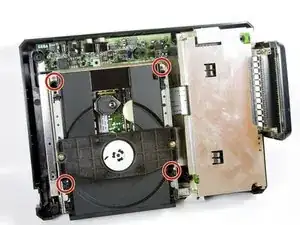
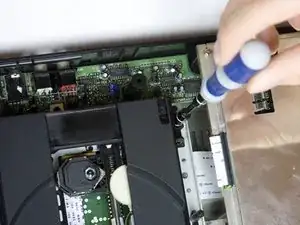
Remove the four screws on the underside of the CD tray with a small Phillips head screwdriver.
-
The four screws are highlighted on the diagram.
-
-
-
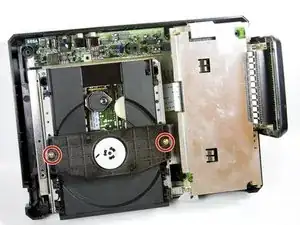
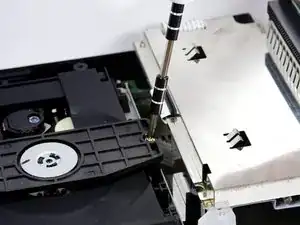
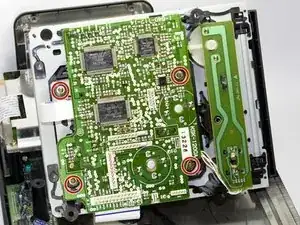
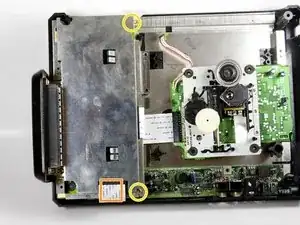
Remove the two bronze screws from the metal plate with a medium Phillips head screwdriver.
-
The screws are marked on the diagram.
-
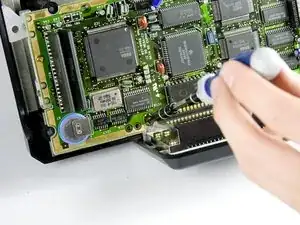
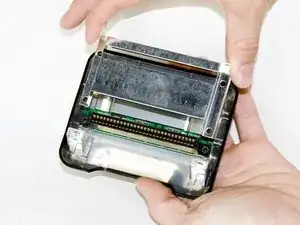
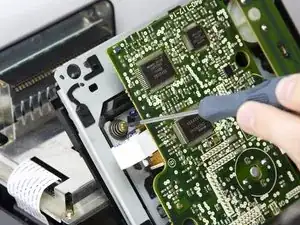
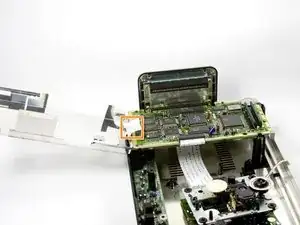
Carefully lift the metal plate up to expose the motherboard.
-
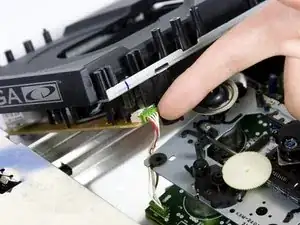
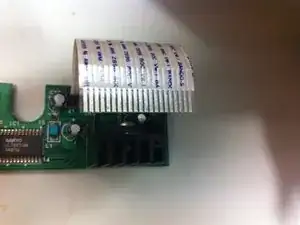
There is a wire strip running through the metal plate that is soldered to motherboard and power supply board. The plate cannot be completely removed. Do NOT force plate upwards. All the ribbon cables can be safely unplugged by simply pulling them out of their slots.
-
-
-
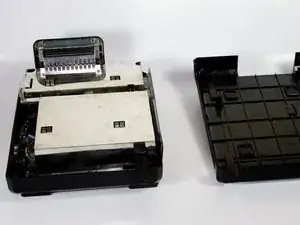
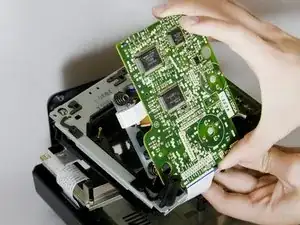
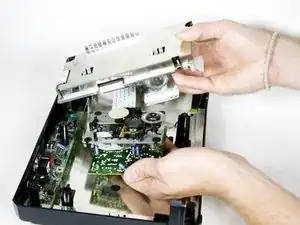
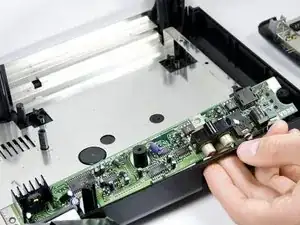
Carefully lift off the metal plate, the motherboard, and the CD tray circuit board. Then, flip each piece over, as pictured.
-
-
-
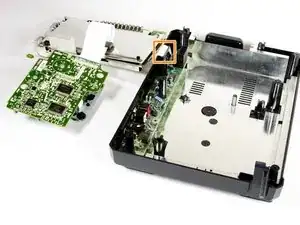
Remove the two screws from the power supply using a medium Phillips head screwdriver.
-
The two screws are marked on the diagram.
-
