Einleitung

Complete teardown of Sidekick II

  1. Ns2vWjnNXkomY3Ka
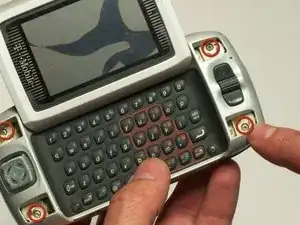
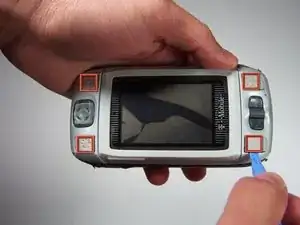
    • Use the plastic opening tool to remove the 4 buttons on each corner of the Sidekick.

    • Gently pry open button and remove button.

    • Do this for each of the 3 buttons remaining.

  2. EIUbK2aOxXdH1SBS
    EIUbK2aOxXdH1SBS
    onNiZGvVGEwtLTNc
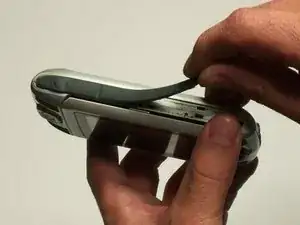
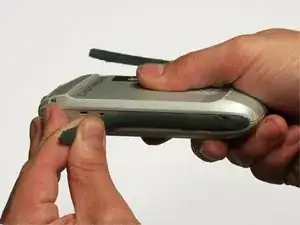
    • The bumpers on the top and bottom of the phone can be removed by simply "peeling" them off.

  3. gaTSGbPRil55VyE5
    • Use the T6 Torx Screwdriver to remove the 4 screws that are underneath the 4 buttons you removed in step one.

    Those aren’t Phillips head screws.

    Nae Nae’s Retro Arcade -

  4. kwHsIIujNcHaPOWb
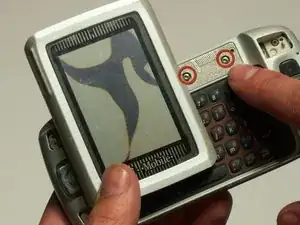
    • Flip the screen up halfway (90 degrees), to reveal the 2 screws above the right side of the keyboard.

    • Use the Torx 6 screwdriver to remove these 2 screws.

    • Be careful in handling the phone after removing the screws, because the two main bodies of the phone are no longer attached.

  5. h5HSs11MMqSF3EpP
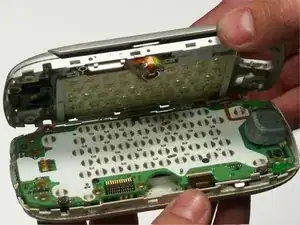
    • After removing the 6 screws and both bumpers, the phone will be easy to separate into the two main bodies.

    • You can use your hands to simply pull apart the top casing from the bottom casing.

  6. PUBlXcLOuyLF4Goh
    PUBlXcLOuyLF4Goh
    fCUgchyVfgbMruQT
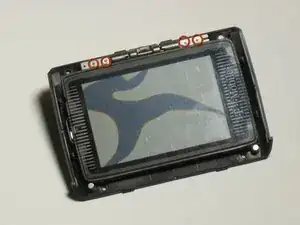
    • Remove screen from casing.

  7. evAHLQ3gYuvUcBGB
    evAHLQ3gYuvUcBGB
    fuZULdVMnbC4fVZw
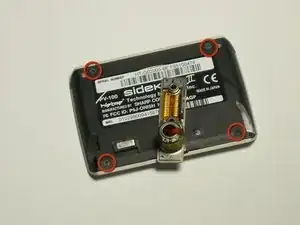
    • Remove 4 screws from back of screen using Torx 6 Screwdriver.

    • Pry screen out of casing using fingers.

  8. HhXkWtUPCOQb2MTE
    HhXkWtUPCOQb2MTE
    pLXe2YAvYddvRIST
    dRTG1kRQSqfVTSbU
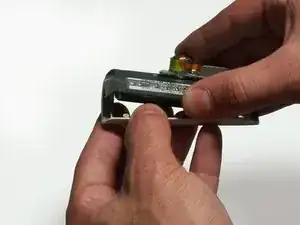
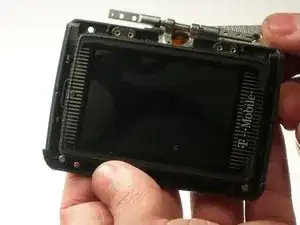
    • Remove 4 screws from front of screen with Phillip screwdrivers.

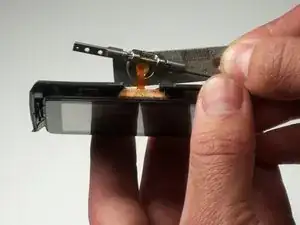
    • Peel off the metal covering on the back of the screen.

    • Be careful when taking off the metal covering. The orange ribbon will not come out all the way, and it is fragile.

  9. NlYDr1YsNWy33dop
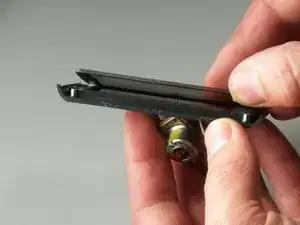
    • Remove the protective cover in front of the screen.

    • Do not use metal tools, you may damage the protective cover or the screen. Use your fingers only.

  10. e5A2bpGvAsvDCJfX
    e5A2bpGvAsvDCJfX
    AFvvsD2MTXAxlZKf
    • Take the screws out using the Torx 6 screwdriver.

    • Then lift the thumb wheel and housing off of the front panel.

  11. RTLdYNODIBxtRCAd
    RTLdYNODIBxtRCAd
    AS4yDLoikFaggWyN
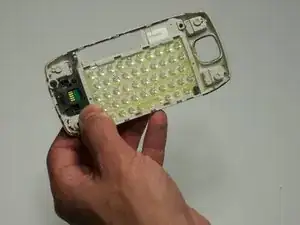
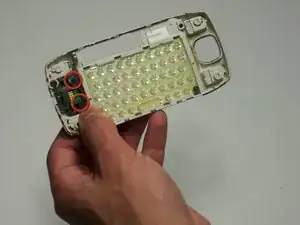
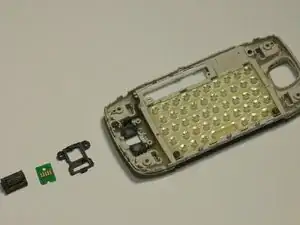
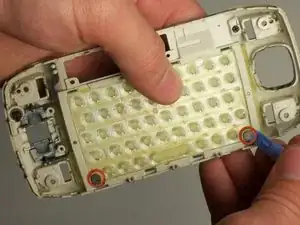
    • Remove 2 black "rivets" from back of casing with the plastic opening tool.

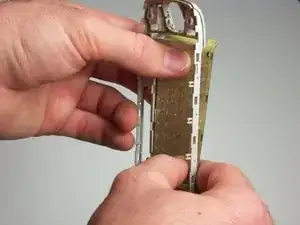
    • Press keyboard out of front of casing using thumbs. Don't press too hard as you may break the board.

  12. xMtIDvLV3GBE5xHS
    xMtIDvLV3GBE5xHS
    dj3wIjLJE2xxNjFP
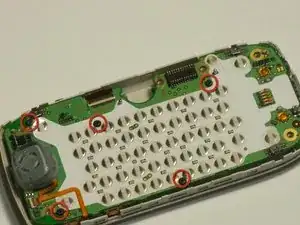
    • Remove the 5 black screws with a Phillips head screwdriver.

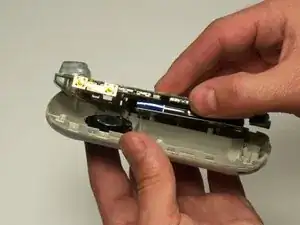
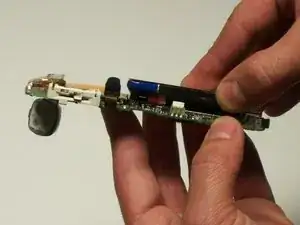
    • Lift the bottom of the control board from housing, and separate the two.

  13. WSXeDZtpAGfunEkF
    • Carefully remove battery and back plate.

    • Do not use metal tools, you may damage the control board. Use only your fingers.

  14. bDZQjGQrorMq23Yl
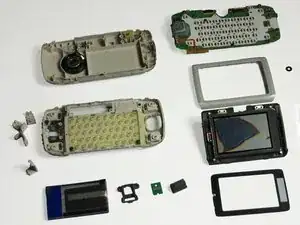
    • Here are all of the pieces that you have disassembled

michael albaum

Mitglied seit: 21/01/10

87 Reputation

Ein Kommentar

nice job from a former geek
Jared Boies -