Einleitung

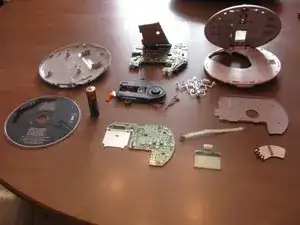
I am first of all doing this to enter to win a PS3 Slim or PSP Go. I am also doing this to find out what's inside this CD player.

  1. sXbegtwKDPlCdX2j
    sXbegtwKDPlCdX2j
    6nU31MRsEdRnDYbo
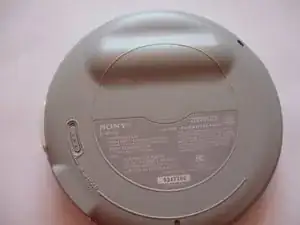
    • Start by looking at the fine detail of the exterior.

  2. QPY6XmVdJ6BHE1UE
    QPY6XmVdJ6BHE1UE
    twDZmjjjXN2ESy2B
    IoUOvNPmWtyiNvPo
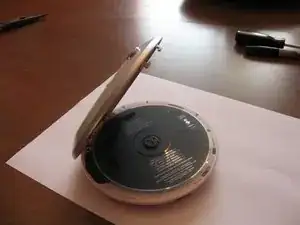
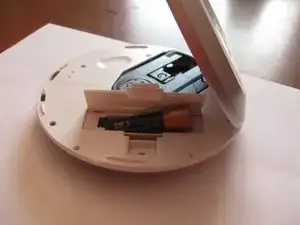
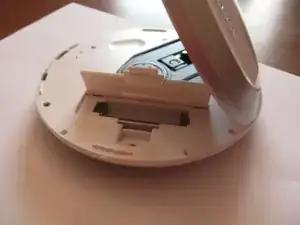
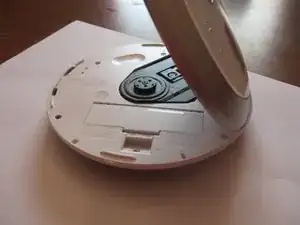
    • Open it, remove any CDs and put away. Open the battery cover and remove the battery.

    Ohh, Black Album.

    Chris Green -

  3. foQGEG4SCQMIPFNG
    foQGEG4SCQMIPFNG
    fjDDTujLUOyTQvW4
    atIXK31aY2UQmmwU
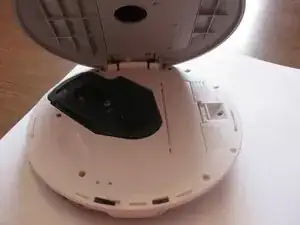
    • Close the battery cover and locate your screwdriver.

  4. b2TAOoKraW3BKP31
    b2TAOoKraW3BKP31
    MGYUsOGHStAHMRCD
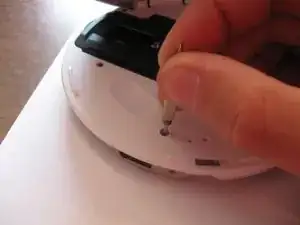
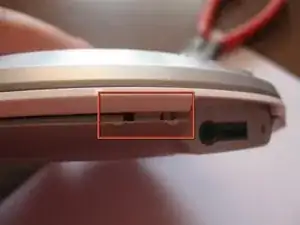
    • Unscrew the six screws and place them on the magnet so you'll be able to find them later. Sony was nice enough to put the screws next to the lid at an angle so you can fit a screwdriver in there.

  5. LWTQRv6TnZGYZHEC
    LWTQRv6TnZGYZHEC
    AXALoKvSRaHDPoQR
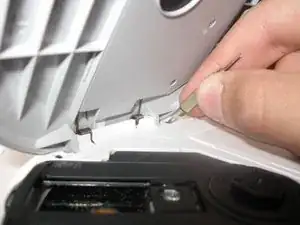
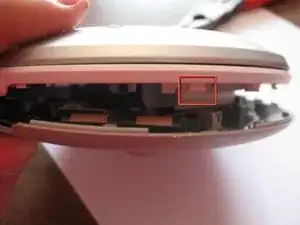
    • Insert the tip of a screwdriver between the white upper layer and the gray lower layer. Carefully pry apart. There are small clips that help hold the two layers together and you don't want to snap them.

  6. TnqVT1OgR1vnndtM
    TnqVT1OgR1vnndtM
    2eTC3nIZfWBPUZqn
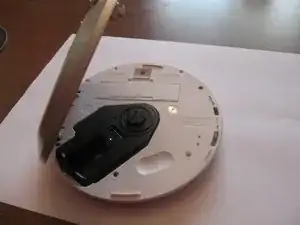
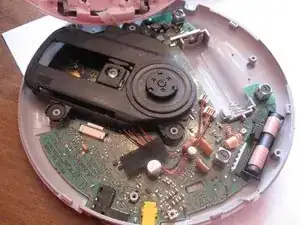
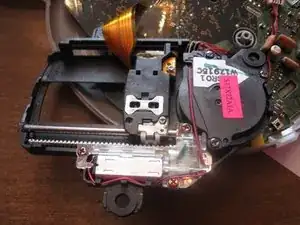
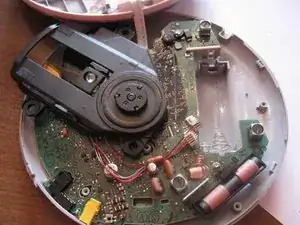
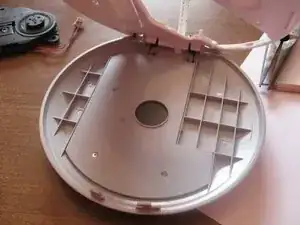
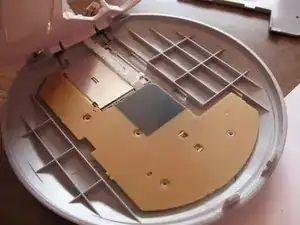
    • Here's the inside of the bottom layer.

  7. WSsKJ6OonsY5VIrm
    WSsKJ6OonsY5VIrm
    l2fGpmTktwgy2VKe
    IfvfNOQxQMIcIFXu
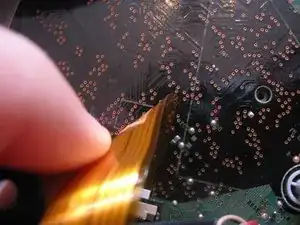
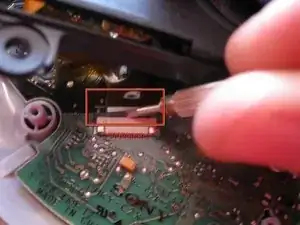
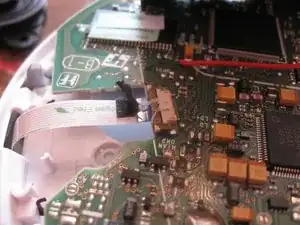
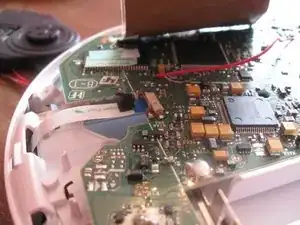
    • Now to remove the laser reading assembly. Carefully peel the orange data ribbon off the circuit board to the plug. Using the flat screwdriver, pry the black clip away from the tan part.

  8. F3BoYlw2PmvTOeUA
    F3BoYlw2PmvTOeUA
    pNjlWbpownkooono
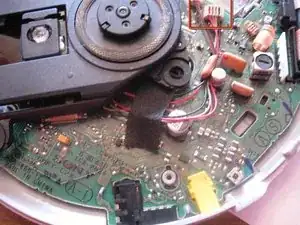
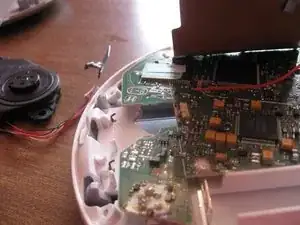
    • Now for the power wires. Pry up on the side opposite of the wires.

  9. VTu4gKDidr5gOK2i
    VTu4gKDidr5gOK2i
    O3QAEKEytjRyN4if
    1LpJJiEAJRMECKlV
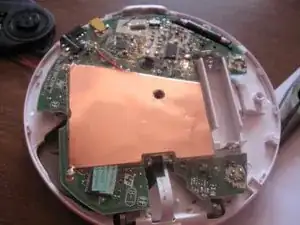
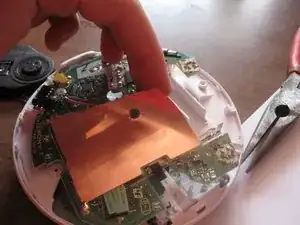
    • Now for the other side. Carefully peel up the antenna plate so you can get at the other data ribbon.

  10. WOTfwOLPLPsOOGO3
    WOTfwOLPLPsOOGO3
    INMkpCpNvah2KGkE
    VLppXyENHrjvmBrw
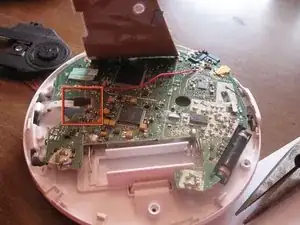
    • Peel the black tape off the plug. Pry up with a screwdriver on the brown clip and remove the data ribbon.

  11. fUJVnVID6NFyCEBh
    fUJVnVID6NFyCEBh
    UhPhxZDFsIsYtnRh
    eD2WqvxVCTFsLZL5
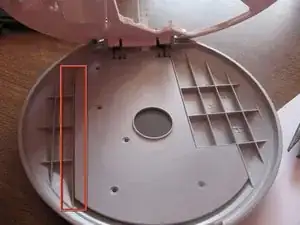
    • Now for the top layer. unscrew the five screws and place them on the magnet. Pry up on the side indicated to remove the cover.

  12. lgfBUDPRGW2vT1Qp
    lgfBUDPRGW2vT1Qp
    MXrjhKe4TTZLwKpJ
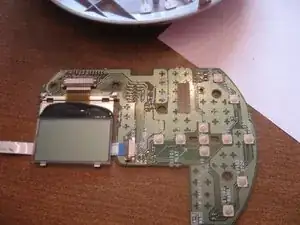
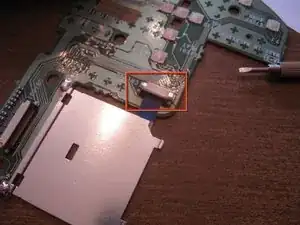
    • Pull out the circuit board and LCD screen assembly. Pry up on the brown clip to remove the LCD screen.

  13. eWaymmROKPyPHIoX
    eWaymmROKPyPHIoX
    rrdk4VW2tOHJEEKn
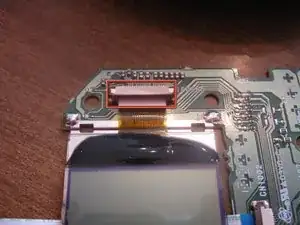
    • Now you can remove the data ribbon by prying up on the brown clip.

  14. pLmlP2uvij3VVZSe
    pLmlP2uvij3VVZSe
    sAxyZs6wERNKAvJY
    cPwHWX3QA5DkOGHC
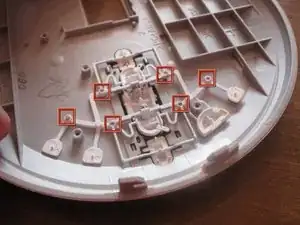
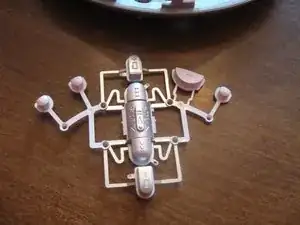
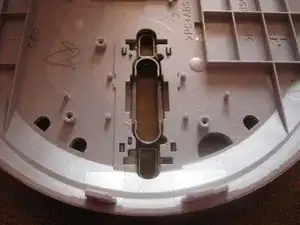
    • To remove the buttons, carefully pry up around the little pins and pull up.

  15. 66bXs4jDrre31TrF
    • You're done! You have taken this CD player apart and broken it down into its individual components. Now to put it back together.

reuse2009

Mitglied seit: 22/10/09

100 Reputation

0 Kommentare