Einleitung
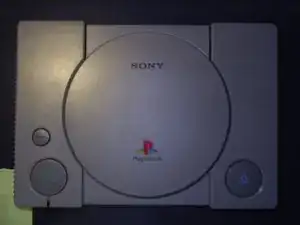
I have a PlayStation 1, and i have decided to make a new teardown of it.
I'm spanish, so my english is a bit poor, and sorry for the mistakes made in this teardown.
Without further delay, we start.
Werkzeuge
-
-
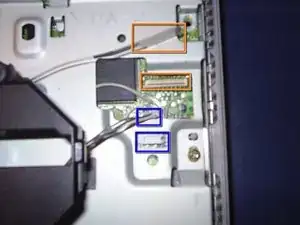
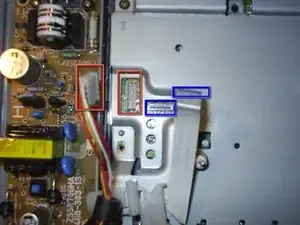
Disconnect both CD-ROM connectors.
-
CD connector one and the socket it connects to.
-
CD connector two and the socket it connects to.
-
-
-
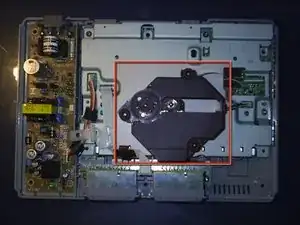
Remove the CD-ROM reader. You should be able to pull it out gently, although you may have to wiggle it around a bit to loosen the rubber holders.
-
-
-
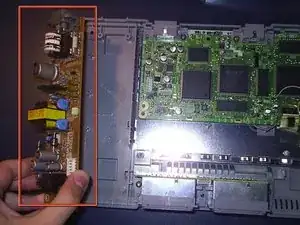
Detach both cables. They go to the power supply and to the memory cards and controller connectors.
-
-
-
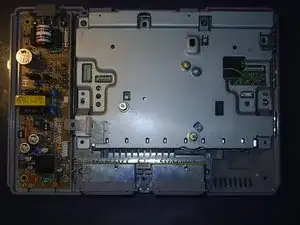
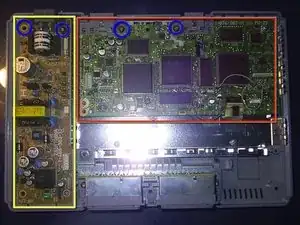
Now you have the motherboard!
-
And the power supply.
-
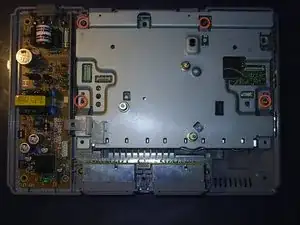
Remove the four screws from the motherboard and the power supply.
-
-
-
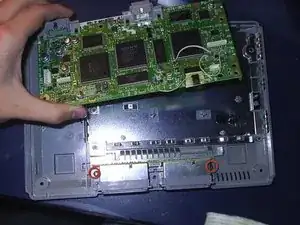
Remove the motherboard, and both of the screws from the memory card/ controller connection mechanism.
-
-
-
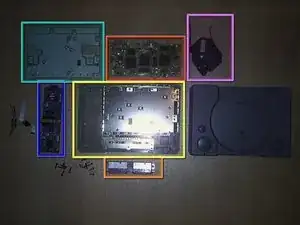
Now, you have all your PlayStation 1 parts!
-
Main Board
-
Lower Casing
-
EMI Shield
-
Power Supply
-
Disk Reader
-
Memory Card/ Controller Mechanism
-
Ein Kommentar
That’s a PAL PS1. May be different from NTSC models.
So far looking good. I'm commenting as you are making this teardown.
Nicholas Ouimet -