Einleitung
The Sound BlasterAxx AXX 200 is touted as an intelligent wireless sound system – it’s supposed to be chock full of techy stuff and features that sets it apart from other wireless speakers.
-
-
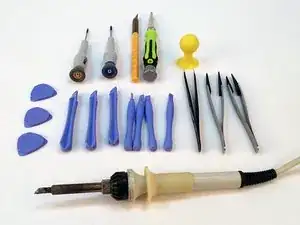
Here are the tools you would need to start the teardown:
-
Phillips #0 and #2 Screwdriver
-
Flathead 3/32" (2.5mm) Screwdriver
-
Hobby knife
-
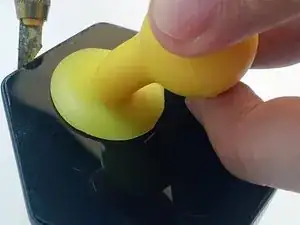
Small baller suction cup
-
Opening picks
-
Plastic opening tools, Flat-head tweezers
-
Soldering iron, Heat gun or hair dryer and Flux solvent
-
-
-
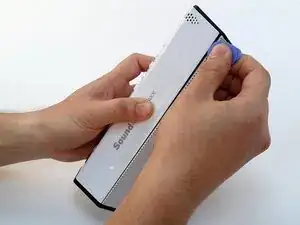
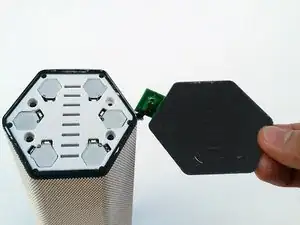
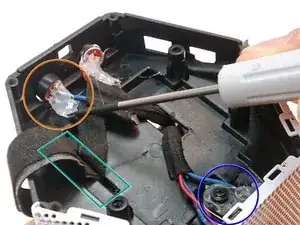
The AXX 200 is well put together. And by that, I mean the plastic housing on the back is held in place by adhesive. Lots and lots of adhesive.
-
Start by using opening picks to remove the adhesive holding the back casing. A hair dryer or heat gun would help.
-
Plastic opening tools are also brought into the picture to get past the sticky adhesive and to pry open the back casing.
-
A spudger with a longer tip would be more helpful – or a plastic ruler could work as well.
-
-
-
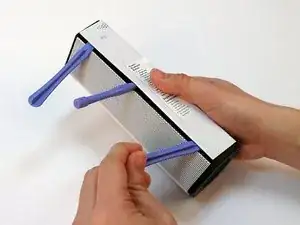
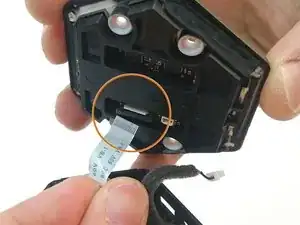
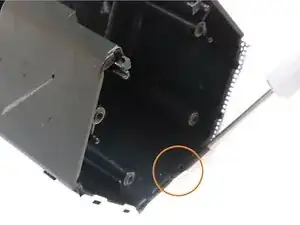
After getting through the adhesive, lift the back casing open as pictured.
-
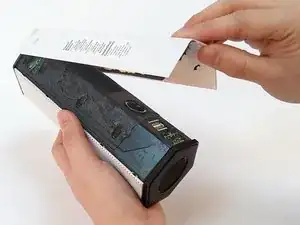
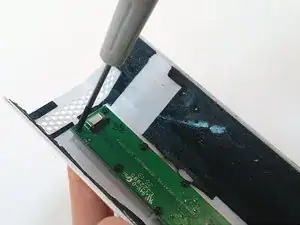
Disconnect the flex connector by simply pulling it downwards with a pair of flat-head tweezers
-
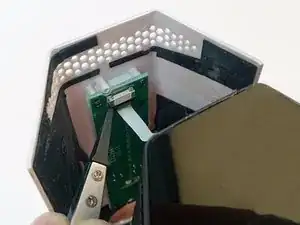
Then, remove the button PCB panel with a Phillips #0 screwdriver.
-
-
-
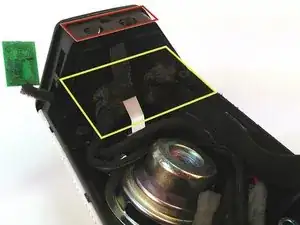
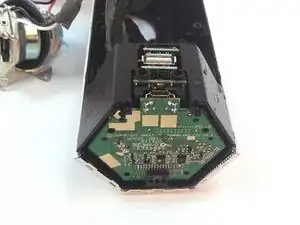
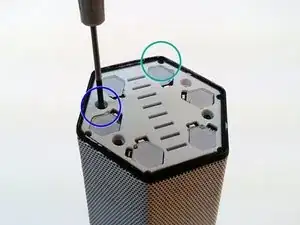
Remove the audio chamber by unscrewing the 6 screws with a Phillips #2 screwdriver.
-
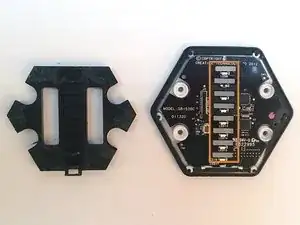
It’s a sizeable audio chamber for such a small speaker. Upon opening it up, you will easily identify:
-
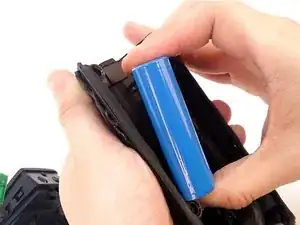
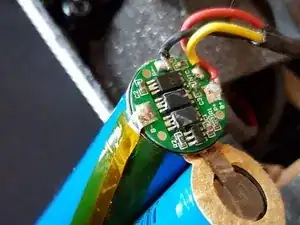
5200 mAH lithium ion battery
-
Port tube for boosted bass
-
Drivers x 2
-
You’ll also notice that all the cables (and there are a lot of them) are shielded with foam to prevent rattling.
-
-
-
Great Odin’s raven! That’s a big battery!
-
It’s a whopping 3.7V Li-ion battery with 5200mAh, and it’s used to power the device and charge your phone.
-
The built-in port tube enhances bass.
-
-
-
Using tweezers and screwdrivers, carefully remove the black tack (or adhesive putty) used to keep the cables in place at both ends of the chamber.
-
Sound Blaster really hasn’t stinged on the putty. There is a lot of it. It makes for an airtight enclosure, but the amount of putty really is quite overwhelming. Have I mentioned there’s a lot of putty? Oh okay, good.
-
Two microphones can be spotted at the top of the audio chamber, but there’s no way to access them from here.
-
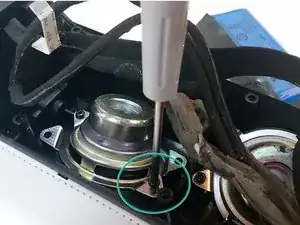
Once the cables are loosened, remove the drivers with a Phillips screwdriver.
-
The unique positioning of the drivers allows for a wider sound spectrum. Both drivers measure about 1.6 inches (or 40 mm) each.
-
-
-
The next step is to open the bottom chamber.
-
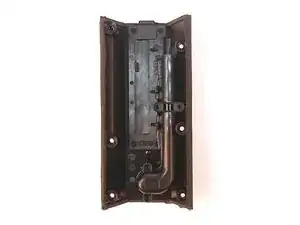
Peel open the rubber base to reveal more screw holes.
-
Unscrew the base cap with a Phillips screwdriver.
-
-
-
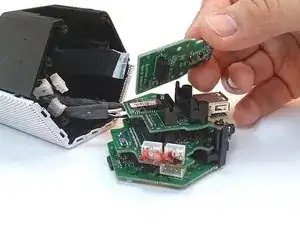
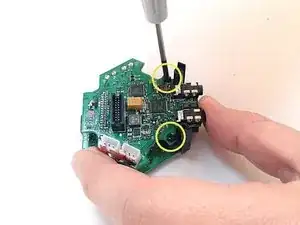
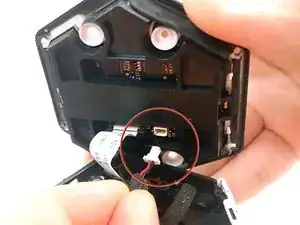
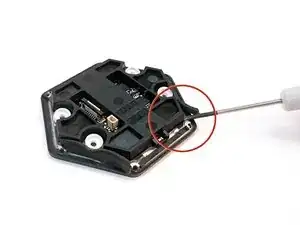
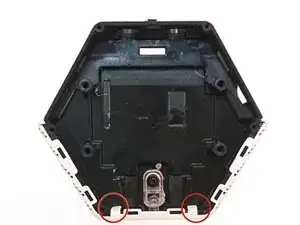
Use a flathead 3/32" screwdriver to carefully unhook and release the catch holding the PCB.
-
The various ports at the bottom of the AXX 200 seem to be separated into different PCBs.
-
-
-
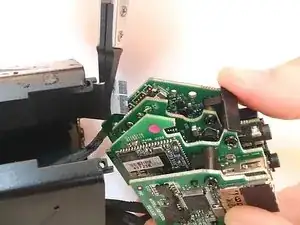
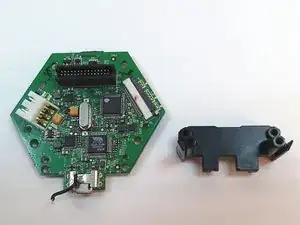
There are a total of four PCBs neatly stacked up to fit in the small AXX 200 chamber. It minimizes space. Saved space = bigger audio chamber = better audio.
-
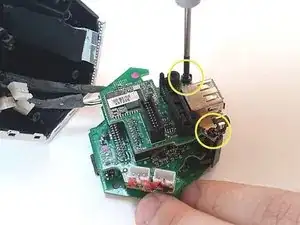
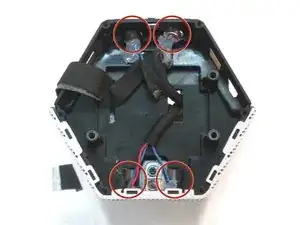
To take out the stack of PCBs, first, disconnect the flex connector with tweezers.
-
After that, disconnect the two connectors. These are probably connected to the microphones at the top.
-
Lastly, disconnect the final connector that is linked to the battery from the bottom PCB.
-
-
-
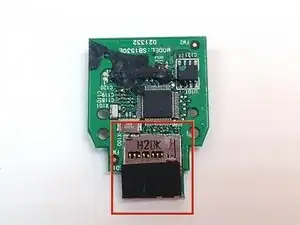
The first PCB houses the microSD card slot, which allows for MP3 playback and voice recording.
-
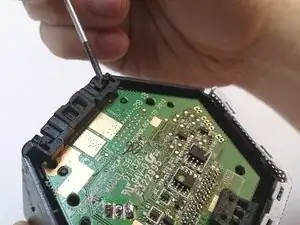
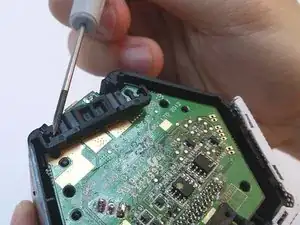
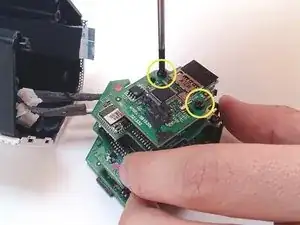
First, remove the top two Phillips screws to detach the microSD card slot PCB.
-
Gently disconnect the microSD card slot PCB from the stack.
-
MicroSD card slot
-
-
-
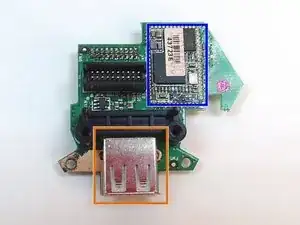
The next PCB in the stack houses the USB port for smart device charging.
-
Proceed to remove the screws on the PCB with the USB 2.0 port.
-
USB 2.0 port
-
This PCB also has a Bluetooth chip processor integrated onto it.
-
-
-
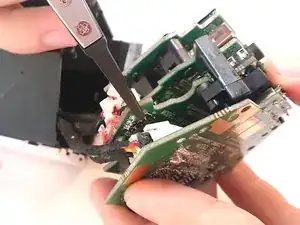
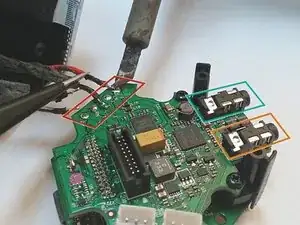
Here’s the tough part. Separating the audio board requires some soldering. It also doesn’t help that I have the ugliest soldering iron on the face of the planet.
-
Use a (prettier) soldering iron to melt the solders and remove the four cables connected to the audio board.
-
3.5 mm Aux-in / Mic-in jack
-
3.5 mm headphones jack
-
Remove the two screws to detach the audio board from the bottom PCB.
-
Flip the audio board carefully and you will see another cable attached to it below. Using the soldering iron, melt the solder on the audio board to detach the cable.
-
-
-
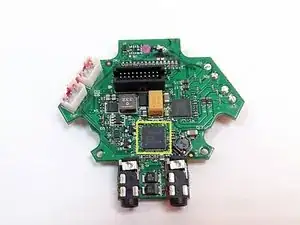
That’s the sb-axx1 quad-core sound processor, which Sound Blaster says makes the device intelligent.
-
-
-
With the bottom fully dismantled, move on to the top – the glass panel.
-
A word of caution: unless God has blessed you richly with magical fingers, or you have A LOT of flux solvent and patience, chances are you’ll end up cracking this thing.
-
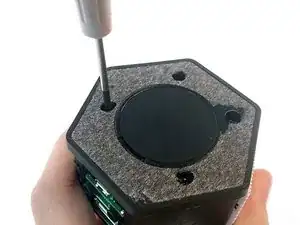
Firmly attach a small baller suction cup on the touch panel.
-
Then, carefully pry open the touch panel with a hobby knife.
-
-
-
Unscrew the six screws located at each corner of the top panel.
-
Then, remove the four screws in the center to open the top panel.
-
There are cables attached to the top panel. Open the top panel with care.
-
Unplug the NFC cable connected to the top panel.
-
Disconnect the flex connector to completely remove the top panel.
-
-
-
Remove the rubber strips on the side with a flat-head screwdriver.
-
Lift up the plastic casing with a flat-head screwdriver.
-
The plastic casing ensures the LED lights are shielded to prevent bleeding of light.
-
The LED lights on the touch panel are covered with rubber light guides.
-
Light guides allow the individual LEDs to light up one by one on the touch panel. Neat.
-
-
-
Below the touch panel are FOUR microphones. Not one, not two… FOUR.
-
Remove the adhesive (sigh) around the microphones with a flat-head screwdriver
-
Solvent may be used if the adhesive is too tough to remove.
-
Next, remove the flex connector through the slot.
-
This is the main flex connector that runs from the bottom to the top panel.
-
This is another light guide for the LED that acts as the AXX 200’s Bluetooth indicator.
-
The actual LED is located on the touch panel PCB.
-
-
-
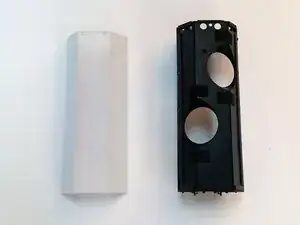
The white metal grille at the front is also removable. If you find white a little understated, this would be the part where you break out the spray paint from the garage and go to town on this bad boy. A little unfortunate that you have to remove everything else before being able to remove the grille.
-
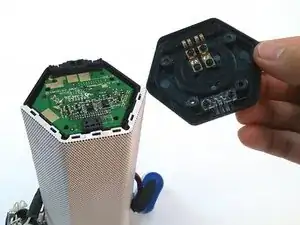
To remove the metal grille, pry open the two catches using a flathead screwdriver.
-
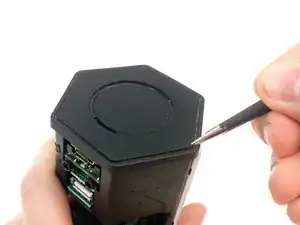
Lastly, slide the inner chamber out from the metal grille casing.
-
-
-
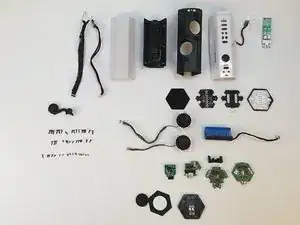
Voila! The Sound BlasterAxx AXX 200 in pieces.
-
Tearing apart the AXX 200 requires patience.
-
The glass touch panel breaks easily. It is highly unlikely that you can restore the AXX 200 to its original condition without some scratches or cracks.
-
There are a large number of tiny screws holding together the AXX 200. It would be best to keep the screws in the order you removed them.
-


Ein Kommentar
Where do you get the battery for this?