Einleitung
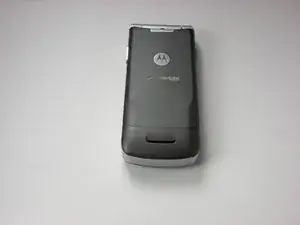
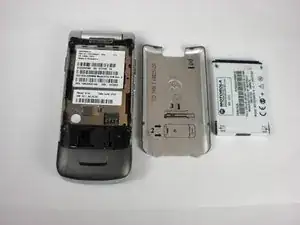
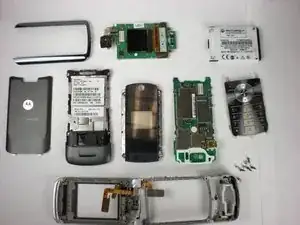
This guide is for the complete teardown of the Motorola K1m cellphone. We will be starting from the back panel of the the Motorola K1m cellphone then working our way towards the front of the cellphone
Werkzeuge
-
-
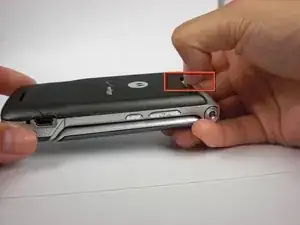
Push down on the silver tab located at the top center of the back of the Motorola K1m cellphone.
-
-
-
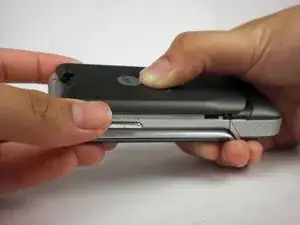
While pushing down on the silver tab, slide the back cover towards the silver tab.
-
Remove the back cover.
-
-
-
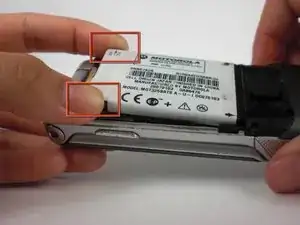
Pull the battery from the top corners labeled "Pull Here" located on either side of the top of the battery.
-
Remove the battery.
-
-
-
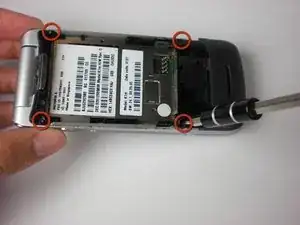
Detach battery dock by removing the 4 black screws on each corner of the phone with a T5 Torx Screwdriver.
-
-
-
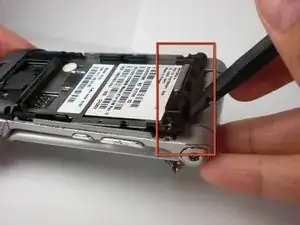
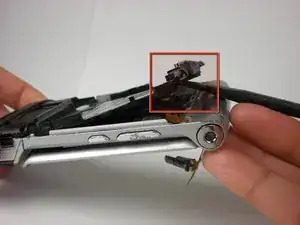
Lift up the battery dock where the hinges are located. Carefully insert the plastic spudger in between the battery dock and the back plate of the battery. (See the picture to locate the hinges)
-
It is easiest to remove the battery dock when prying on the tabs.
-
When removing the battery dock, a small white rubber piece might fall out. If this happens, simply place the piece of the rubber in the location it came from.
-
Remove the battery dock.
-
-
-
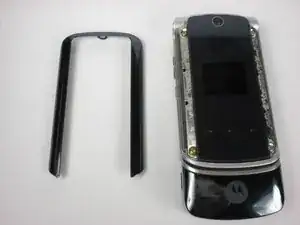
Remove the trim piece.
-
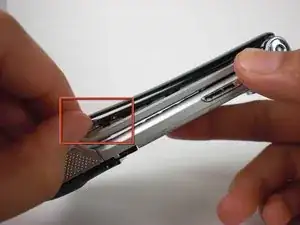
Using your fingers or The Spudger to get under the trim. Start by applying enough force to pry the trim off.
-
Be patient when trying to pry off the trim. The tape attaching the trim to the phone is very strong. Just be persistent and patient and it will eventually give.
-
-
-
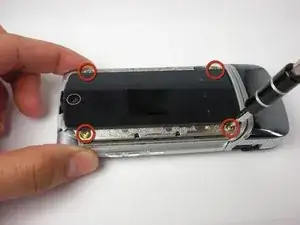
Once you have removed the trim you will see 4 gold screws at the corners of the phone. Using a T5 Torx Screwdriver, remove the screws.
-
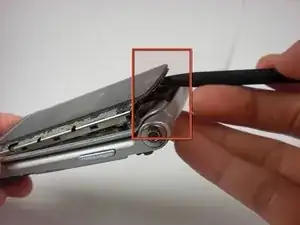
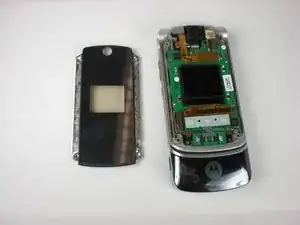
Gently, use The Spudger towards the edge of the phone, lift the face plate off.
-
-
-
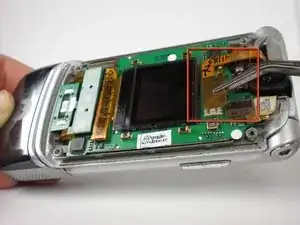
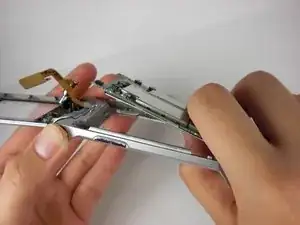
Gently, with a tweezer or your fingers, lift the orange flex cable apart from the pin connector it is connected to.
-
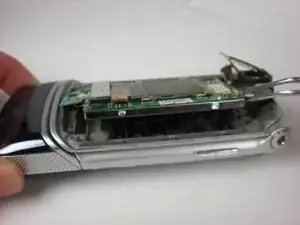
Once the flex cable has been unplugged, use a tweezer to remove the logic board by prying up.
-
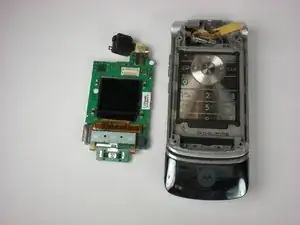
Gently remove the green logic board/LCD (Liquid Crystal Display) screen away from the phone.
-
-
-
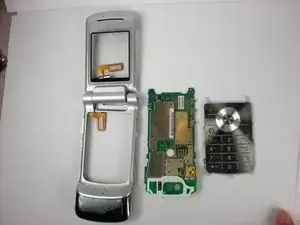
Lift up the chip board from the bottom flip with your fingers.
-
Gently pop of the keypad with your fingers.
-
