Einleitung
Werkzeuge
-
-
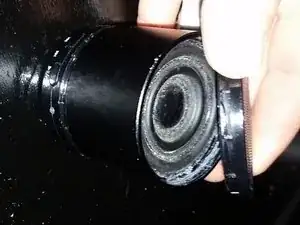
With a little coaxing, the top ring with the speaker screen pops off. If you've been using this speaker long enough to need to take it apart, chances are this piece has popped off before on accident.
-
-
-
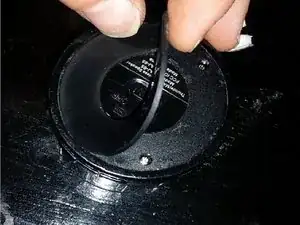
You can pick at the edge of it and carefully peel it off. There's a piece of double-sided tape in between it and the plastic base that may remain. If you're careful you can peel it off intact and reattach it to the rubber foot. This step exposes the screws that hold the circuit board to the speaker.
-
-
-
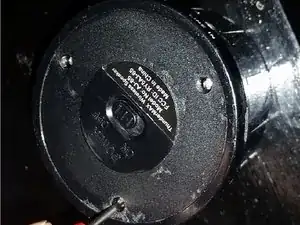
Using a small phillips head or even a small enough flat head, remove the three screws. Then you just pull a bit on the bottom, underneath the crease that goes all the way around the cylinder. It's the crease that contains the volume knob, control buttons, input jack, etc
-
-
-
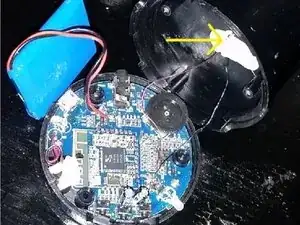
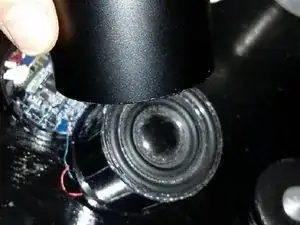
Be very careful as you pull it apart because the battery is most likely loose. The yellow arrow points to a gob of stiff adhesive, much like "Shoe Goo" that encases the speaker wire.
-
Here you can inspect the battery and speaker connections. You can probably replace the battery if it no longer holds a ten hour charge.
-
-
-
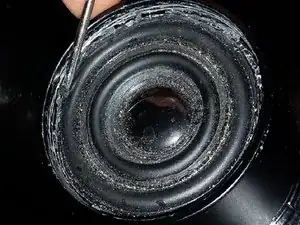
I used a small screwdriver, but an exacto knife would be perfect. Scrape into the corner and along the edge. You can scrape the top of the edge, just stay away from the soft part of the speaker cone.
-
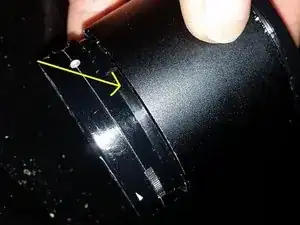
Your main goal on this step is to dig a hole between two cylinders. One is inside of the other. The outer one is the metal casing on the inside, the inner cylinder is what holds the speaker cone.
-
-
-
Using the arrow as your guide, see that I've pried it apart just a bit so you can see where to put a small screwdriver. Get the flat blade in there and give a small twist. Once you see the gap start to open it will be a little easier to get your blade in there.
-
Just work your way along the gap around the cylinder until a firm tug on the top and bottom will pull one cylinder out of the other.
-
-
-
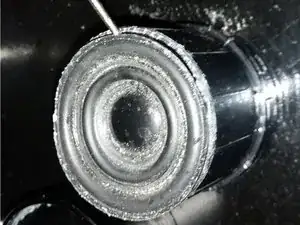
This is how the metal outer cylinder looks after you pull it off the inner cylinder that holds the speaker.
-
-
-
Now carefully pry the rubber speaker cone away from the plastic cylinder being careful not to tear it. You may have to bring your screwdriver or knife back out to remove any leftover adhesive.
-
Just slowly work a screwdriver or other poking tool in between the hard plastic of the cylinder and the soft rubber of the speaker. With a little subtle manipulation it will come apart intact.
-
As you pull it apart you'll notice that it will fit back into the cylinder and rest on a groove. You'll have to work it back into place and use an adhesive to get it to stay, but it can be done.
-
-
-
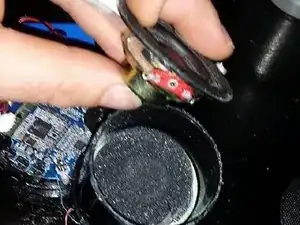
In my case, the speaker wires had already come loose from dropping the speaker a number of times, but you may have to slide some scissors in there to cut your speaker free. All the excess speaker wire is in the circuit board area and that hard adhesive keeps any of the slack from going into the speaker cavity.
-
The speaker terminals are marked + and - and the wires are red and blue. Red goes to + and blue goes to -.
-
And there you have it. A disassembled ThunderMAX Bluetooth Speaker. Hope that helps.
-
