Einleitung
Werkzeuge
-
-
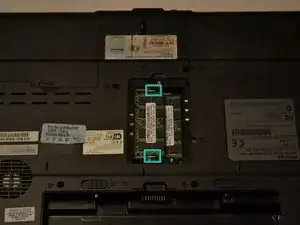
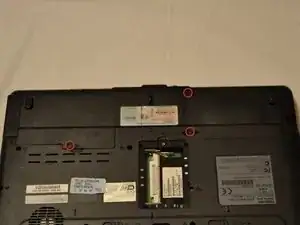
Loosen this screw, and pop out the RAM cover.
-
Undo the module clamps, gently lift the end of the module to a 45-degree angle and pull it out. Do the same for the one below.
-
-
-
Loosen these 3 screws, and pop out the two hard drive bay covers
-
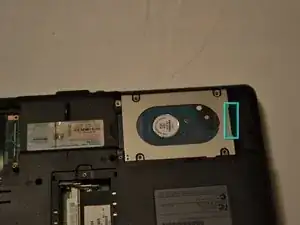
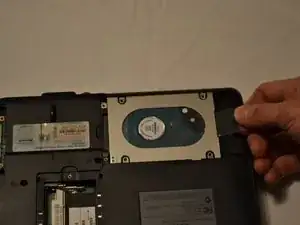
Pull out the plastic tab located here, and pull it gently but firmly to the right.
-
-
-
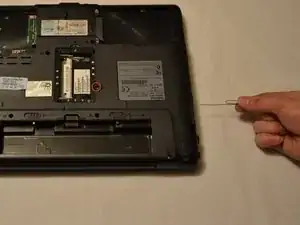
Remove this screw, it might require tweezers after loosening to get out.
-
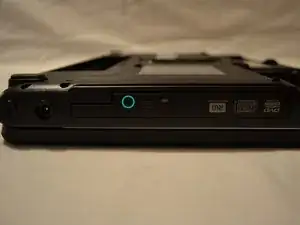
Insert a paper clip into this hole, which will pop out the drive
-
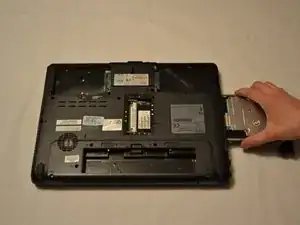
Grasp the drive tray and gently but firmly pull it out of the laptop chassis.
-
-
-
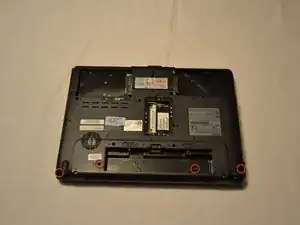
Remove these screws
-
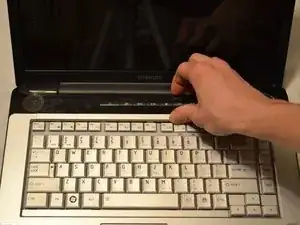
Flip the laptop over, and push the bezel towards the lcd while lifting up, this might require some force.
-
-
-
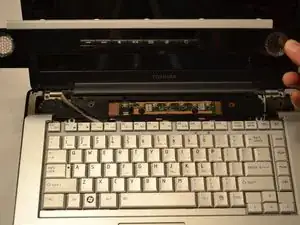
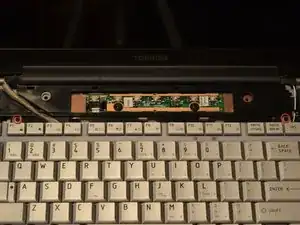
Remove the two screws at the top of the keyboard
-
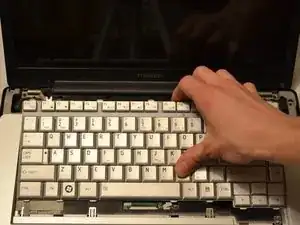
Guide the keyboard towards the LCD, and lift up slightly, be careful of the ribbon cable underneath
-
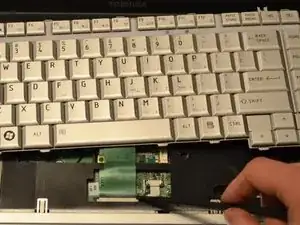
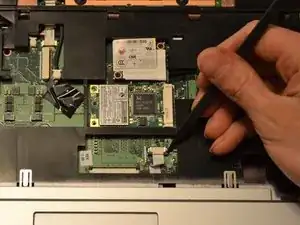
Using a spudger or fingernail, carefully push one side, then the other of the keyboard ribbon connector toward the LCD, releasing it.
-
-
-
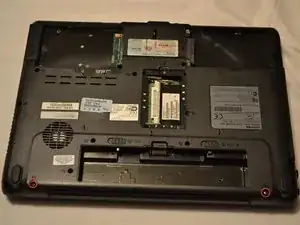
Remove the 2 screws on the bottom of the laptop
-
Flip the laptop over
-
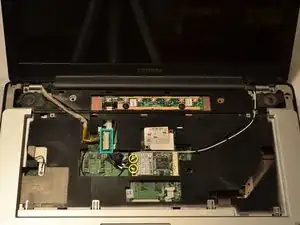
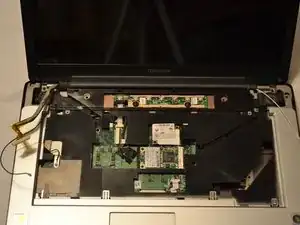
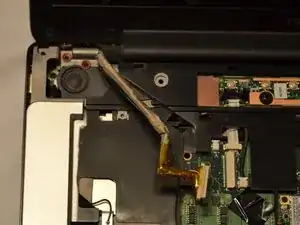
Disconnect the LCD cable and thread it out of its path so it's free
-
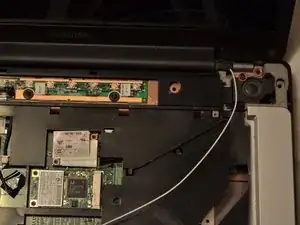
Using a spudger or fingernail pop off the two wifi antennas and thread them out too
-
-
-
Remove this screw from the top of the laptop
-
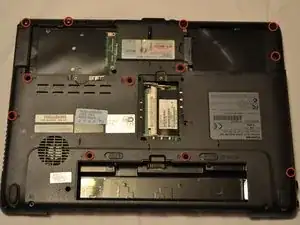
Remove these 12 screws from the bottom of the laptop
-
Carefully, using a spudger or fingernail, release the touchpad ribbon cable from its connector.
-
-
-
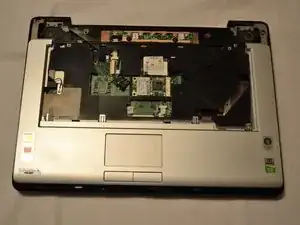
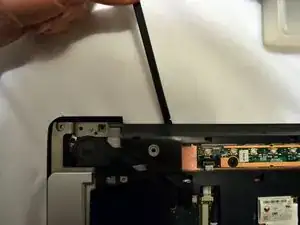
Run your fingernail or spudger along the crack between the top bezel and bottom casing at the back of the laptop, and proceed to release the clips and lift off the bezel.
-
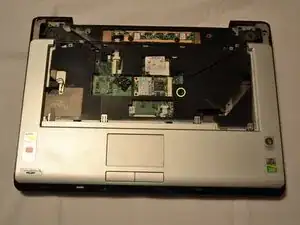
Remove this screw
-
-
-
Okay, don't freak out, but there are a BUNCH of clips and connectors to undo at this point, just keep calm and know where your towel is and all will be well.
-
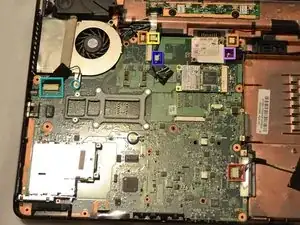
Disconnect, using a spudger or fingernail, the following connectors:
-
USB header
-
Speakers
-
Power/media buttons
-
VGA connector and screw
-
Fan power
-
Modem connector (lift up tape)
-
-
-
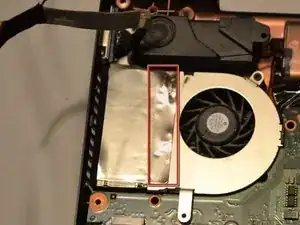
Peel back the metallic tape from the fan
-
Lift the fan up and away from the vent
-
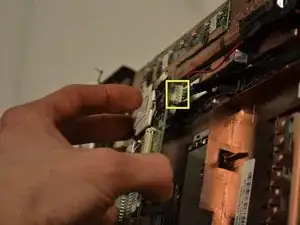
Tough part: Lift the motherboard at the rop right corner, find this cable underneath and gently wiggle it out.
-
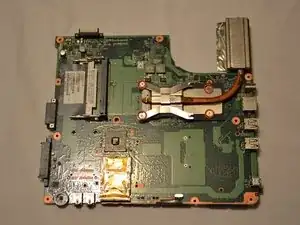
Lift the board out, pivot it slightly to allow the audio connectors to come free, then simply lift.
-
-
-
Remove these four screws, and slide the bracket off
-
Carefully lift up the heatsink
-
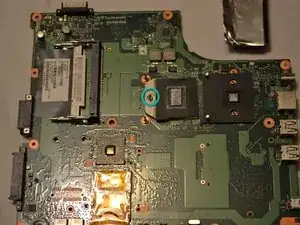
Using a flathead, turn this to release the processor
-
-
-
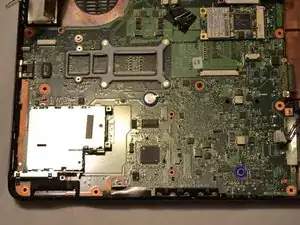
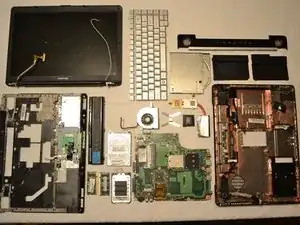
Phew! Here we go, guts and all. Give yourself a pat on the back, and follow these instructions in reverse to reassemble.
-
5 Kommentare
I just completed the teardown on my Toshiba, very well documented and simple to do if you have the tools described. Thank you for this Teardown.
Oscar C -
hey m8 thx 4 da guide, i wish getting to the freaking cpu heatsink and fan was a bit easier, but ur guide was a blessing nonetheless
Dac Watt -
are you selling these parts? i desperately need a new screen for mine. Or do you know where I can find the screen replacement part??
you can email me at bleadinluv@gmail.com thank you bunches
-
erica
