Einleitung
Werkzeuge
-
-
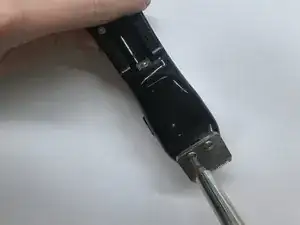
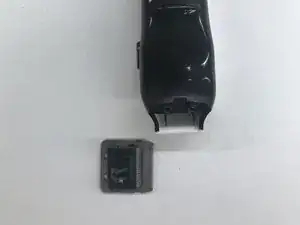
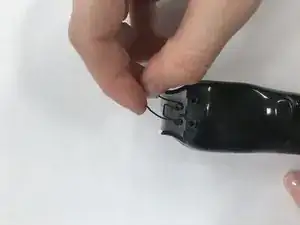
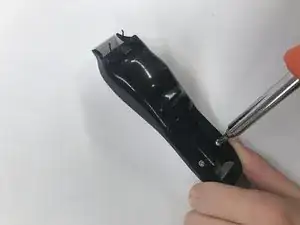
Remove the screws, then gently lift off the blade. A small piece of plastic should come off with the blade. There will be a spring revealed from under the blade, remove this as well.
-
-
-
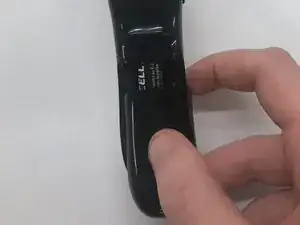
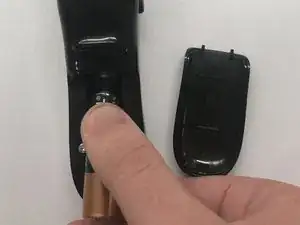
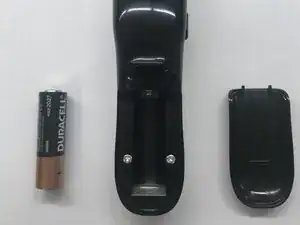
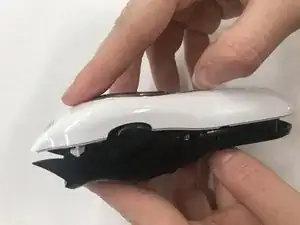
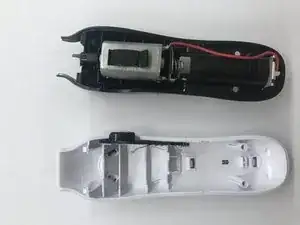
Remove the screws from the sides of the battery compartment. Then, gently separate the two halves of the plastic cover.
-
-
-
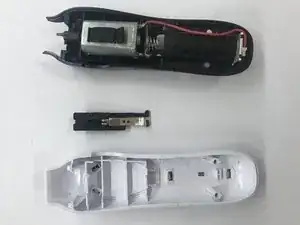
Lay both halves of the trimmer out, and remove the switch from the inside of the white plastic cover.
-
-
-
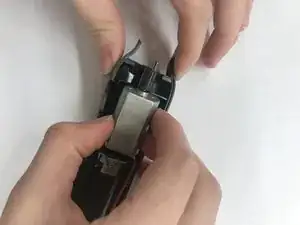
Finally, remove the motor from the black plastic cover. If desired, this motor can be de-soldered from the red wire and re-purposed.
-
