Einleitung
full teardown of the laptop you also will see how you have to replace stuff.
Werkzeuge
-
-
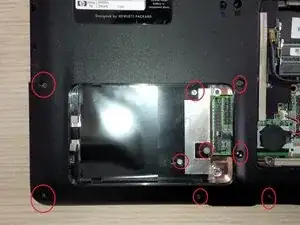
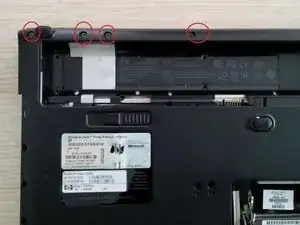
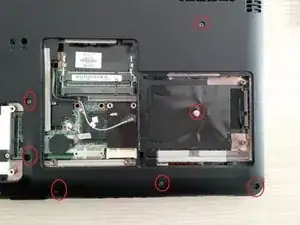
first of all, if you start to work on your laptop make a plane of the screws. Use an magnetic project board. or just paper and tape and draw the plan.
-
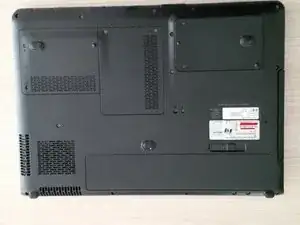
remove the battery, and the 3 panels.
-
-
-
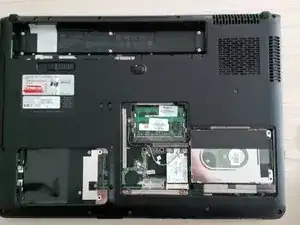
remove the RAM and the HDD.
-
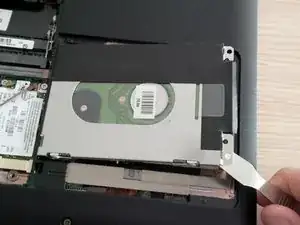
to remove the hdd just lift it up. ( its an sata hdd but they use an IDE adapter.
-
-
-
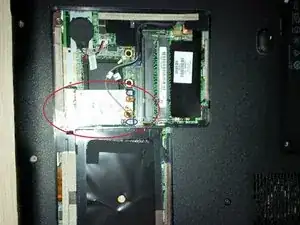
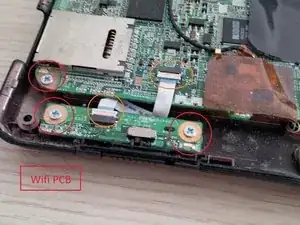
remove the wifi pci-e card and the antennas.
-
it will come out of the screw sockets when you remove the srews.
-
-
-
now we will remove the dvd rw drive.
-
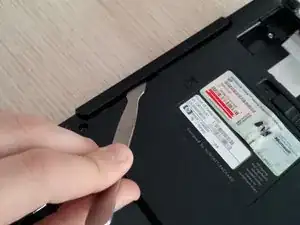
first remove the screw at the back of the laptop (bottom) see first picture
-
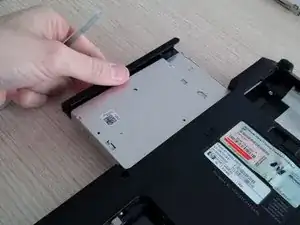
than use a spudger to slide the dvd drive away of the laptop.
-
-
-
in this step we will remove the keyboard.
-
first remove the black screw on the bottom , it's next to the screw of the dvd drive.
-
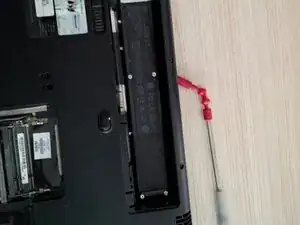
than remove the 6 grey little screws of the battery compartment.
-
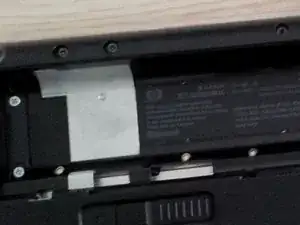
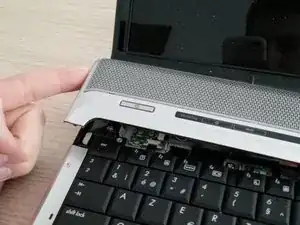
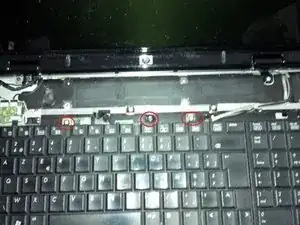
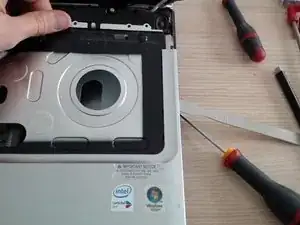
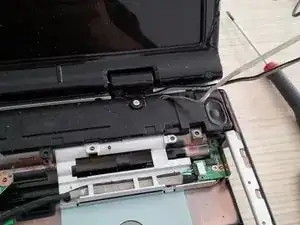
then remove the grey plastic board above the keyboard. see picture 3, to be continued in the next step
-
-
-
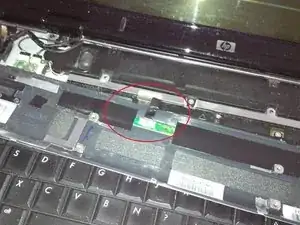
if you remove the grey plastic board be carefull for the wire and socket
-
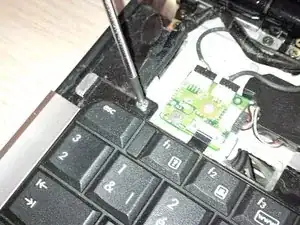
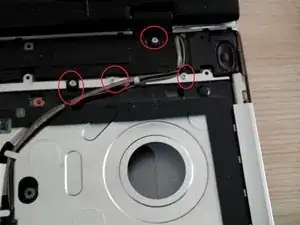
than remove the other screws from the keyboard. see picture 2
-
now you can remove the keyboard.
-
-
-
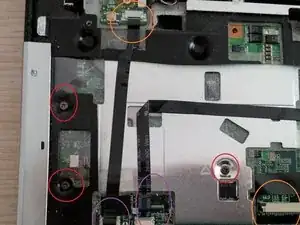
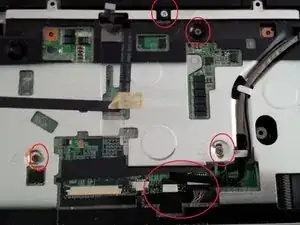
now remove all the other screws on the upper case. (under the keyboard)
-
also remove the cables/wires.
-
the power board is in the left upper corner. be carefull with the sockets.
-
some wires are taped or glued so be carefull.
-
-
-
if every screw and wire is loose then you are ready to remove the grey plastic board (arround the keyboard)
-
slide the spudger arround the case. it's very easy to remove. just hear the clicks.
-
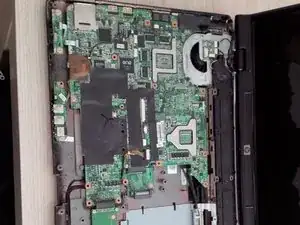
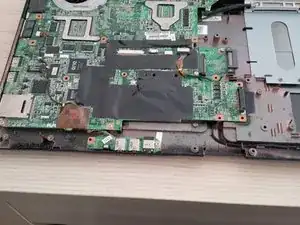
after removing this plastic frame , the main board is visible.
-
-
-
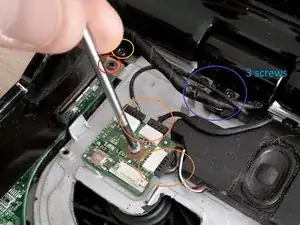
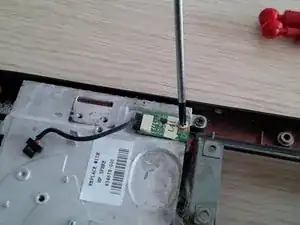
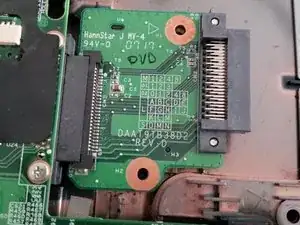
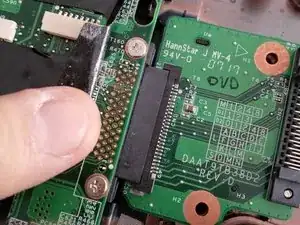
now we will remove the power PCB
-
first remove the connectors but be carefull they are very breakable. and remove the screw, than remove the PCB
-
then remove the red circled screw
-
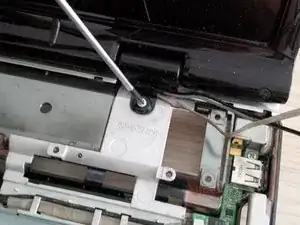
the yellow and 3 blue screws are from the screen henges.
-
-
-
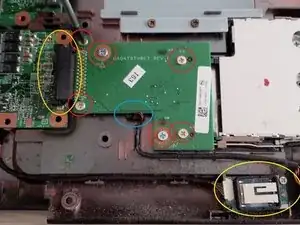
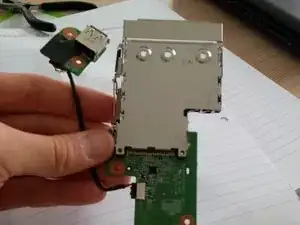
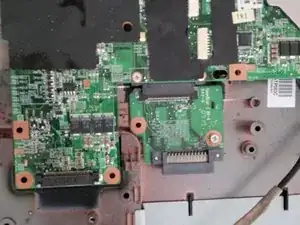
remove usb boards and sd card reader.
-
the yellow circkled PCB below is the Bluetooth PCB. watch out for the connector.
-
the blue circkled connector is the connector of the sd card reader PCB; be carefull if you remove.
-
-
-
remove the PCB for the sound at the side of the frame.
-
remove the loudspeakers and the attached black frame.
-
-
-
before we go further with the PCB's , we will remove the screen.
-
remove the screws of the henges at the 2 sides.
-
-
-
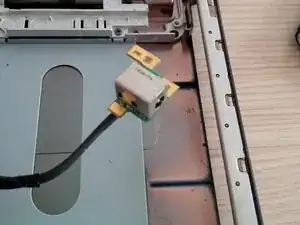
remove the DC jack and usb PCB.
-
arround the dc jack is a metal frame. remove it before you remove the PCB
-
-
-
now remove the last screws of the mainboard. I dont have a picture of the screws .. mea culpa..
-
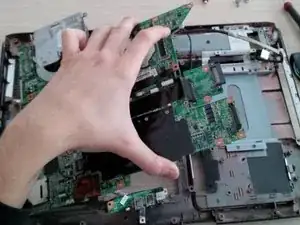
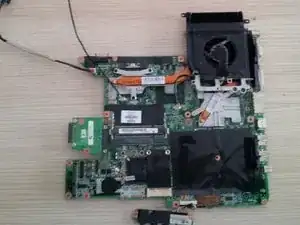
remove the main board.
-
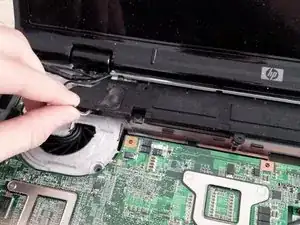
there are litlle black screws arround the fan.
-
-
-
in this step we will begin at the main board or motherboard..
-
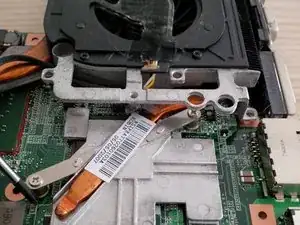
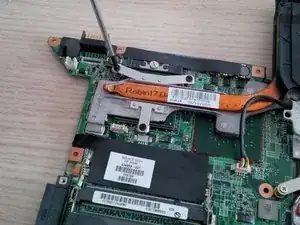
we will remove the fan and cpu cooler.
-
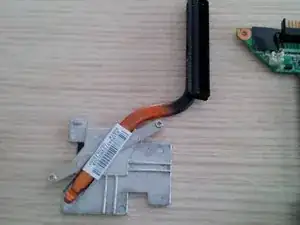
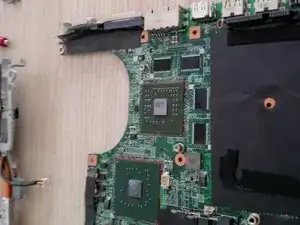
the cpu koeler is in 2 pieces. 1 for the cpu and another chip. than a fan for the Nvidia chip.
-
-
-
remove and clean the pcu fan. in this laptop was a lot of cat hear, that caused a blocked fan.
-
also put new cpu cooling paste on the chips. ( and processor)
-
-
-
now the lcd screen...
-
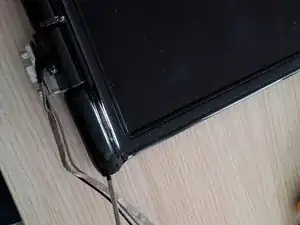
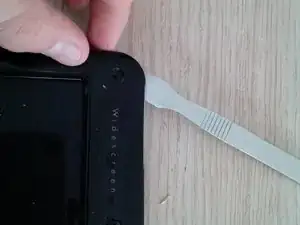
remove the black dots ( the screws are under the black dots)
-
if you removed all the screws than use the spudger or isesamo to open the frame. you will hear the clicks..
-
-
-
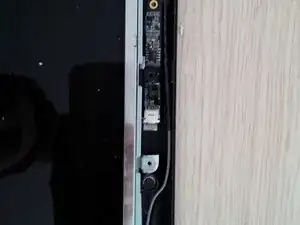
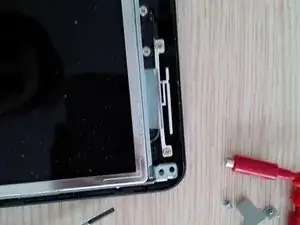
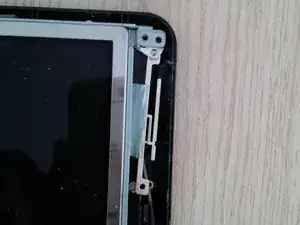
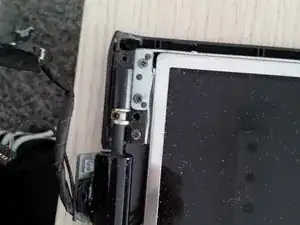
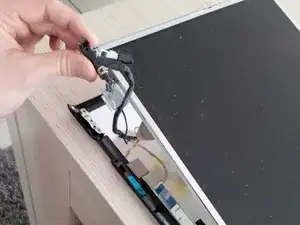
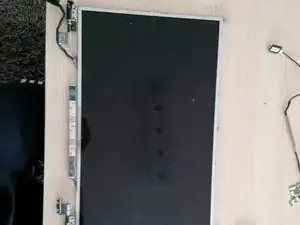
remove all the other screws and henges , so you can remove the lcd screen from the frame.
-
