Einleitung
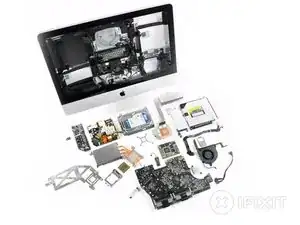
We got up this morning to news that the new iMacs were out, so we knew what we had to do: start sharpening our suction cups!
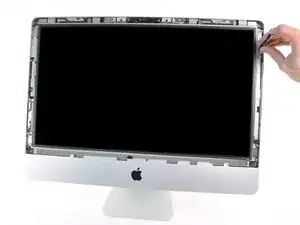
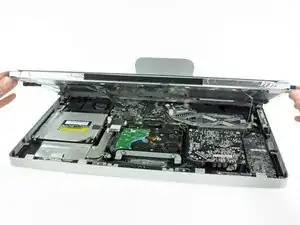
Thankfully, this iMac model opens in the same way as previous generations. All you have to do is pull off the magnetically-held display glass with two medium-size suction cups, and then remove the screws holding the LCD in place.
But what lies inside? Only one way to find out...
Werkzeuge
-
-
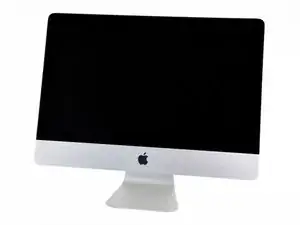
Introducing the new 21.5" iMac, now featuring additional features such as a Thunderbolt port and a quad-core processor.
-
Tech Specs:
-
Quad-core Intel Core i5 with 6MB on-chip shared L3 cache
-
500 GB Western Digital 7200 RPM hard drive
-
4 GB of RAM
-
AMD Radeon HD GDDR5 graphics processor
-
Thunderbolt port
-
802.11n Wi-Fi and Bluetooth 2.1 + EDR
-
-
-
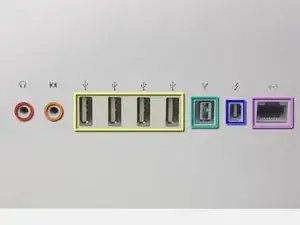
Ports on the backside of the iMac include:
-
Audio line out
-
Audio line in
-
Four USB 2.0 ports
-
Firewire 800 port
-
Thunderbolt port
-
Gigabit Ethernet port
-
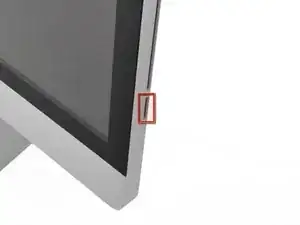
The SDXC card slot is located underneath the optical drive.
-
-
-
We call upon our trusty heavy duty suction cups to aid us in separating the glass panel from the front bezel.
-
The LED-backlit glossy widescreen display is secured to the front bezel by several T10 Torx screws.
-
-
-
We carefully lift the LED-backlit display from its recess in the front bezel.
-
The 21.5-inch (viewable) LED-backlit glossy widescreen TFT display has support for millions of colors, with a maximum resolution of 1920 x 1080 pixels.
-
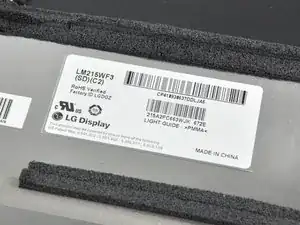
The LED display is manufactured by LG and is denoted by its model number LM215WF3.
-
-
-
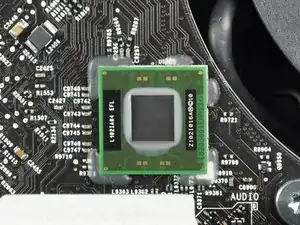
Similar to the Thunderbolt IC we found in the MacBook Pro 15" Unibody Early 2011, the iMac Intel 21.5" EMC 2428 features the Intel L102IA84 EFL Thunderbolt port IC.
-
-
-
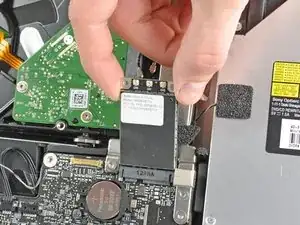
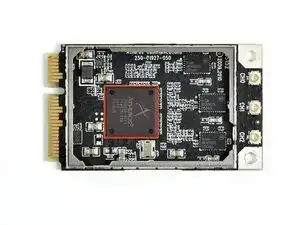
Disconnecting three antennas and removing a few screws allows the AirPort card to pop out of its socket.
-
The big winner in the wireless communication area this time around is Atheros.
-
At the heart of the Wi-Fi card is an Atheros AR9388-AL1A 802.11n wireless LAN chip.
-
-
-
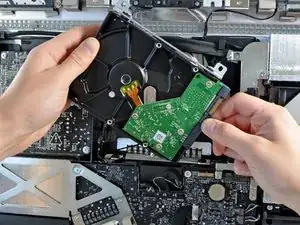
The WD Caviar Blue hard drive is held to the front bezel by a few screws and, as always, the SATA data/power connectors.
-
The WD Caviar Blue drive is a non-standard SATA drive. The power connector features 7 pins, rather than the standard 4. The drive also has non-standard firmware. This means you can only use Apple's own hard drives and not any standard after-market SATA drive.
-
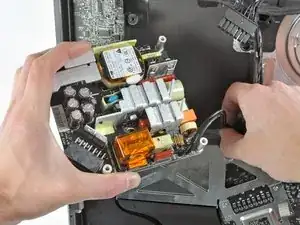
Removing the power supply requires disconnecting the AC inlet cable from the logic board.
-
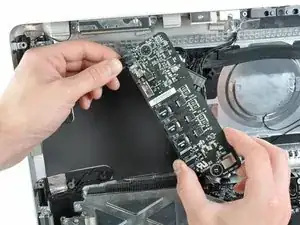
The LED driver board comes out next after successfully removing the power supply.
-
-
-
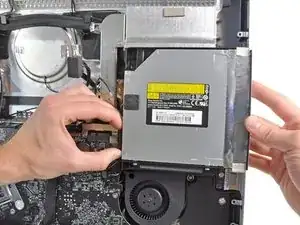
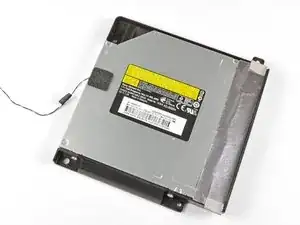
Good-bye optical drive, we hardly knew ye...
-
The new iMac carries a Sony Optiarc optical drive, model number AD-5690H.
-
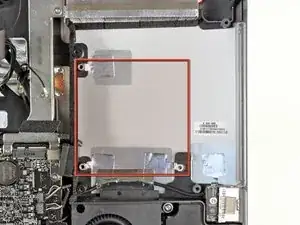
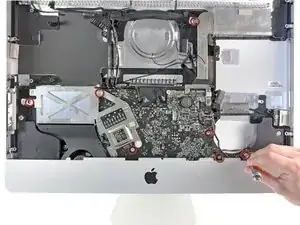
The area shaded in red in the third picture is presumably where the optional SSD is housed. The three mounting points within the shaded area have nothing attached to them in our machine, since this option is only available on 2.7 GHz 21.5" iMacs.
-
-
-
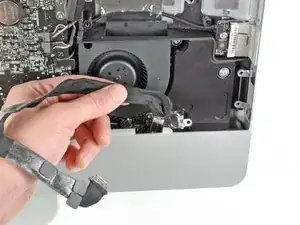
The audio line-in and audio line-out ports are embedded deeply inside the front bezel. After removing their mounting screws, we removed the entire assembly from the case.
-
Another leftover from the previous generation, the IR board, can simply be lifted straight up and removed from the iMac's front bezel.
-
-
-
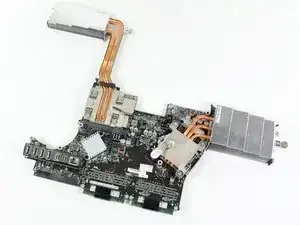
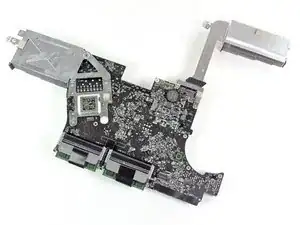
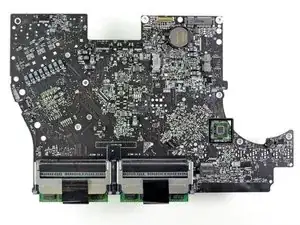
Is it just us, or does the logic board layout (with heat sinks) look a bit like the original Starship Enterprise?
-
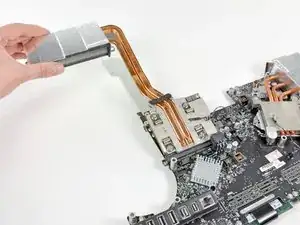
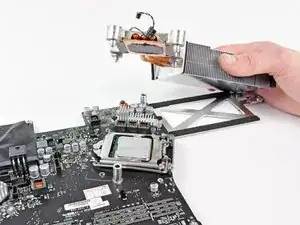
In usual Apple fashion, one heat sink is reserved for the CPU, while the other oversees the GPU.
-
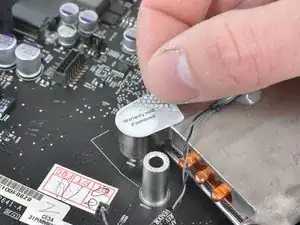
And, in usual Apple fashion, you have to void the warranty in order to get a peep at the processing power underneath.
-
In the RAM department, this iMac has space for four 204-pin PC3-10600 SO-DIMM chips.
-
-
-
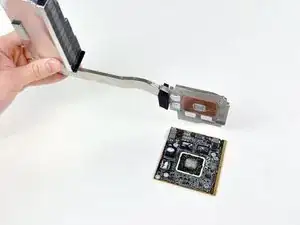
With a bit of magic, the GPU heat sink detaches from the logic board, exposing the AMD GPU.
-
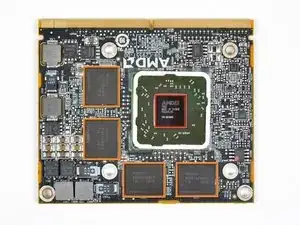
The main chips on the GPU include:
-
AMD Radeon HD 6750M GPU
-
Four Hynix H5GQ1H24AFR T2L 1 Gb GDDR5 SDRAM chips (totaling a cumulative 512 MB)
-
-
-
We'll do almost anything in the name of science.
-
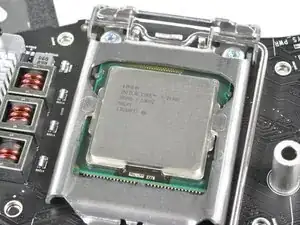
After popping off the CPU heat sink, we can get a good look at the Core i5 processor.
-
Our machine is powered by a quad core 2.5 GHz Core i5-2400S CPU with 6 MB of Intel Smart Cache.
-
-
-
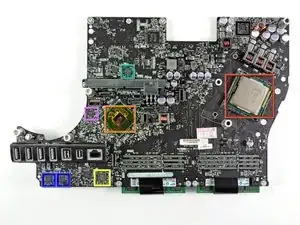
The main chips on the logic board include:
-
2.5 GHz quad-core Intel Core i5-2400S CPU with 6 MB of Intel Smart Cache.
-
Intel BD82Z68 Platform Controller Hub
-
Broadcom BCM57765B0KMLG Integrated Gigabit Ethernet and Memory Card Reader Controller
-
Cirrus 4206BCNZ audio controller
-
SMSC USX2061 (we believe this a USB 2.0 Hub Controller Family)
-
Intersil ISL6364 CRZ Single-Phase Synchronous-Buck PWM voltage regulator for GPU core power applications
-
Intel L102IA84 EFL Thunderbolt port IC
-
-
-
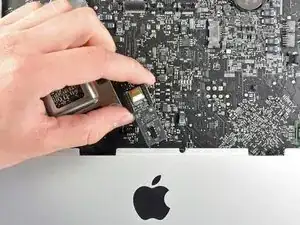
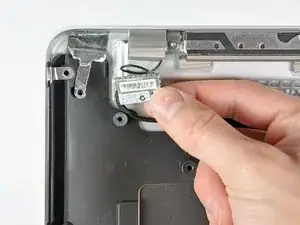
Next, we can remove the Bluetooth board from the iMac.
-
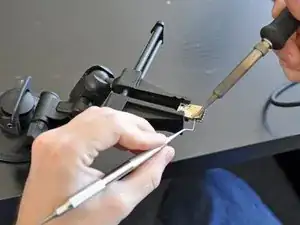
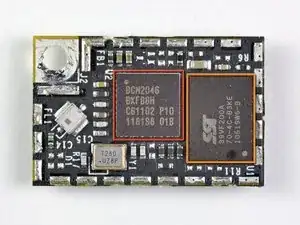
With the help of our trusty iFixit vise (which is made of the same material as our spudgers, and is ESD-safe), we're able to desolder the shield covering the little Bluetooth board to reveal the chip goodies underneath.
-
At its heart lies:
-
Broadcom BCM2046 Bluetooth IC
-
256 KB of SST 39VF200A CMOS Multi-Purpose Flash (MPF)
-
-
-
iMac 21.5" EMC 2428 Repairability Score: 7 out of 10 (10 is easiest to repair)
-
The front glass panel and LCD are quite easy to remove for accessing all the hardware underneath.
-
RAM, hard drive, and optical drive can be replaced with relative ease, as long as you don't mind taking out the LCD (for the drives).
-
Limited use of adhesives (pretty much all the fasteners are mechanical) make disassembly pretty straightforward.
-
Replacing the CPU and GPU is possible to do, but you need to remove the logic board from the computer.
-
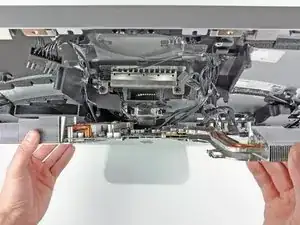
Removing the logic board is a pain, since you have to disconnect a bunch of connectors, and wiggle it out of the machine.
-
Making the LCD and glass spotless when reassembling the machine is nearly impossible. (compressed air is useful when trying to remove dust from the display or glass panel)
-
Like being able to see the guts of your machines? Check out our iPhone 4 transparent rear panel!
-
24 Kommentare
In the location you suspect an SSD to reside (in models so equipped) is a spare power connector and SATA cable connector available to add an SSD drive at a later date?
I'd like to know that, too. If so, it would be awesome!
I'm dying to know this too! Are there power/data cables in place? Are the mounting points ready to accommodate a drive?
I'm afraid this teardown won't answer these questions. Will you be cracking open a 27" unit?
The cable was not there, but there is an extra standard SATA data socket on the board along with a proprietary power socket labeled "SSD Power". Not sure where you could get the cable to make it work though.
In step 11 you mention how lifting the heat sink off will void the warranty.
Surely you have voided the warranty already by now.
Can I open up my brand new iMac, put in a better hard drive and still be within my warranty? I am guessing I would be laughed right out of the genius bar, but if it isn't so .. do tell.
We didn't see any tamper-evident seals on any component other than the CPU heat sink. If you were careful and clean about things, I don't see how they could prove that you opened your iMac and swapped out a hard drive if you put the OEM hard drive back in when you would theoretically take it in for service. I thought it was pretty surprising that they didn't even put a seal on the GPU screws.
If you replace the hard drive with another one, you can end with HDD fan blowing at full speed constantly (that is rather noisy).
You will need an HDD with Apple firmware.
Also, get an anti-static brush for cleaning the display and glass.
Is that 204-pin pc3-10600 SO-DIMM chips?
That is correct.
