Einleitung
We disassembled this iPod on September 13, 2006.
Werkzeuge
-
-
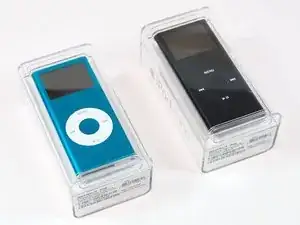
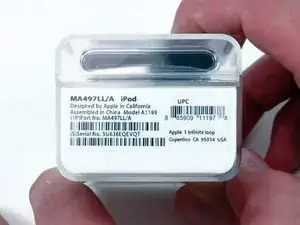
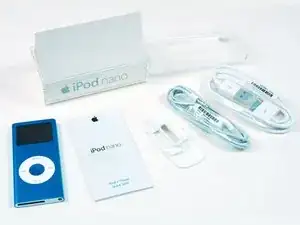
Before we take it apart, here's some images of the new packaging.
-
Here's the sexy, new, 52% less volume packaging Steve was so excited about.
-
-
-
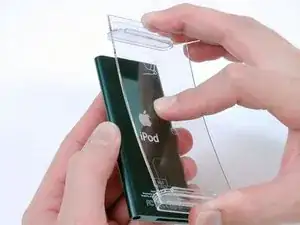
The new packaging is innovative. Plastic retainers hold the iPod on top and bottom, and you must flex the plastic packaging to get the iPod out.
-
-
-
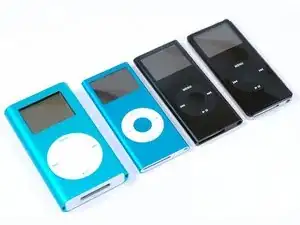
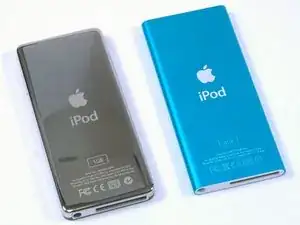
Meet the family. From left to right: Mini, new blue Nano, new black Nano, old black Nano.
-
Ah, what to call it? iPod Nano Gen 2? iPod Mini Gen 3? Remastered iPod Nano? We vote for 'that little blue music thingy.'
-
-
-
Goodies! Left to right:
-
iPod
-
Fold-out quick start guide (includes two small white Apple stickers)
-
Plastic 'dock'
-
New earbuds
-
USB docking cable
-
The center button is concave, as opposed to the old Nano (flat), and old Mini (convex).
-
-
-
On to the disassembly!
-
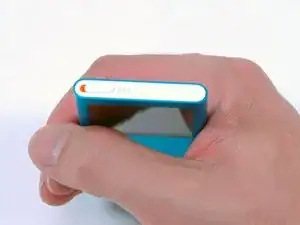
Before opening your iPod, ensure that the hold switch is in the locked position.
-
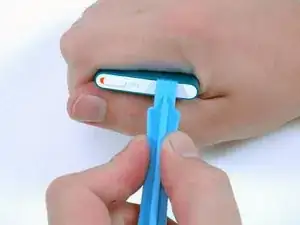
Opening the iPod can be challenging. Don't get discouraged if it takes you a few tries before the iPod is opened.
-
-
-
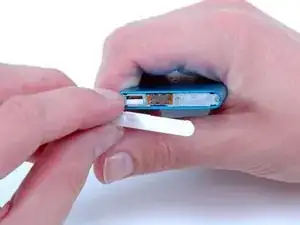
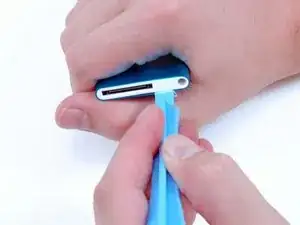
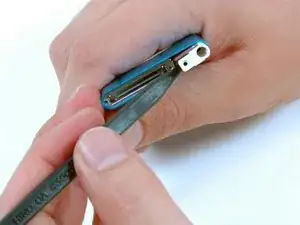
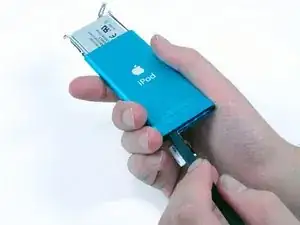
Carefully insert an iPod opening tool in the seam between the metal casing and white plastic top. Be careful not to damage the soft plastic with your tool.
-
-
-
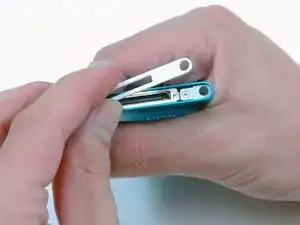
Lift the bottom bezel off. It's glued on using a mild adhesive, so some force may be required.
-
-
-
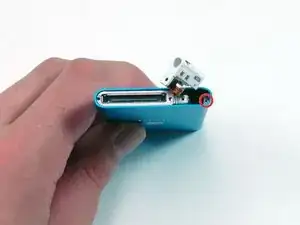
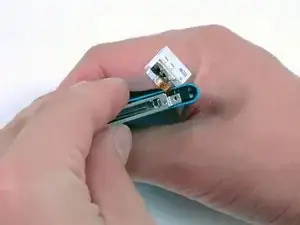
Pry out the headphone jack slowly with a spudger. Do not remove the headphone jack entirely, as it is connected via a fragile ribbon connector to the click wheel.
-
-
-
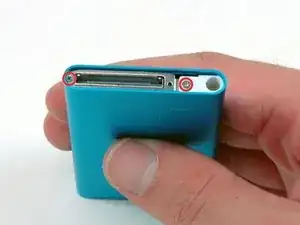
Once you have pulled the headphone jack out of its slot, remove the Phillips #00 screw formerly concealed beneath it.
-
-
-
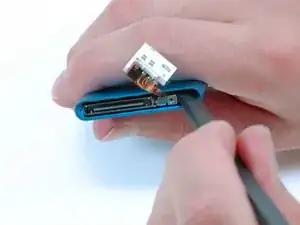
Disconnect the headphone and click wheel cable from the logic board. It's tricky to see what you're doing, so you'll have to feel the connector inside the iPod with the spudger.
-
-
-
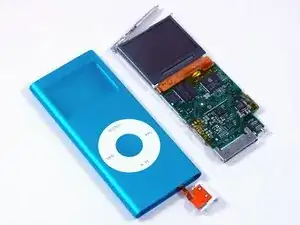
Use a spudger to push the logic board assembly out of the casing. The click wheel and headphone jack should remain in the iPod.
-
-
-
Pry the metal bracket off the back of the display. Make sure you only pry off the bracket and not the clear shielding on the rear of the display.
-
-
-
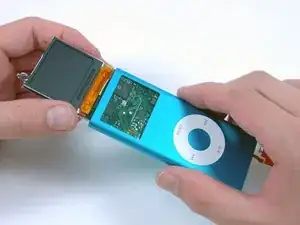
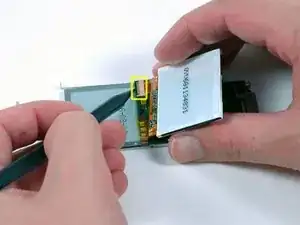
Lift up the display and use a spudger to flip up the black plastic retaining bar holding the display ribbon cable in place.
-
-
-
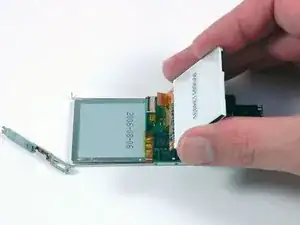
Slide the display ribbon out of its connector and lift the display off of the logic board.
-
-
-
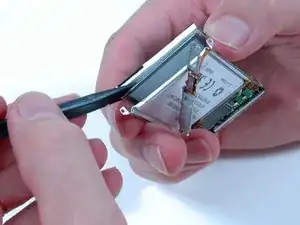
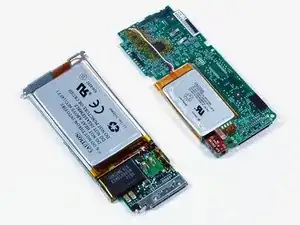
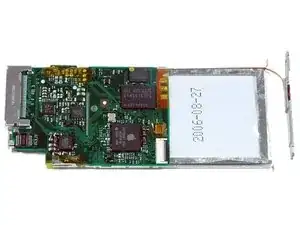
Left: new Nano logic board and battery.
-
Right: old Nano logic board and battery.
-
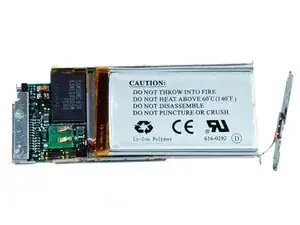
The new battery is thinner, but significantly larger.
-
The new Nano uses Samsung flash memory, just like the previous model.
-
-
-
Close up of logic board. Here's some extra-large top and bottom logic board photos.
-
Notice the Apple logo on the ARM chip. The numbers on it read: 33753291 8701 N02R5Q5 0627 ARM.
-
That's it, folks! We sell parts for iPods (including this one), so check out our iPod parts store to fix up your old and broken iPods.
-
2 Kommentare
sera que lo puedo pintar su skin es plomo pero quiero que sea azul.
I can’t do this as my iPod has dents where the screws are
