Einleitung
Ersetze ein beschädigtes oder nicht funktionierendes LCD an einem iPad 6.
Sei äußerst vorsichtig, wenn du den Akku mit einem Akkutrennstück ("Akkublocker") abtrennst: Die Kontakte am Akku sind sehr empfindlich und können dauerhaft beschädigt werden. Wenn du trotzdem den Akku auf diese Weise isolieren willst, dann befolge die Warnhinweise ganz genau und arbeite sehr sorgfältig. Wenn du aber weiterarbeitest, ohne den Akku zu isolieren, dann vermeide den Gebrauch von Metallwerkzeugen, außer wo unbedingt notwendig (z.B. um Schrauben zu entfernen). Dadurch beugst du einem Kurzschließen des Akkus und der empfindlichen Elektronik vor.
-
-
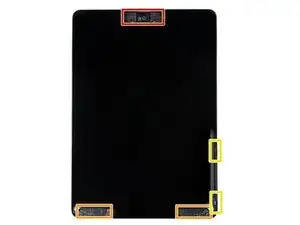
Während du darauf wartest, dass der Kleber weich wird, schaue dir die Stellen an, an denen das Hebeln gefährlich ist:
-
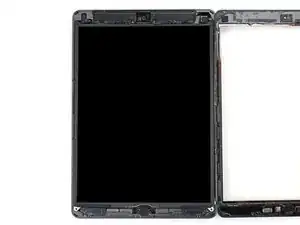
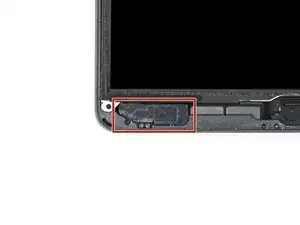
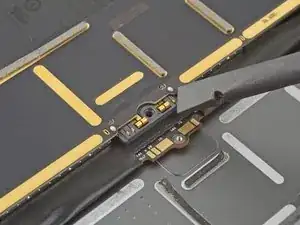
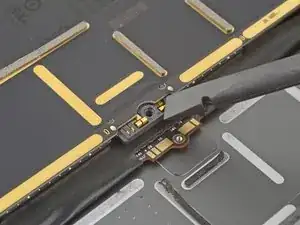
Frontkamera
-
Antennen
-
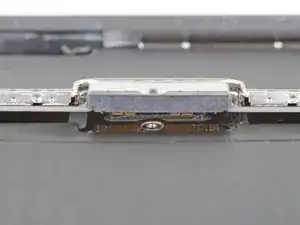
Displaykabel
-
-
-
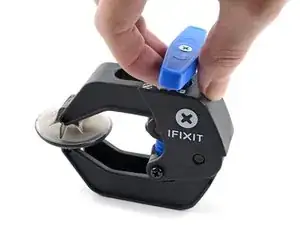
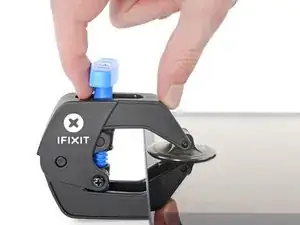
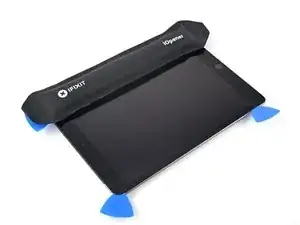
Drücke den blauen Griff zurück, um die Arme zu entriegeln.
-
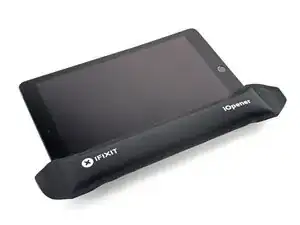
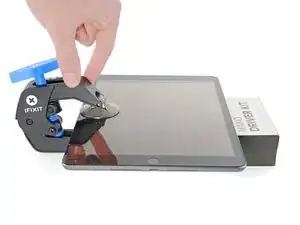
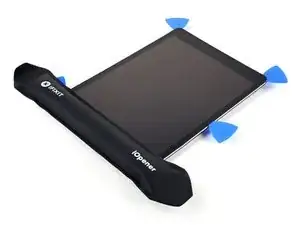
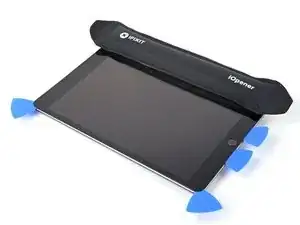
Lege das iPad so auf einen Gegenstand, dass es waagrecht auf gleicher Höhe zwischen den beiden Armen liegt.
-
Bringe die Saugheber mittig nahe an der linken Kante des iPads an, einen auf der Vorderseite, den anderen auf der Rückseite.
-
Halte die Anti-Clamp unten gut fest und drücke fest auf den oberen Saugheber, damit er sich festsaugt.
-
-
-
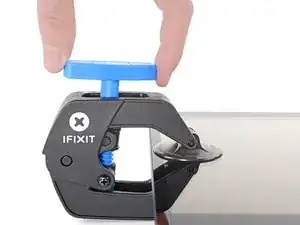
Drücke den blauen Griff vorwärts, um die Arme wieder zu verriegeln.
-
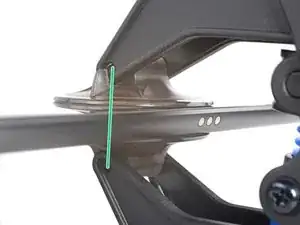
Drehe den Griff eine volle Umdrehung im Uhrzeigersinn, bzw. so weit, bis du merkst, dass sich die Saugheber dehnen.
-
Achte darauf, dass sich die Saugheber weiterhin gegenüber stehen. Wenn sie sich nicht mehr gegenüber stehen, dann löse die Saugheber ein wenig ab und schiebe sie in die richtige Position.
-
-
-
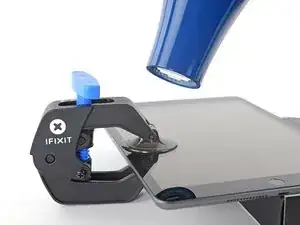
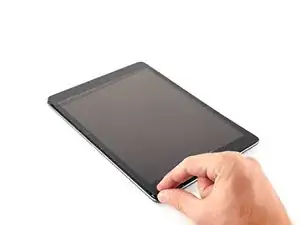
Warte eine Minute, damit sich der Kleber allmählich ablösen und sich ein Spalt bilden kann.
-
Wenn das Display nicht heiß genug ist, dann erwärme die linke Kante des iPads mit einem Haartrockner.
-
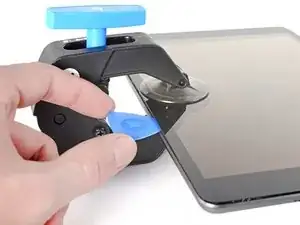
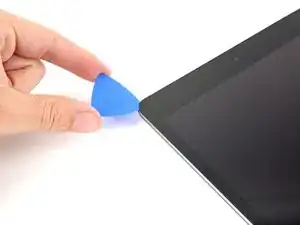
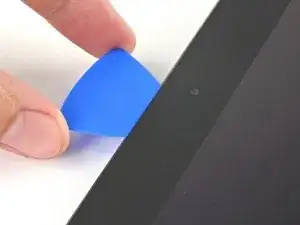
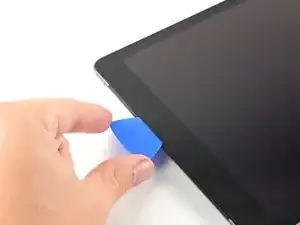
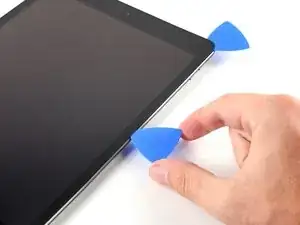
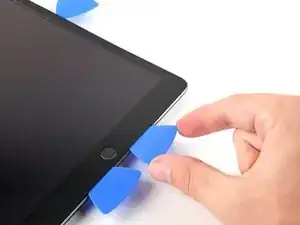
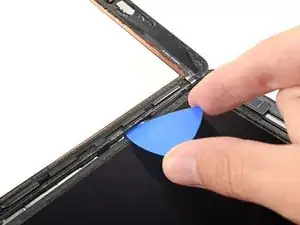
Wenn der Spalt groß genug ist, dann setze ein Plektrum unter den Touchscreen ein.
-
Überspringe den nächsten Schritt.
-
-
-
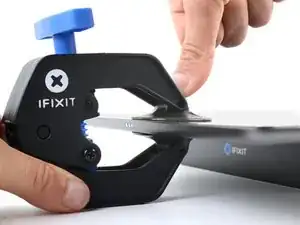
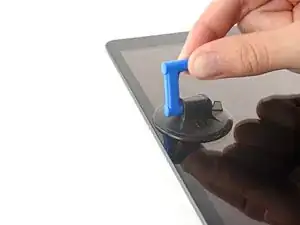
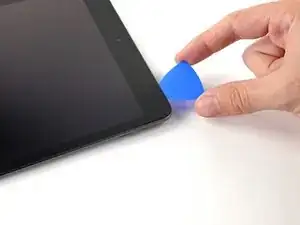
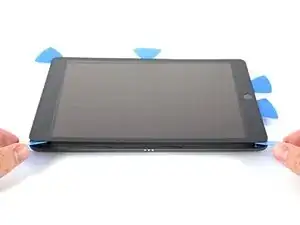
Wenn das Display zu heiß zum Anfassen ist, bringe einen Saugheber am linken Rand des Displays so nahe wie möglich an der Seitenkante an.
-
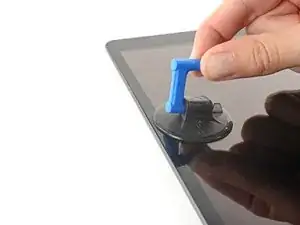
Hebe das Display mit dem Saugheber an, bis ein schmaler Spalt zwischen dem Touchscreen und dem Rahmen entstanden ist.
-
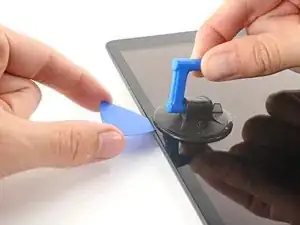
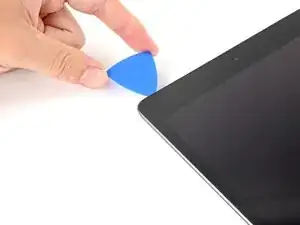
Setze ein Plektrum in den Spalt zwischen dem Touchscreen und dem Rahmen ein.
-
-
-
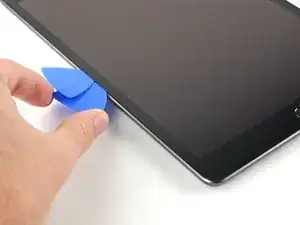
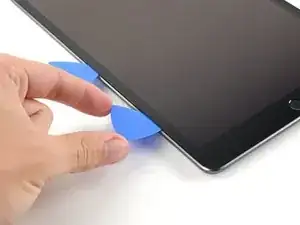
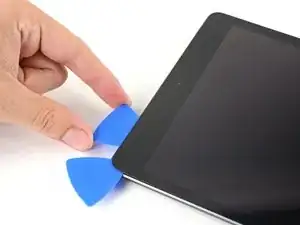
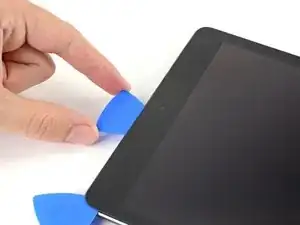
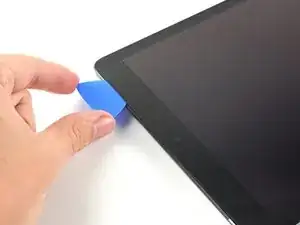
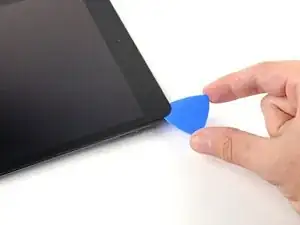
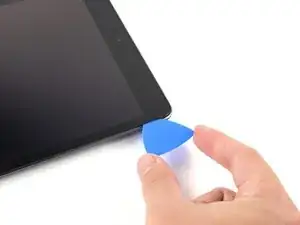
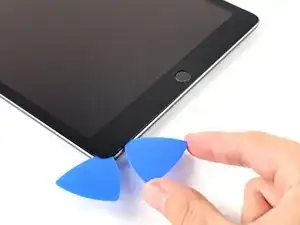
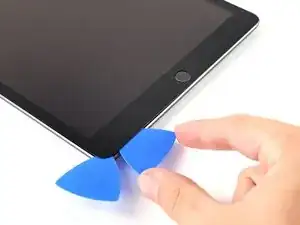
Setze ein zweites Plektrum in den eben erzeugten Spalt ein.
-
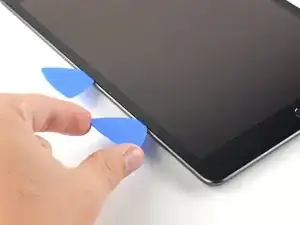
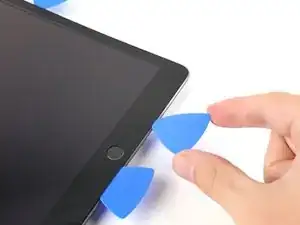
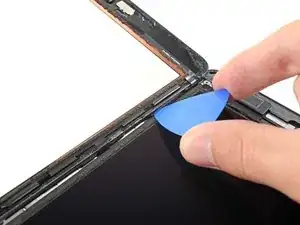
Schiebe das Plektrum zum Auftrennen des Klebers zur unteren linken Ecke des Gerätes hin.
-
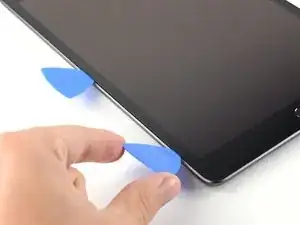
Lasse das Plektrum in der unteren linken Ecke stecken, damit sich der Kleber nicht wieder verbinden kann.
-
-
-
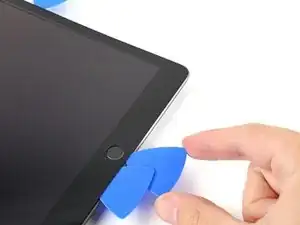
Wenn das Plektrum im Kleber stecken bleibt, dann "rolle" das Plektrum an der Seite entlang, um den Kleber weiter aufzutrennen.
-
-
-
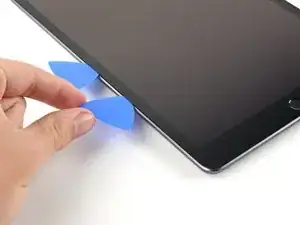
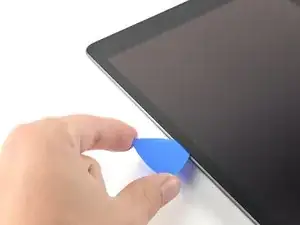
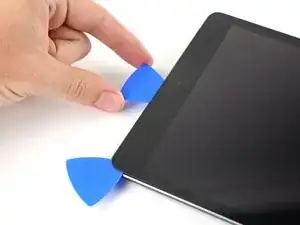
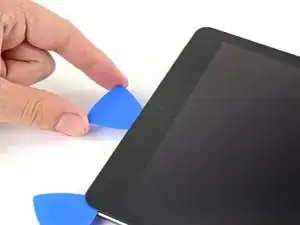
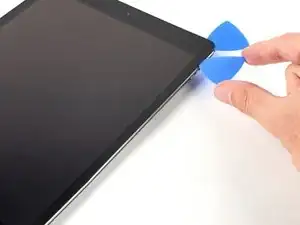
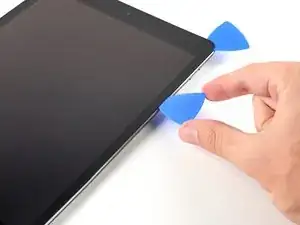
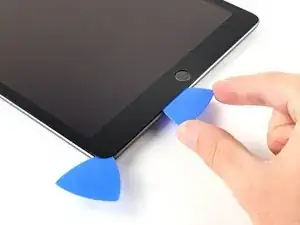
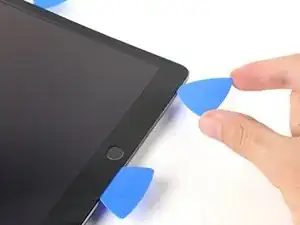
Schiebe das erste Plektrum zum Auftrennen des Klebers zur oberen linken Ecke des Gerätes hin.
-
Lasse das Plektrum in der oberen linken Ecke stecken, damit sich der Kleber nicht wieder verbinden kann.
-
-
-
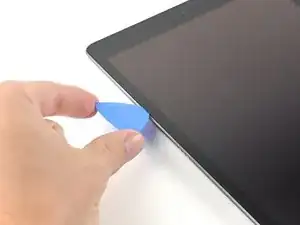
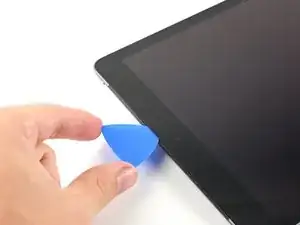
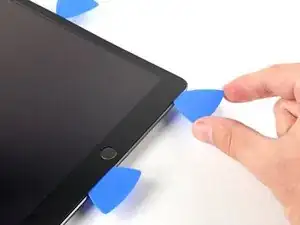
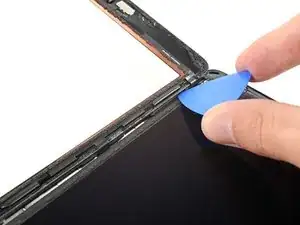
Schiebe das Plektrum an der Oberkante des Gerätes entlang, halte unmittelbar vor der Frontkamera an.
-
-
-
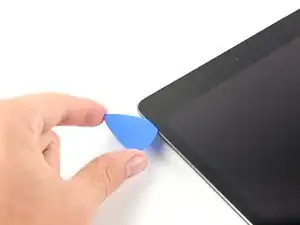
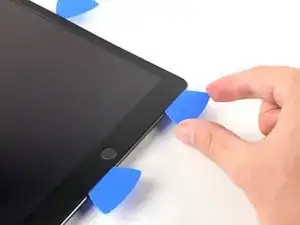
Ziehe das Plektrum heraus, bis es nur noch mit der Spitze zwischen Touchscreen und Rahmen steckt.
-
Schiebe das Plektrum über die Kamera weg und trenne den Kleber auf.
-
Lasse das Plektrum gleich rechts neben der Kamera stecken, bevor du weiterarbeitest.
-
-
-
Setze das Plektrum wieder ein und schiebe es zur oberen rechten Ecke hin, um den Kleber ganz aufzutrennen.
-
Lasse das Plektrum in der oberen rechten Ecke stecken, damit sich der Kleber nicht wieder verbinden kann.
-
-
-
Setze ein weiteres Plektrum ein und schiebe es bis zur Mitte der rechten Seitenkante hin.
-
-
-
Schiebe das Plektrum unten links zur unteren linken Ecke hin und trenne den Kleber auf.
-
Lasse das Plektrum in der Ecke stecken und gehe zum nächsten Schritt über.
-
-
-
Setze ein weiteres Plektrum in den eben an der Unterkante des iPads erzeugten Spalt ein.
-
Schiebe das Plektrum über die Antenne weg, halte kurz vor dem Home Button an.
-
Lasse das Plektrum links vom Home Button stecken und arbeite dann weiter.
-
-
-
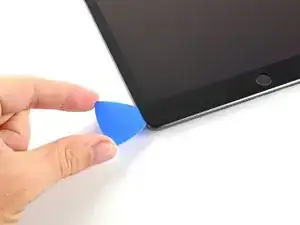
Setze ein Plektrum in den eben erzeugten Spalt ein.
-
Schiebe das Plektrum unter den Home Button und zur unteren rechten Ecke hin. Achte darauf, dass das Plektrum nur mit der Spitze zwischen Touchscreen und Rahmen ist.
-
-
-
Setze das Plektrum wieder tiefer ein und schiebe es zum Auftrennen des Klebers in Richtung Home Button.
-
Lasse das Plektrum rechts vom Home Button stecken und arbeite dann weiter.
-
-
-
Verdrehe die beiden Plektren in den linken Ecken des iPads bis sich der Touchscreen leicht anhebt, um so die letzten Klebestellen aufzutrennen.
-
-
-
Hebe den Touchscreen an der linken Kante nach oben, um den Kleber an der rechten Seitenkante weiter aufzutrennen.
-
-
-
Halte den Touchscreen fest und schiebe gleichzeitig ein Plektrum zwischen die beiden Displaykabel, um den letzten Kleber aufzuschneiden.
-
-
-
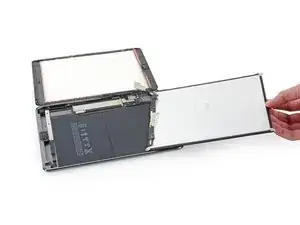
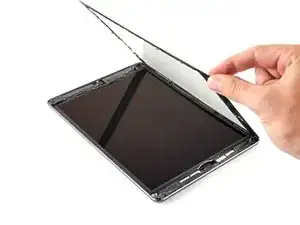
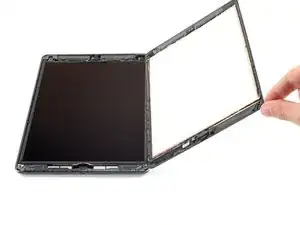
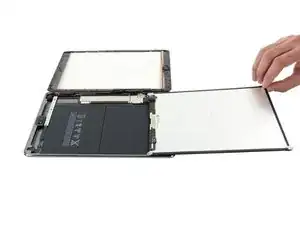
Wenn der Kleber komplett aufgetrennt ist, dann öffne den Touchscreen wie ein Buch und lege ihn parallel zum iPad hin.
-
-
-
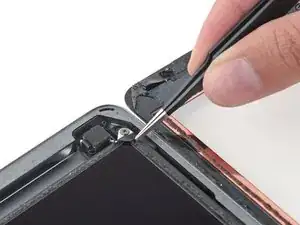
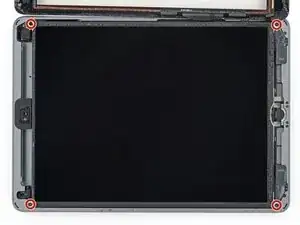
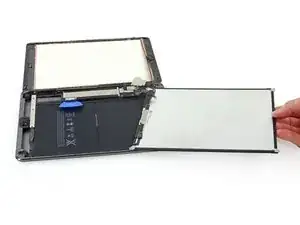
Heble das LCD mit dem flachen Ende des Spudgers gerade soweit aus seiner Vertiefung heraus, dass du es mit den Fingern fassen kannst. Möglicherweise sind um die Schraubenlöcher noch Reste des Klebers, beseitige diese mit einem Messer.
-
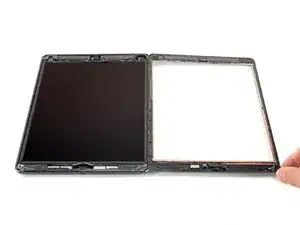
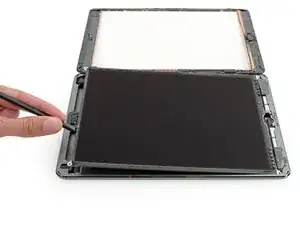
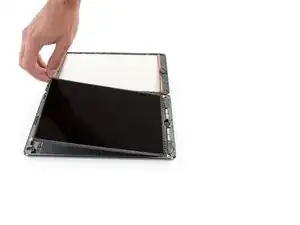
Schlage das LCD wie eine Buchseite um, wobei du es in der Nähe der Kamera hochhebst und um das Ende des Gehäuses mit dem Home Button wendest.
-
Lege das LCD mit dem Glas nach unten, so dass du an die Displaykabel herankommst.
-
-
-
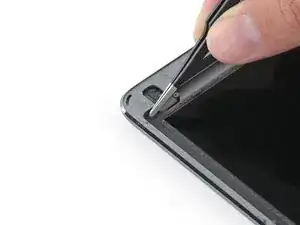
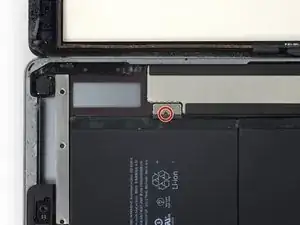
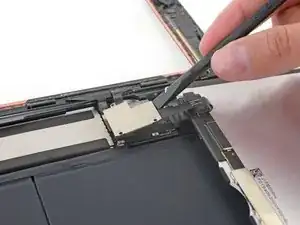
Entferne die einzelne 2,3 mm Kreuzschlitzschraube #000, welche den Akkustecker am Logic Board befestigt.
-
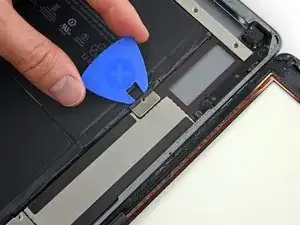
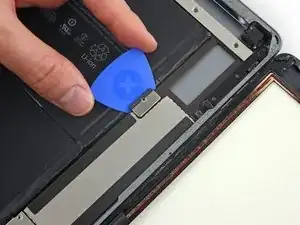
Das Werkzeug muss im weiteren Verlauf der Reparatur stecken bleiben.
-
-
-
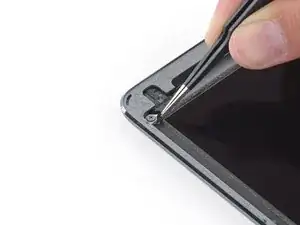
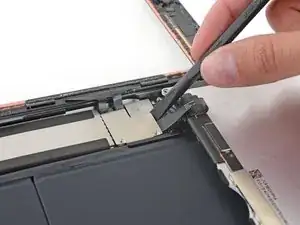
Entferne die drei 1,4 mm langen Kreuzschlitzschrauben #000 von der Halterung des Displaykabels.
-
-
-
Heble vorsichtig mit dem flachen Ende des Spudgers die Displaykabelhalterung gerade vom Logic Board hoch.
-


Befolge diese Anleitung in umgekehrter Reihenfolge, um das Gerät wieder zusammenzusetzen.

12 Kommentare
No comments…. No one is brave enough to attempt this :)
I tried to replace the LCD with the iPad AIR 1 LCD and is NOT compatible. It fits and the connector is the same but shows just like tv static noise.
I have same issue, but with LCD iPad 5, some idea to make it compatible.
I replaced the front screen and now the number 9 on the passcode keypad isn’t working. I don’t get it.
I’m having the same issue! Different numbers, but same issue. Just certain sections of the screen won’t respond to touch.