Einleitung
While the official Service Manual p381 "explains" how to replace the bulbs, it is not very detailed, or obvious how to remove the bulb holder from the plastic assembly.
"Time Estimate" is if the screws are in good order - mine were very rusty so took longer to remove!
Werkzeuge
Ersatzteile
-
-
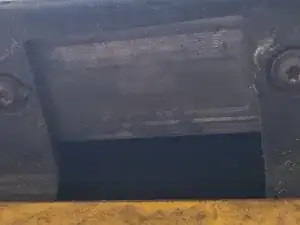
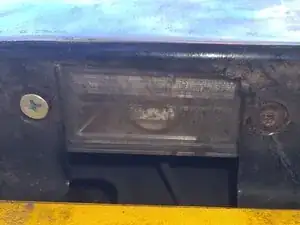
The assembly is held in with 2 Torx T20 self-tapping screws.
-
Unscrew each one - you should hold the assembly in the middle through the hole to stop the light fixture rotating after the first screw has been removed
-
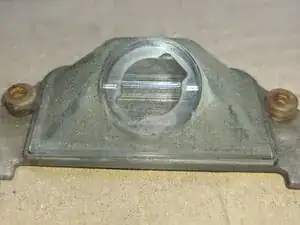
Once both screws have been removed, you can use your fingers to angle the light fitting through the hole, so it is dangling down near the licence plate
-
Hold the bulb attachment in one hand, and the clear plastic housing in the other, and twist the bulb socket around 45 degrees anticlockwise.
-
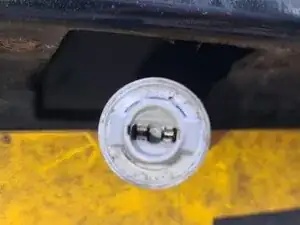
You should then be able to pull the bulb socket out of the plastic housing
-
-
-
The bulb just pulls out from the bulb holder
-
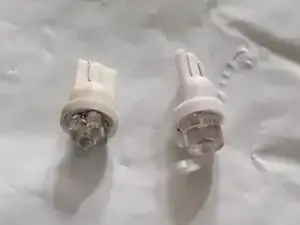
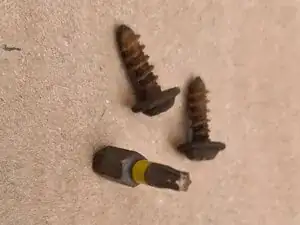
See examples of W5W bulbs (one of them was probably an original)
-
Push the replacement bulb into the holder, and make sure it is a tight fit
-
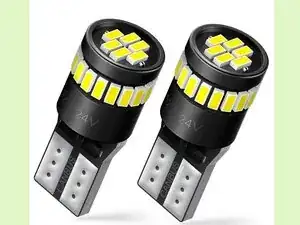
Note that I replaced mine with brighter, larger LED bulbs (see image 3), and they fitted easily with room to spare
-
Before replacing everything, insert the key into the ignition and turn to at least the first position, and then turn the lights on to see that the bulb works - some bulbs (esp LEDs) apparently may only work in one direction
-
-
-
Push the bulb holder back into the plastic housing, and twist the bulb holder 45 degrees clockwise to secure it
-
Fit the housing through the hole, and line up the holes in the plastic housing with the holes in the bumper
-
Hold the plastic housing while the first screw is being put back in, as the housing can rotate
-
Put the second screw back in
-
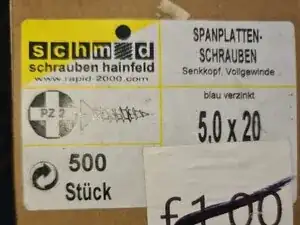
Note, if the screws are too rusty or chewed up, I have found you can use some 5.0 x 20 PZ 2 screws as a replacement
-
This guide would not be needed if the official manual was better!