Einleitung
Is the vinyl headband on your headphones cracking, disintegrating, peeling or just boring? Replace it!
The procedure is similar for any other headphones where the headband is held in place by screws and clamps.
Werkzeuge
Ersatzteile
-
-
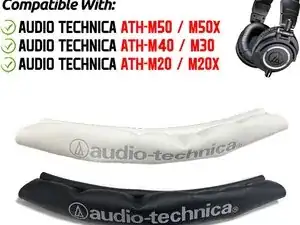
A lot of Audio Technica headphones use the same size headbands and/or ear cushions, so the same spare parts are often advertised for multiple models.
-
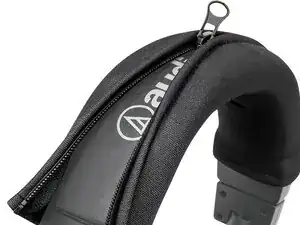
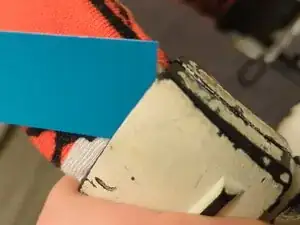
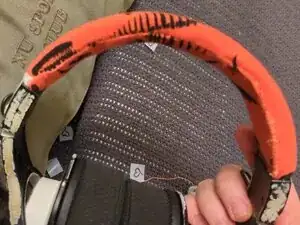
If you don't want to sew, or are in a hurry, you can skip all the following steps and use a zip-on or button-on headband cover (second image).
-
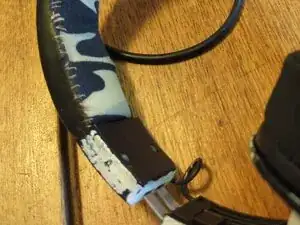
Featuring my already modified headphones. Rough pattern for sewing a new headband coming soon.
-
-
-
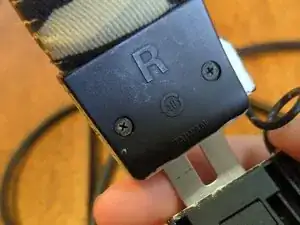
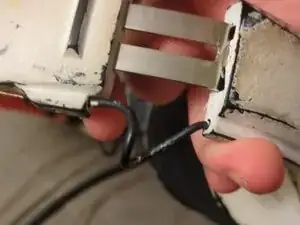
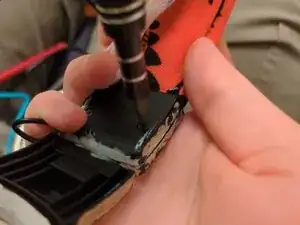
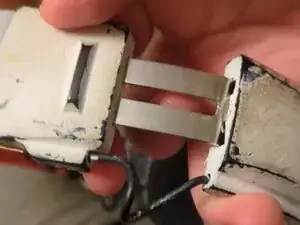
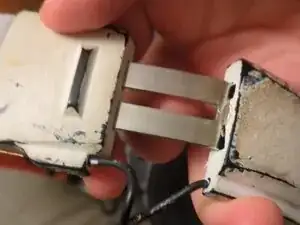
Use a Phillips #00 screwdriver to loosen the two screws at each end of the headband.
-
Don't remove them altogether, or the two metal wires inside will pop out.
-
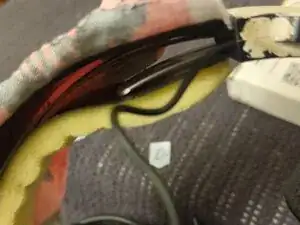
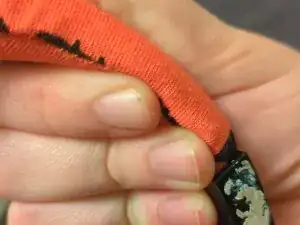
Pull the ends of the headband out of the plastic clamp.
-
If it's stuck, try slicing open the headband first.
-
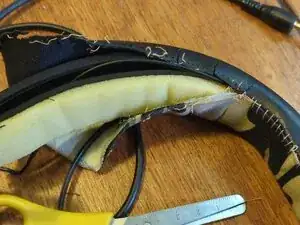
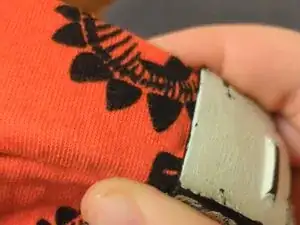
Slice open one of the side seams along the entire length of the headband.
-
Go for the front seam (the side furthest from the overhead cable) to avoid cutting the cable.
-
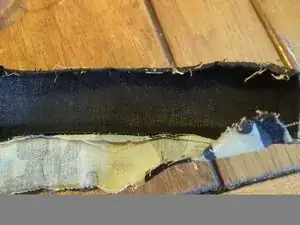
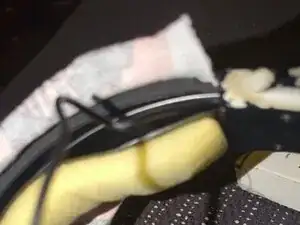
Peel off the old headband cover, leaving the pieces of foam and plastic in place.
-
-
-
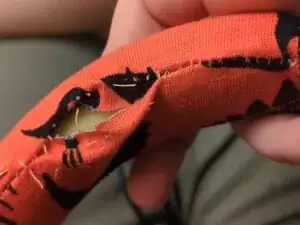
This cable fits between the underside of the headband and the yellow foam insert. It's a bit longer than the headband, probably to avoid putting any tension on it when wearing the headphones.
-
-
-
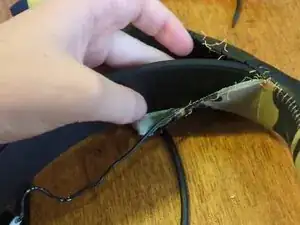
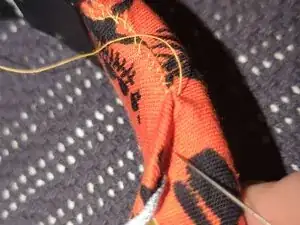
Wrap the new headband around the top of the headphones and start sewing it shut from one end. For best results take all the slack out of the stitches as you sew.
-
Make sure to keep the thin black cable inside, between the yellow inner layer of foam and the headband cover.
-
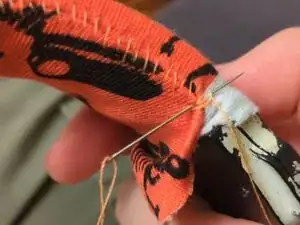
If your are using stretchy material, especially for the top of the headband, make sure to pull it quite tight around the headphones while sewing.
-
When you get to the other end, secure the seam with a few overlapping stitches.
-
-
-
Use an opening pick or plastic card to push the ends of the headband into the plastic clamps at each end.
-
Stuff the fabric in all the way around, and tighten the plastic clamps to hold it in place.
-
When tightening the clamps, squeeze them shut first, and hold them shut while tightening the screws.
-
You can put double-sided tape on the fabric if it seems to be slipping out of the clamps after tightening.
-
-
-
If the headband is too loose, just cut open the loosest stitches. From here you can tuck in a bit more fabric and sew it up tighter. For stretch fabric, tighter is better. The stiffness (or tension) of the material will help hold the sliding metal rails flat inside the headband.
-
-
-
Test the size adjustment on the headphones to make sure it moves smoothly (but not too smoothly).
-
If the ends of the headband bulge when stretching the headphones, then there is too much slack in the fabric to hold the sliding rails in place.
-
Enjoy your refurbished (or customized) headphones!