Einleitung
Use this guide to replace the battery in your BUSY Bar or to remove it before disposing of the device.
Werkzeuge
-
-
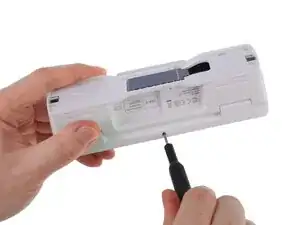
Use a plastic card to release one of the clips near the center at the bottom of the back cover.
-
Gently release the remaining clips until the back cover comes off completely.
-
-
-
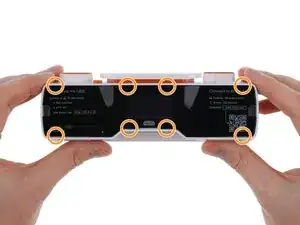
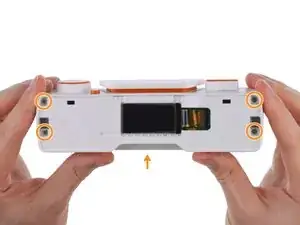
Use a PH1 Phillips screwdriver to remove 1 screw from the bottom and 4 screws from the back of the device.
-
-
-
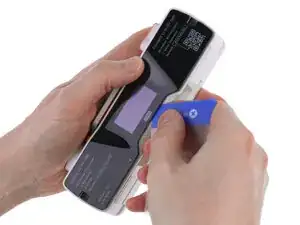
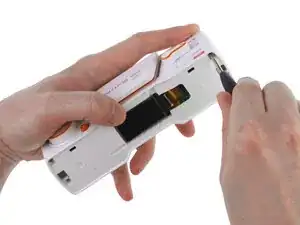
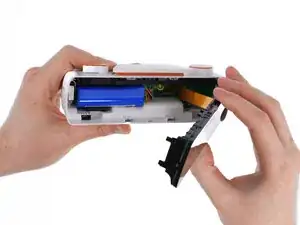
Use a plastic card to release the 2 latches on top of the front display.
-
Gently pull the front display unit out toward the right.
-
-
-
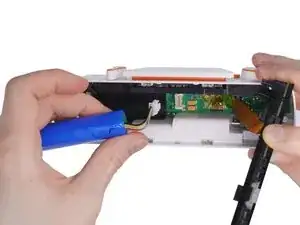
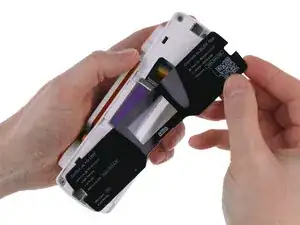
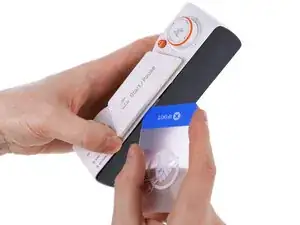
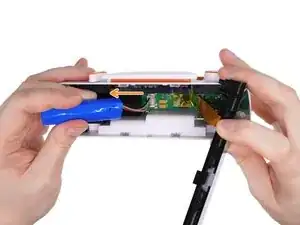
Gently move the battery to the left so you can access the connector.
-
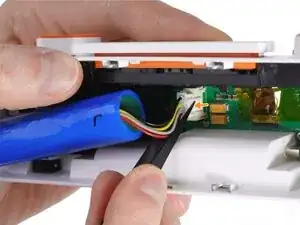
Use tweezers or your fingertip to press the connector latch.
-
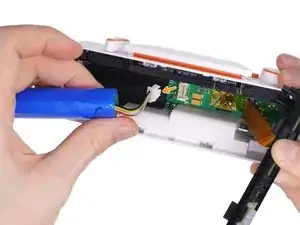
Pull the battery connector to disconnect it from the PCB.
-

To reassemble your device, follow these instructions in reverse order.