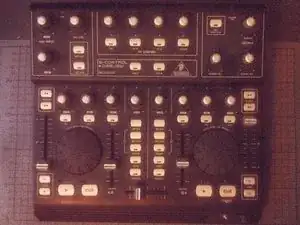
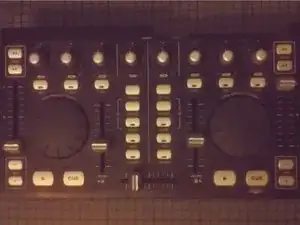
Einleitung

  1. FJ2FJELAX1rmbjej
    • Ziehe alle Kabel ab.

  2. 62LnYcDOY4NIVtNM
    62LnYcDOY4NIVtNM
    OD1GPkBmK4h4MVMZ
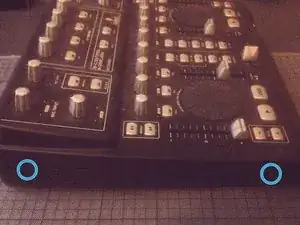
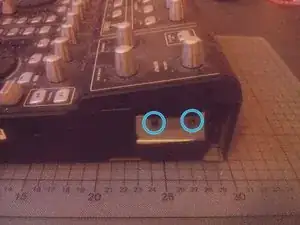
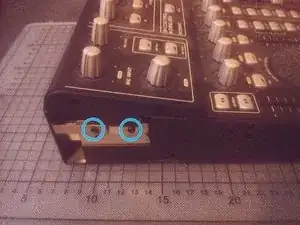
    • Entferne die beiden Kreuzschlitzschrauben auf jeder Seite.

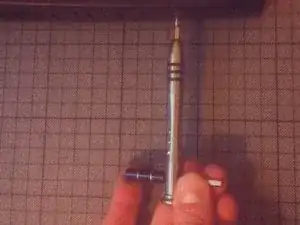
    • Wenn die Schrauben zu fest sitzen kannst du für einen größeren Drehmoment die Wellenverlängerung benutzen.

  3. 6LP5QTR1yAYT4nxO
    6LP5QTR1yAYT4nxO
    ZTEZPiDpOp1iRtUe
    • Entferne zwei weitere Schrauben auf jeder Seite.

  4. fZDfUAQuVDXJLwpn
    fZDfUAQuVDXJLwpn
    ZIlZ6ZTwJHNAxODu
    WBKvB5hN4VCAYU6i
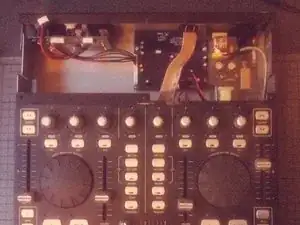
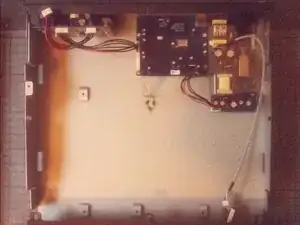
    • Hebe den oberen Kontrollteil an.

    • Sei vorsichtig, er ist noch über ein paar Kabel mit dem unteren Teil verbunden.

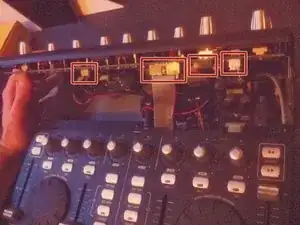
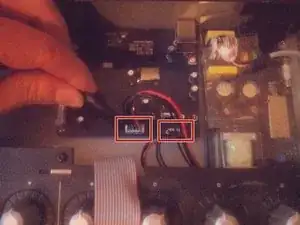
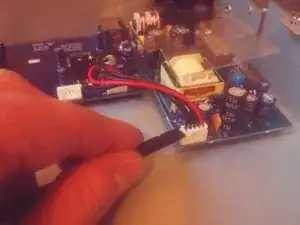
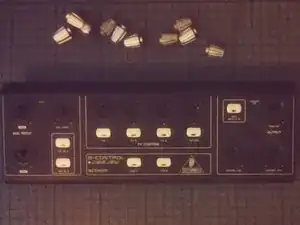
    • Trenne die Kabel ab, indem du die Stecker aus ihren Anschlüssen holst.

  5. 3bmkbAYmF2o2yGIS
    • Entferne den oberen Teil komplett.

  6. O4VWvoVL2KFSJYSt
    • Trenne die beiden Kabel ab, mit denen der untere Bereich mit der Platine verbunden ist.

  7. CaGxAtovX5fPersV
    CaGxAtovX5fPersV
    2ccXEYjDaVxKuPsM
    mTyMRwNnHCUi3vWO
    • Schiebe den unteren Teil nach vorne.

    • Nun kannst du ihn anheben und beiseite legen.

  8. KyqlNselWKafwbIo
    KyqlNselWKafwbIo
    IrilvRTnxOGtg1lM
    64fIxssdxxPmR4va
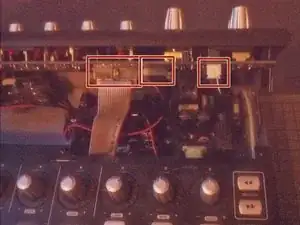
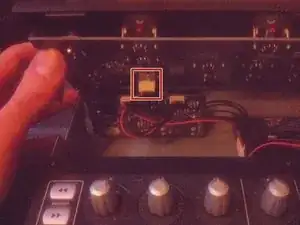
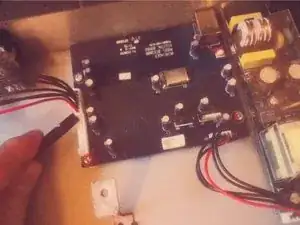
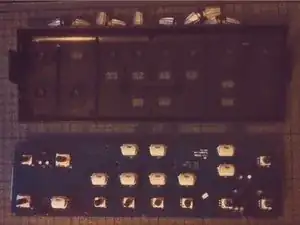
    • Trenne die beiden Platinen ab.

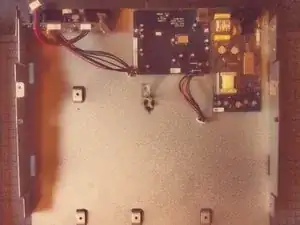
    • Entferne die Module, indem du sie vom Gehäuse losschraubst.

  9. VQXc4JmCqMM2GRZH
    VQXc4JmCqMM2GRZH
    I1DmUjaA4NFhVpBK
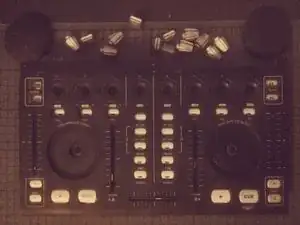
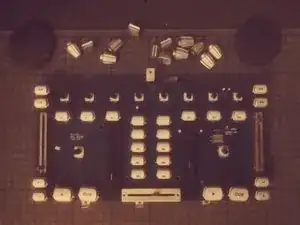
    • Die Jog-Wheels auf dem Front Panel können mit einem Spudger abgehebelt und entfernt werden.

  10. ceOwOJpQCGFRPOHR
    ceOwOJpQCGFRPOHR
    neUSPaxeBh6KnqKO
    • Entferne die Knöpfe, indem du sie einfach abziehst.

  11. HplwlMWKDteIY2EK
    HplwlMWKDteIY2EK
    1P6bnPChNRlBLMMg
    j3Aoou5hZh3VoYIq
    • Das gilt auch für die Knöpfe auf dem oberen Teil den Front Panels.

Abschluss

Um dein Gerät wieder zusammenzubauen, folge den Schritten dieser Anleitung in umgekehrter Reihenfolge.

Tobias Isakeit

Mitglied seit: 31/03/14

131729 Reputation

4 Kommentare

Pensaba que serviría para la BCD2000… pero es algo distinta.

Antonio -

great stuff, with better quality pictures would be better

csipapicsa -

This is great! I thought it would be like the other BC controllers (BCR/BCF2000) with a clip on the side panels. I need to re-seat my knob rings that have gotten loose and fallen of the top panel.

NomeX -

Thanks for the guide! I was able to re-glue and re-seat my knob rings that popped loose. I had two on the top section (main vol and FX4) and one at the lower that was working loose, so I decided to hit that one as well since I already had the BDC3000 apart. I find it odd that Behringer used machine screws on the bottom of the machine since they screw into plastic posts. The control knobs rings are held in place with a thin glue that, after nearly 20 years (mine was 1105 date), have weakened and allow easy popping off. I used a glue that didn't melt the pieces together (preferred, but I didn't have), so I may have to go through this process again. When reassembling, take care that the buttons seat properly into the panels as they can wiggle out of place and make screwing the PCBs difficult and reassembly impossible. If you need total disassembly, you'll need a socket wrench or mini pliers to remove the nut from the headphone jack. I don't think this is a necessary step if you're just re-seating/gluing the rings.

NomeX -