Einleitung
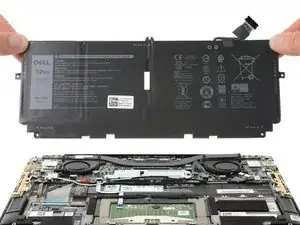
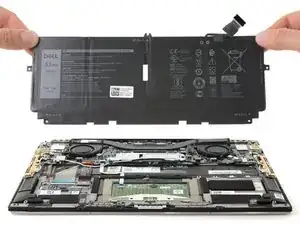
Diese Anleitung zeigt, wie der Akku im Dell XPS 13 9300 ausgetauscht wird..
Entlade zur Sicherheit den Computer auf unter 25%, bevor du ihn öffnest. Du verringerst so die Gefahr eines Brandschadens, wenn du den Akku während der Reparatur versehentlich beschädigst.
Wenn der Akku aufgebläht ist, musst du geeignete Vorsichtsmaßnahmen treffen.
-
-
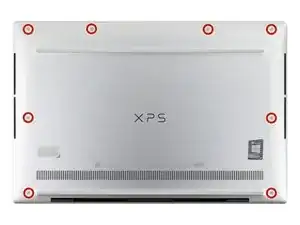
Entferne die acht 3,3 mm Schrauben, mit denen das Gehäuse befestigt ist, mit einem T5 Torx Schraubendreher.
-
-
-
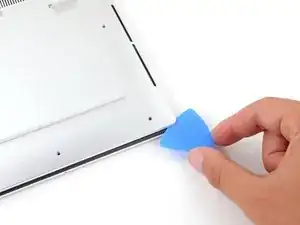
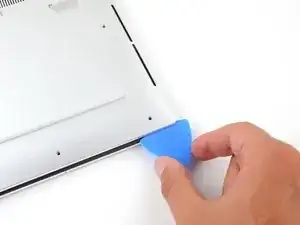
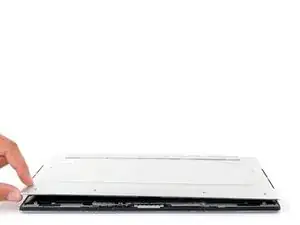
Führe einen Plektrum zwischen das untere Gehäuse und das Gehäuse an der rechten Vorderkante ein.
-
-
-
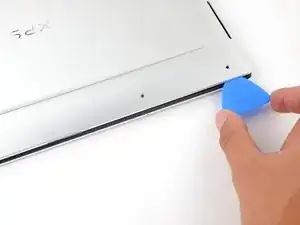
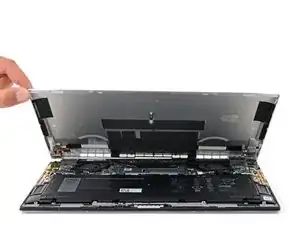
Schiebe den Plektrum an der Vorderkante entlang, um die Clips zu lösen, mit denen das untere Gehäuse befestigt ist.
-
-
-
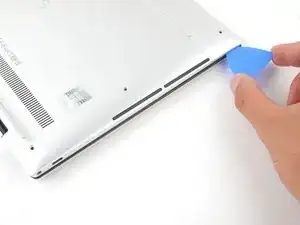
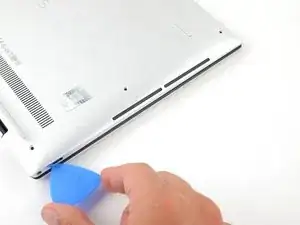
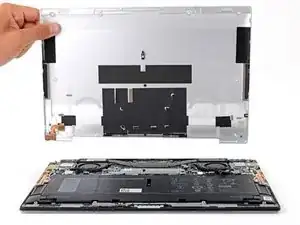
Schiebe das Plektrum weiter um das untere Gehäuses herum, um die restlichen Clips zu lösen.
-
-
-
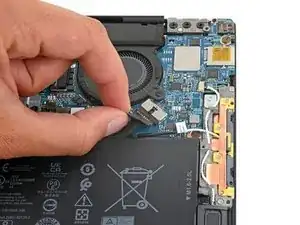
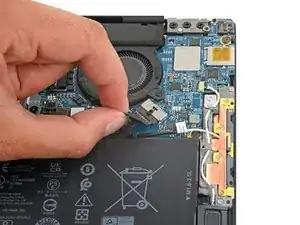
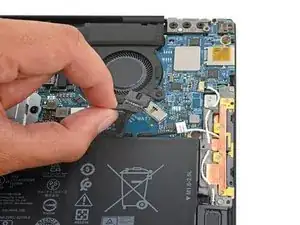
Fasse die Zuglasche am Akkustecker mit deinen Fingern, ziehe sie vorsichtig vom Anschluss weg und trenne den Stecker ab.
-
Du musst die BIOS-Einstellungen aufrufen und die Systemuhr neu stellen, ebenso wie einige spezielle Laufwerkseinstellungen, bevor du deinen XPS booten kannst.
-


Um dein Gerät wieder zusammenzubauen, befolge diese Anweisungen in umgekehrter Reihenfolge.
Entsorge deinen Elektromüll sachgerecht.
Hat die Reparatur nicht ganz geklappt? Versuche es mit ein paar grundständigen Lösungen, ansonsten findest du in unserem Forum Hilfe bei der Fehlersuche.

9 Kommentare
ok - completed.
The only unexpected thing was upon restart. It did not boot up normally. Instead it gave a bios type warning message:
- Time of day not set - please run SETUP program
- Invalid configuration information - Please run SETUP program
So - I ran bios setup and managed to get to the place to change the time, applied the change, then it booted normally (typing from there now).
Not at all difficult, finishing in perhaps 15 minutes including the bios deal...
Tom -
Same thing happened to me and fortunately Dell makes it really easy to get to the clock. Didn't have any issues.
Thanks for bringing this up! I'll add a note in the conclusion for this.
After replacing the battery, my XPS 9300 Ubuntu cannot find either HD or SSD. If you experience the same issue, it is because the default BIOS setting for RAID may be wrong. After losing power, it goes back to a wrong setting. So make sure you choose the right RAID setting after battery change.
How do you find the correct setting
My BIOS came back with SATA Operation set to RAID on. It should have been set to AHCI. Changing to AHCI fixed my boot issue.
Great guide, nice and easy, and indeed, 15–30 minutes.
A suggestion on opening with picks: the corner is not always the best place to start; it could be easier to insert a pick first somewhere else on the edge, just not in the hinge area.
Another thing is to be careful around the front LED indicator; it's easy to slip a pick under it, and that is not helpful for opening the laptop case. Just don't do that.
And for screws, they are finger tight, very easy to strip if you're holding the screwdriver stronger, then with just a two-finger pinch. It's a good idea to use some blue loctite instead of trying to torque it all the way (the manufacturer uses loctite too, at least for the battery screws).