Einleitung

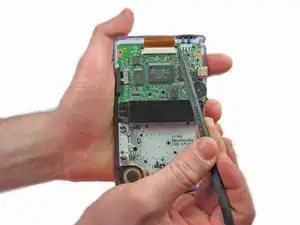
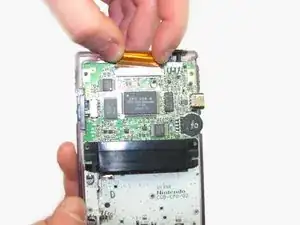
Um an weitere Bauteile zu gelangen musst du das Flachbandkabel zum LCD entfernen.

  1. c3LIxTjWvUGxcYZu
    c3LIxTjWvUGxcYZu
    oYIXQjPFhQsYx4cb
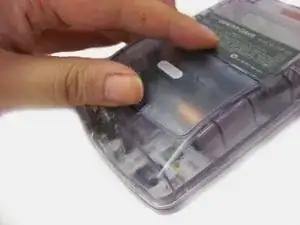
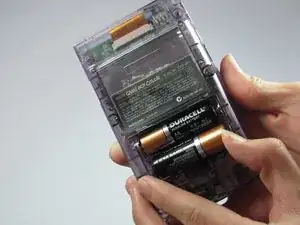
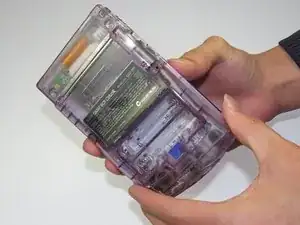
    • Das Batteriefach befindet sich auf der Rückseite des Game Boy Color.

    • Drücke die Rasten nach oben. Kippe den Batteriefachdeckel nach oben und hebe ihn weg.

  2. uFQGYmIMX2PCiLaG
    • Entferne die Batterien aus dem Fach.

  3. DsXcimKolb1pBNXH
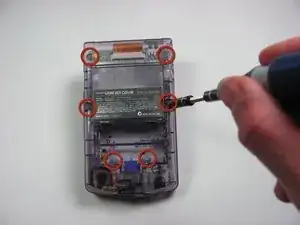
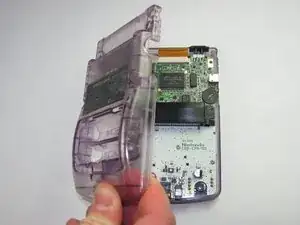
    • Schraube die sechs TriWing Y1 Schrauben auf der Rückseite wie im Bild gezeigt heraus. Die unteren beiden Schrauben befinden sich im Batteriefach.

    I did this with a Y0 bit. It works if you are careful. I wouldn't recommend it on other consoles but for this tiny thing, it works.

    phnome -

    The guide says a Y0 is needed. Is it a Y1 or Y0?

    Trav -

    is it Y1 or Y0?

    Mike -

  4. RrHNVnA1jYSYLAMJ
    RrHNVnA1jYSYLAMJ
    aFVfBIhWWKMpEAKh
    • Hebe das rückseitigen Gehäuseteil vorsichtig vom restlichen Gerät ab.

    am at my wits end. have a gb color model cgb-001. all videos for disassembly, they take the six screws out and gently remove the back casing without any issues at all. mine on the other hand has a purple piece of plastic in the cartridge slot, it looks like it is supposed to be there, but have not seen it on countless disassembly videos . if you try and take the case apart, this piece of plastic just wedges in the metal housing of the game slot, and the case will not come apart. any help? anyone....

    luckeyloser -

  5. QLlb11byBHORVS6F
    • Ziehe die Laschen an jeder Seite mit einem Spudger hoch.

  6. qhFGO3C1pCyNBJNl
    • Entferne das Kabel vorsichtig aus dem Sockel.

Abschluss

Um dein Gerät wieder zusammen zu setzen folge den Schritten in umgekehrter Reihenfolge.

Nick Katsantones

Mitglied seit: 18/01/13

1117 Reputation

Ein Kommentar

How many pins are in the ribbon?

jakebrown199 -