Einleitung
Diese Anleitung zeigt dir, wie du die Hauptplatine austauschen kannst.
-
-
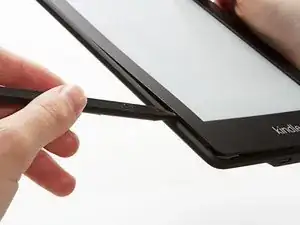
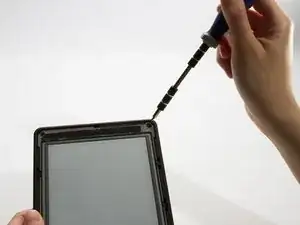
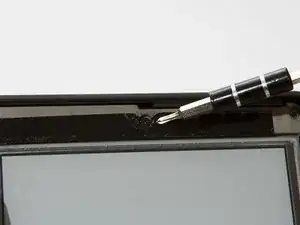
Hebele die Blende mit einem Spudger/Spatel oder einem Plastiköffnungswerkzeug vorsichtig vom Bildschirm ab. Am einfachsten beginnst du in einer Ecke und lässt das Werkzeug um den Rand herum laufen.
-
-
-
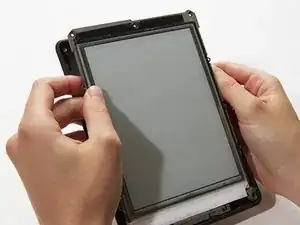
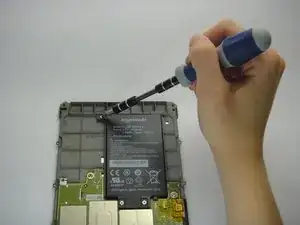
Drehe den Mittelrahmen herum und du siehst den Akku.
-
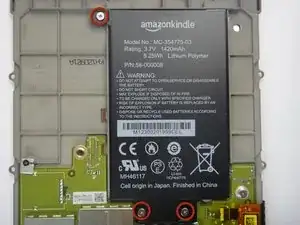
Entferne drei 3,0 mm Kreuzschlitzschrauben, welche den Akku am Mittelrahmen befestigen.
-
-
-
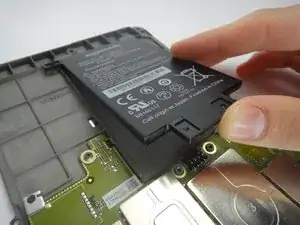
Hebe den Akku zuerst vorsichtig unten hoch und schiebe ihn dann aus dem Mittelrahmen heraus.
-
-
-
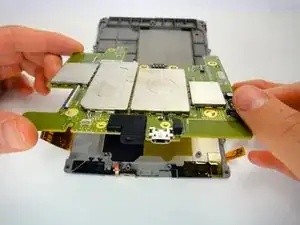
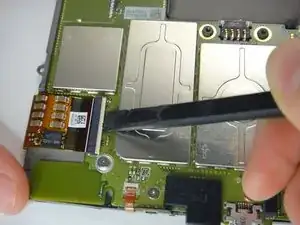
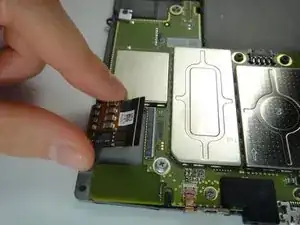
Hebe den weißen Kabelbefestiger mit einem Spudger hoch und schiebe das Flachbandkabel heraus.
-
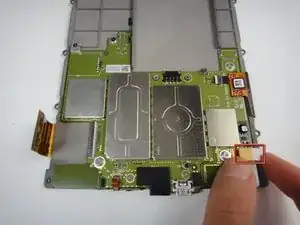
Fahre gegen den Uhrzeigersinn fort und wiederhole für die nächsten Kabel. Die kleinen Kabel ganz haben haben keinen Kabelbefestiger, ziehe sie nur sorgfältig heraus.
-
-
-
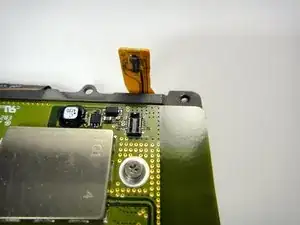
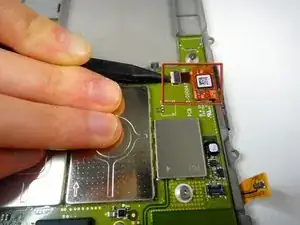
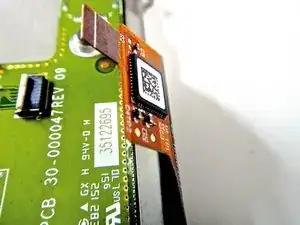
Entferne das gelbe Antistatikband vom Stecker am Flachbandkabel zum Display.
-
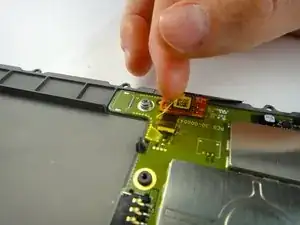
Hebe den Kabelbefestiger mit einem Spudger hoch und löse das Kabel.
-
-
-
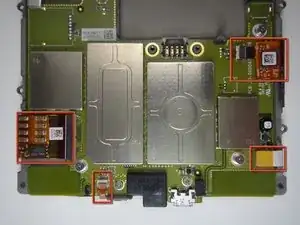
Drei silberfarbene Schrauben mit silberfarbenen Unterlegscheiben.
-
Zwei silberfarbene Schrauben ohne Unterlegscheiben.
-
Eine schwarze Schraube mit goldfarbener Unterlegscheibe.
-
Eine schwarze Schraube mit einer quadratischen Unterlegscheibe.
-

Um dein Gerät wieder zusammenzusetzen, folge den Schritten in umgekehrter Reihenfolge.
2 Kommentare
Not sure if this is an error, but on the 3G paperwhite, we needed to use a #0 Phillips, not a #2. Great guide otherwise!
Please suggest what type of controller is used and the model and flash memory in the Kindle Paperwhite 1st Generation?
ven 1949, div 0004
Elecrash -
I found it easier to start this step off with one of the Opening Picks found in the iOpener pack.
NathanF -
The glue on bezel started to peel the sticky back protective layer off the screen for me - managed to smooth it back down, although now have an unsightly crease. I would try to hold the screen down when you pull the bezel off to stop damaging the screen.
Callum Rogers -
This step is most time consuming. Take you time and try not to scratch the bezel :)
Oleksii -
Couldn't get the plastic spudger under the edge of the bezel. A right-angle X-Acto blade was a satisfactory tool here.
dbrick -
The glue was VERY difficult...I used a trick, from taking apart phones, and used a hair drier to loosen up the glue...worked like a charm.
billkaris -
The glue on our older Kindles was VERY hard to get past. I ended up using flat-broad metal spudger to release the bezel, after many attempts to use more standard plastic ones (both pointed and broad tipped).
pgrey -
I tried spudgers and plastic opening tools and picks. Couldn't get any of them into the groove. I finally used my iSesamo (bought before I knew of iFixit) and that got me in. The glue was VERY heavy and it took a lot of work separating the bezel, but finally got it off. I probably should have tried the hair dryer trick someone mentioned, but I was afraid I'd melt something. Anyway, once that time-consuming part was done, it was smooth sailing the rest of the way. Thanks for the excellent repair guide and all the previous comments!
Discon -