Einleitung
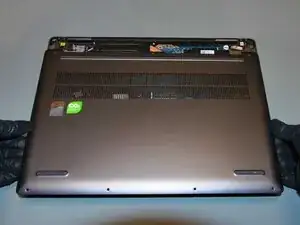
This is the starting point of disassembling the Lenovo Yoga 7 14ARP8. The same procedure applies to the Yoga 7 16ARP8 model, only with size discrepancies.
To remove the lower case you will need a T5 Torx screwdriver, suction cup handle and an opening pick. Instead of an opening pick, any thin object like a guitar plectrum or a credit card may be used. This guide can be followed without a suction cup handle, although not without increased difficulty.
Before you begin, unplug all cables and attachments, and power down the laptop. Use a soft surface to avoid scratches.
Werkzeuge
-
-
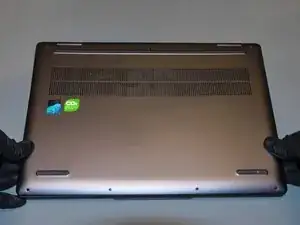
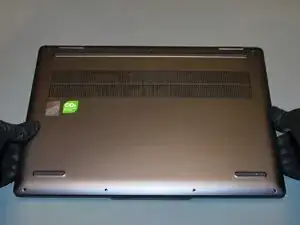
Turn the laptop top-side down.
-
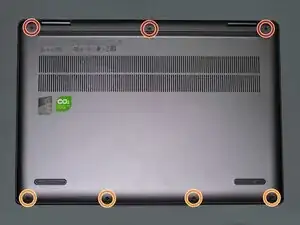
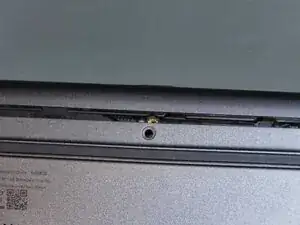
Use a T5 screwdriver to remove the seven screws securing the lower case:
-
Remove the three 7.5 mm long T5 screws along the rear of the laptop.
-
Remove the four 3 mm long T5 screws along the front of the laptop.
-
-
-
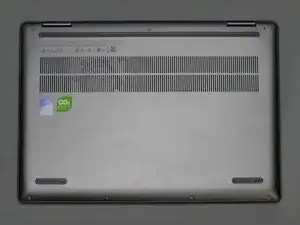
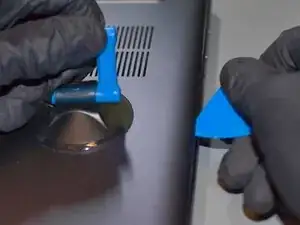
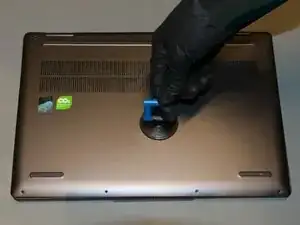
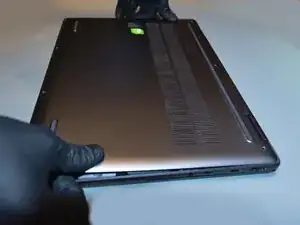
Apply a suction cup in the center near the right edge of the lower case, and lift up.
-
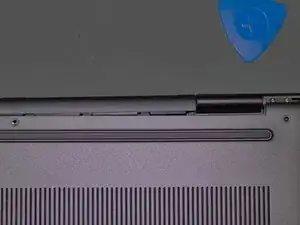
Insert one corner of an opening pick in the crevice between the lower case and the chassis.
-
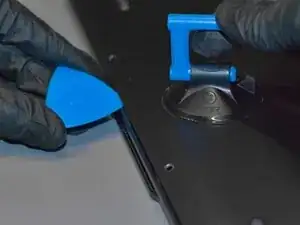
Slide the opening pick along the side of the laptop towards the rear, and then along the side towards the front of laptop to undo the right side latches.
-
-
-
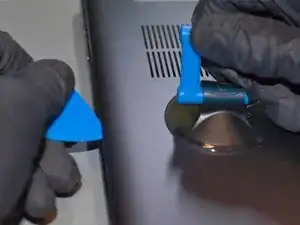
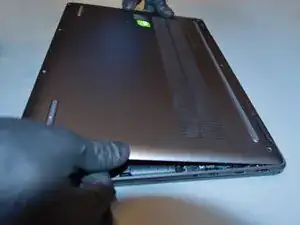
Repeat the previous step along the front side of the laptop.
-
Sliding the opening pick all along the front side of the laptop, in the crevice between the lower case and the chassis to undo the internal latches.
-
-
-
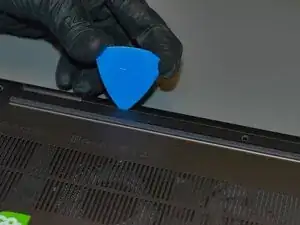
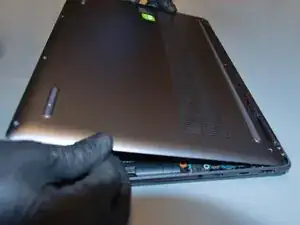
Repeat the previous steps, along the left side side of the laptop.
-
Apply a suction cup handle in the center near the left edge of the lower case, and lift up.
-
Slide an opening pick all along the left side of the laptop, in the crevice between the lower case and the chassis to undo the internal latches.
-
-
-
Gently and firmly press an opening pick into the crevice in the rear of the lower case to undo the rear latches. Start next to the display hinges and work towards the center.
-
-
-
Press a suction cup against the flat centre of the lower case, pull upward gently to release the internal latch.
-
-
-
Grab both sides of the lower case and lift up and towards the front of the laptop (away from the hinged area).
-
-
-
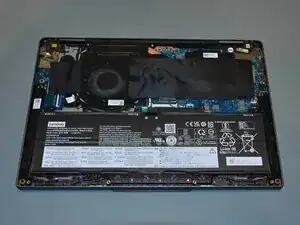
Remove the lower case.
-
Align the rear of the lower case to the rear of the chassis.
-
Hinge the lower case down into place.
-
Press firmly above and along all sides of the laptop to secure all side latches. Then press firmly against the flat center of the laptop to secure the center latch.
-


To reassemble your device, follow these instructions in reverse order.