Einleitung
Verwende diese Anleitung, um die SSD oder das Flash-Speichermodul in deinem Mac mini (2024) auszutauschen.
Diese Anleitung wurde für einen Basis-M4-Mac-mini geschrieben. Obwohl die SSD für die M4-Pro-Version länger und an einer anderen Position ist, ist das Demontageverfahren das selbe.
Während die SSD des Mac mini wie eine normale M.2-SSD aussieht, fehlt ihr ein Speichercontroller. Apple integriert die Speichercontroller in das Apple Silicon SoC, was bedeutet, dass normale M2-SSDs nicht kompatibel sind.
Diese Anleitung dient lediglich als Anleitung zum Austausch der SSD durch eine andere desselben Typs.
-
-
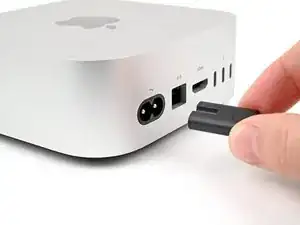
Fahre deinen Mac mini vollständig herunter und stecke alle Kabel ab.
-
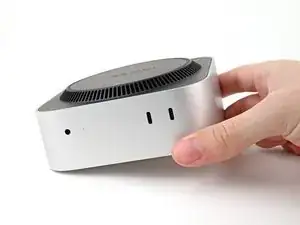
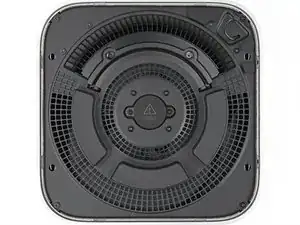
Drehe deinen Mac mini um und lege ihn auf eine saubere, flache Oberfläche, um Kratzer auf dem Gehäuse zu vermeiden.
-
-
-
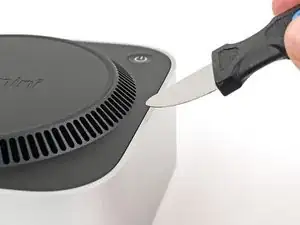
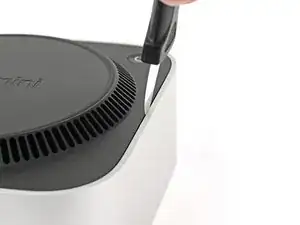
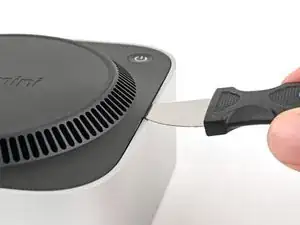
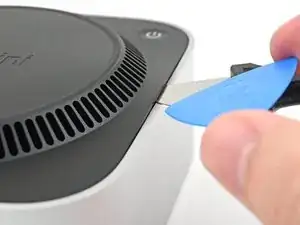
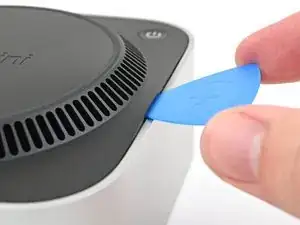
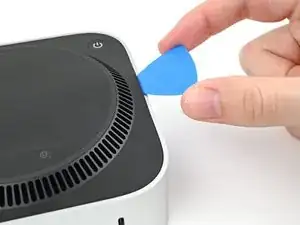
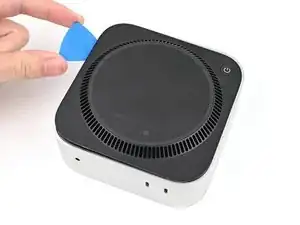
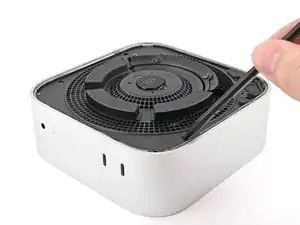
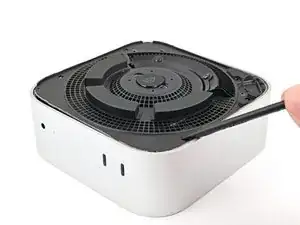
Schiebe das Plektrum an der Bodenplatte entlang, bis du spürst, dass es an einem Stift hängen bleibt.
-
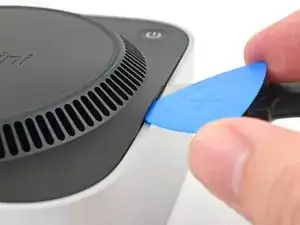
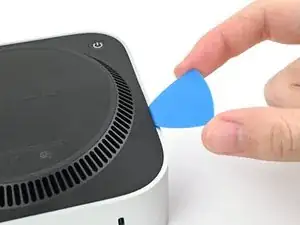
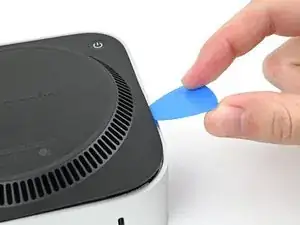
Verdrehen das Plektrum, um den Stift aus seiner Öffnung zu lösen.
-
-
-
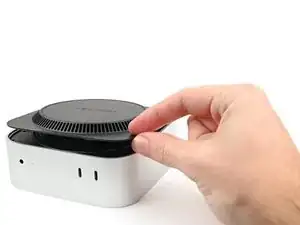
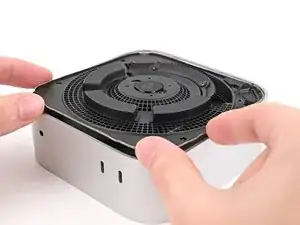
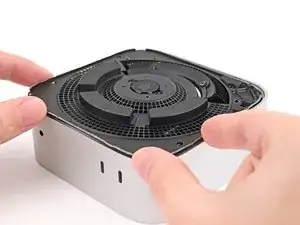
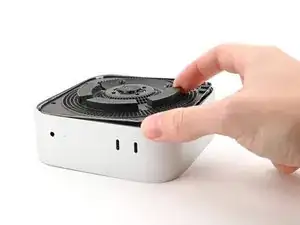
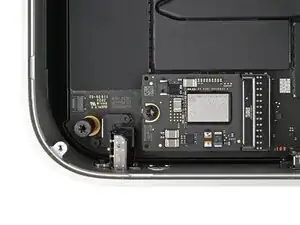
Hebe die Bodenplatte an der Kante gegenüber der Einschalttaste hoch und klappe sie um, damit das Kabel zur Einschalttaste zugänglich wird.
-
-
-
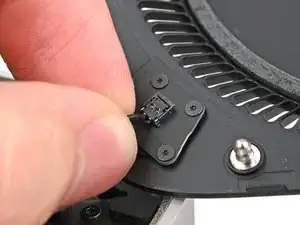
Fasse das Kabel der Einschalttaste nahe am Ende an, ziehe es aus dem Anschluss heraus nach oben hin (nicht nach hinten sonst reißt der Stecker ab) und trenne es ab.
-
-
-
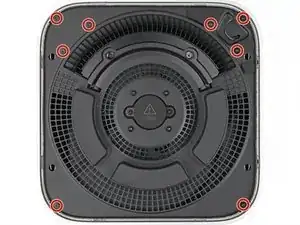
Nimm einen T5 Torx Schraubendreher und entferne die acht 3,4 mm langen Schrauben, mit denen die innere Platte befestigt ist:
-
-
-
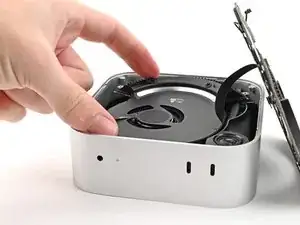
Setze einen Spudger mit der Spitze in eine der Öffnungen für die Clips an der inneren Platte.
-
Heble die innere Platte soweit hoch, so dass du sie an der Kante fassen kannst, die bei der Kopfhörerbuchse liegt.
-
-
-
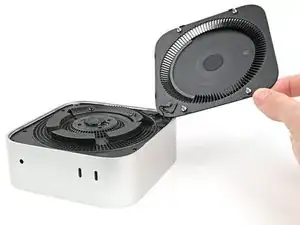
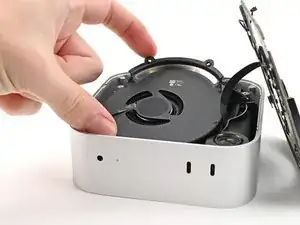
Ziehe die innere Platte vom Gehäuse weg, so dass sie unter der Lippe am Kühlkörper herauskommt.
-
-
-
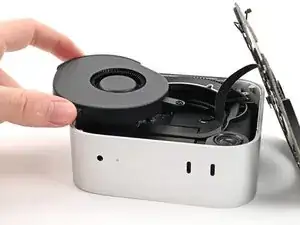
Hebe die innere Platte hoch und klappe sie über die Gehäusekante. Stütze sie am Gehäuse ab.
-
-
-
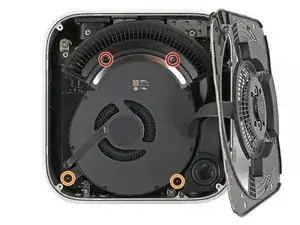
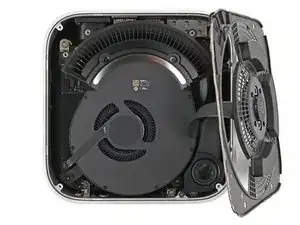
Entferne die vier Schrauben, mit denen der Lüfter befestigt ist:
-
Zwei 2,4 mm lange 3IP Torx Plus Schrauben.
-
Zwei 7,9 mm lange 5IP Torx Plus Schrauben.
-
-
-
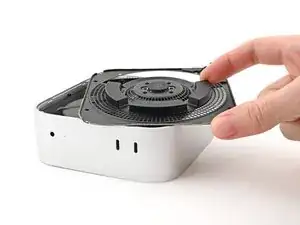
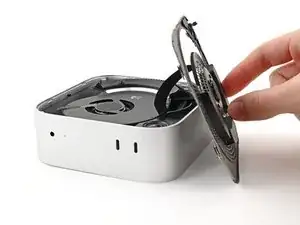
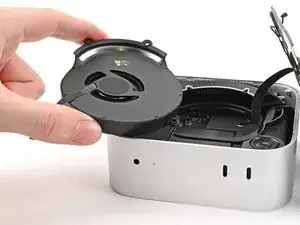
Hebe den Lüfter aus seiner Vertiefung im Gerät heraus und drehe ihn herum, um an das Kabel und den Stecker zu gelangen.
-
Lasse den Lüfter auf dem Gerät und dem Kühlkörper liegen.
-
-
-
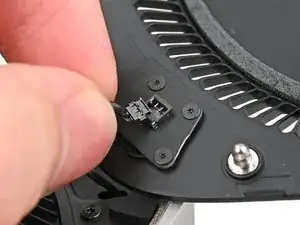
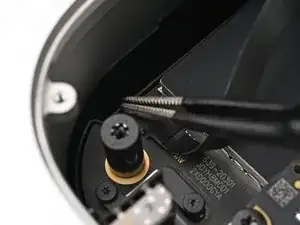
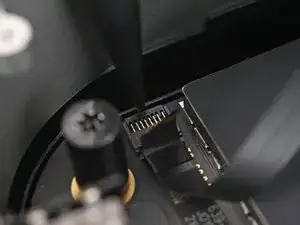
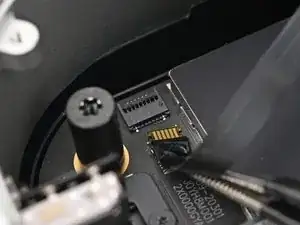
Klappe den Sicherungsbügel am ZIF-Anschluss des Lüftersteckers mit der Spudgerspitze oder deinen Fingern hoch.
-
-
-
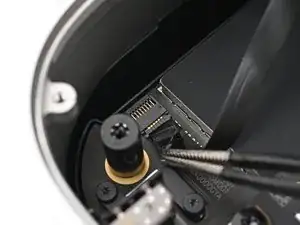
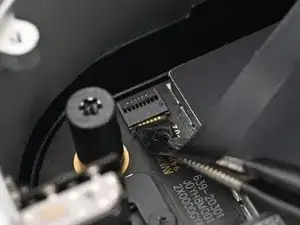
Schiebe den Stecker des Lüfters mit den Fingern oder einer Pinzette aus seinem ZIF-Anschluss heraus.
-
-
-
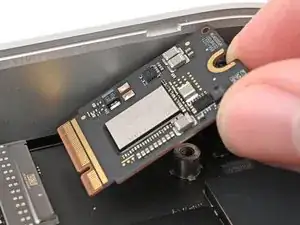
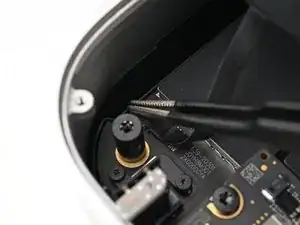
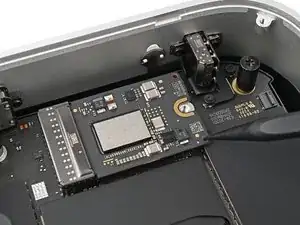
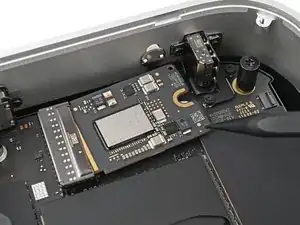
Nimm einen Torx Plus 8IP Schraubendreher und entferne die 4,1 mm lange Schraube, mit der die SSD befestigt ist.
-
-
-
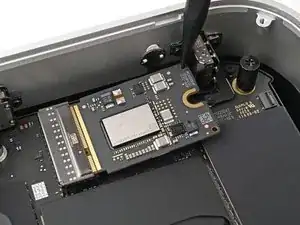
Setze einen Spudger mit der Spitze in eine der Öffnungen an der Unterkante der SSD.
-
Drücke die SSD mit dem Spudger vom Sockel weg, wenn nötig abwechselnd auf beiden Seiten, bis sie ganz abgetrennt ist.
-
-
-
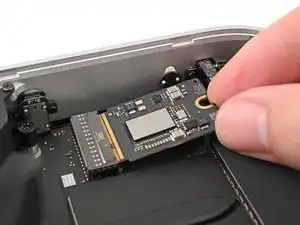
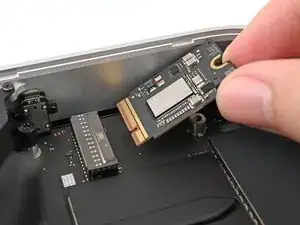
Fasse die SSD an der Ecke an, kippe sie gegen die Kopfhörerbuchse und hebe sie aus dem Sockel heraus.
-


Um dein Gerät wieder zusammenzusetzen, befolge diese Anweisungen in umgekehrter Reihenfolge.
Entsorge deinen Elektromüll sachgerecht.
Hat die Reparatur nicht ganz geklappt? Versuche es mit ein paar grundsätzlichen Lösungen, ansonsten findest du in unserem Mac mini (2024) Forum Hilfe bei der Fehlersuche.

23 Kommentare
"Apple's unique SSDs aren't sold by Apple and aren't currently available by a third party." is no longer correct. https://expandmacmini.com has tested options to upgrade SSD to 2TB.
Alpha -
Fixed! Thank you!
Thanks, as always, for such a wonderful job in explanation and photos as to how this disassembly and upgrade of the M4 Mac Mini. I and many others thank you for this work that you do so well. I have just purchased an M4 Mini with only 256 GB internal drive, although, I did opt for an upgrade of the RAM to 32 GB; but, as everyone knows, and extra $500 as a charge from Apple for this much extra RAM makes for quite an expensive addition to the cost. But, now that I have an option to upgrade the internal drive to 2 TB, my Mini will be really powerful, with lots of room to spare!
Bruce -
After the installation, (or prior to?) how does one install the OS? Thank you
You need to use the DFU tool to get the system to recognize the new/replaced storage before you can perform an OS install.
Den Mac vorm ausschalten noch vom Account trennen. Sonst kann es zu Schwierigkeiten bei der Neuanmeldung kommen.
MacGyverModeOn -