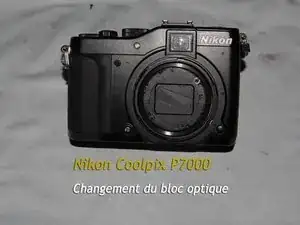
Einleitung
-
-
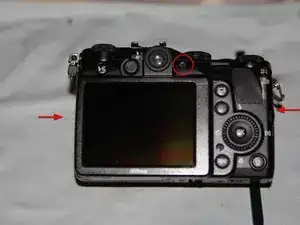
Hebe die Rückseite vorsichtig ab, sie ist noch mit zwei Flachbandkabeln an der Hauptplatine angeschlossen.
-
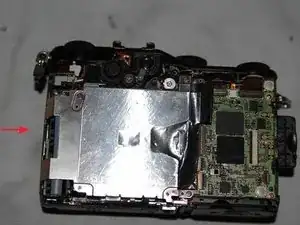
Entferne die Schraube an der Metallabschirmung, hebe dann die Abschirmung heraus.
-
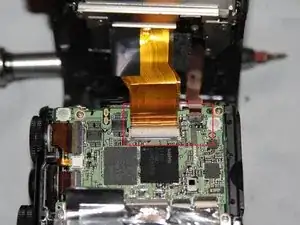
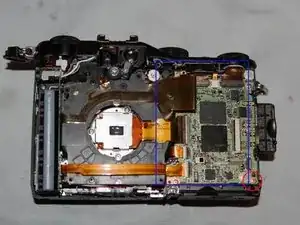
Klappe die Sicherungsbügel an den Anschlüssen der Flachbandkabeln hoch. Löse die Flachbandkabel.
-
Drehe die Schraube heraus, mit der die Hauptplatine befestigt ist. Entferne vorsichtig die Hauptplatine, sie ist immer noch durch die Lautsprecherkabel mit dem Gehäuse verbunden.
-
-
-
Entferne das obere Gehäuseteil.
-
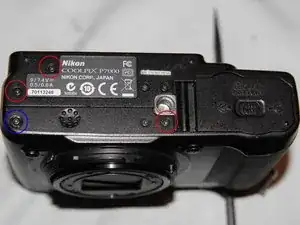
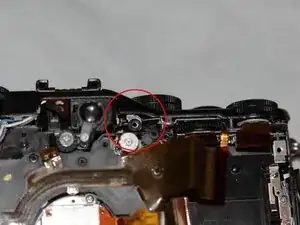
Der Rahmen ist noch mit einer Schraube befestigt. Du findest sie im roten Kreis an der Unterseite. Entferne die Schraube.
-
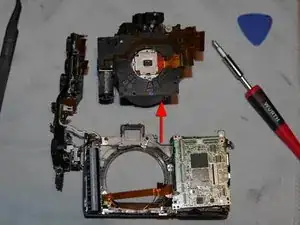
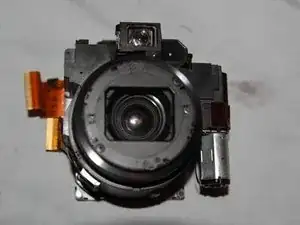
Nun kannst du die Optikeinheit entfernen. Hebe sie nach oben ab.
-
Das Gerät ist zerlegt, du hast Zugang zu allen wichtigen Bauteilen.
-
Um das Gerät wieder zusammenzubauen, folge den Schritten in umgekehrter Reihenfolge.
6 Kommentare
Hardy:
Thanks very much for your hard work on this. I have a P7000 whose memory card slot isn’t recognizing cards. I can’t tell for sure, but it looks like the card slot is part of the battery housing. Would you be able to confirm this?
Thanks
were you able to figure it out, i realized im also having the same problem
paper -
Thank you!!! Is there a way to replace the internal battery? Is it present? My p7000 no longer keeps the date/time and settings memory whenever I remove the EN-EL14 battery...
i Have the same issue, Did you fix yours? I think my the issue is related to the Lithium-ion flash capacitor.
But I'm struggling to find that specific part.
хорошая работа - поделиться с людьми информацией. здоровья и удачи мастеру .
Bottom view: wrong screw marked next to the tripod thread! Loosen all the screws around the tripod thread except of the marked one.
Andreas Rose -