Einleitung
Grundständige Anleitung zum Entfernen der Hauptplatineneinheit.
-
-
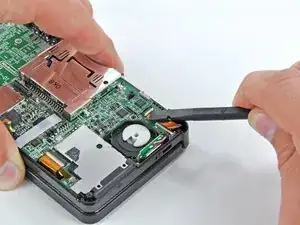
Klappe den Sicherungsbügel am ZIF Anschluss der Lautsprechereinheit mit dem flachen Ende des Spudgers oder dem Fingernagel hoch.
-
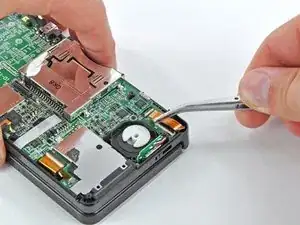
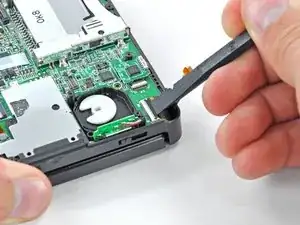
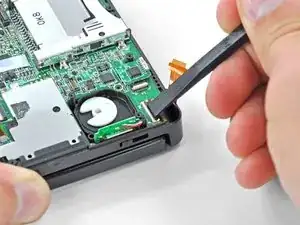
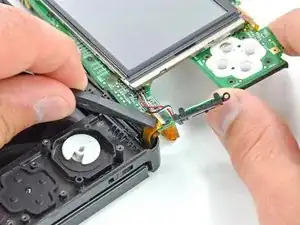
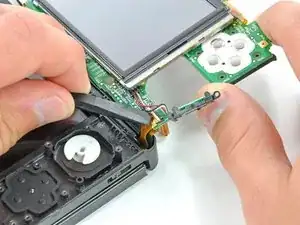
Löse das Flachbandkabel zur Lautsprechereinheit mit einer Pinzette ab.
-
-
-
Klappe den Sicherungsbügel am ZIF Anschluss des Flachbandkabels zur Kamera mit dem flachen Ende des Spudgers oder dem Fingernagel hoch.
-
-
-
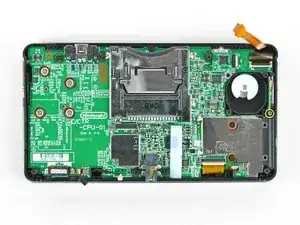
Entferne sieben Kreuzschlitzschrauben, welche die Hauptplatine am oberen Gehäuse befestigen:
-
Vier goldfarbene 2,5 mm Schrauben
-
Zwei schwarze 3,5 mm Schrauben
-
Eine silberfarbene 2,5 mm Schraube
-
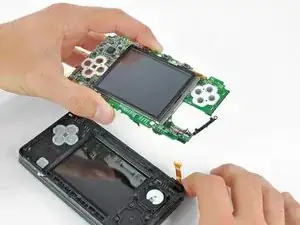
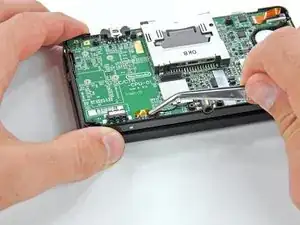
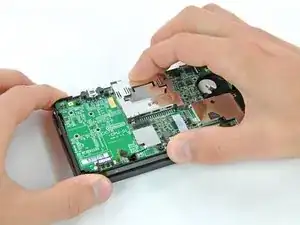
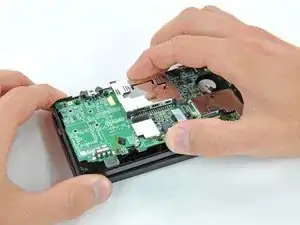
Hebe den Rand der Hauptplatine an, der sich an der Unterkante des 3DS befindet.
-
-
-
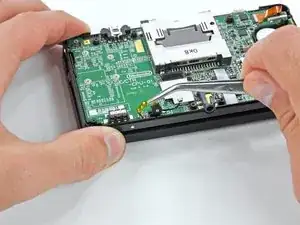
Klappe den Sicherungsbügel am ZIF Anschluss des Flachbandkabels zum LCD mit dem flachen Ende des Spudgers oder dem Fingernagel hoch.
-
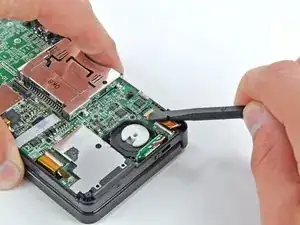
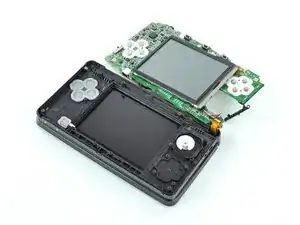

Um dein Gerät wieder zusammenzusetzen, folge den Schritten in umgekehrter Reihenfolge.

DO NOT use the tweezers like this. Try to hold as much area as possible. I attempted to take them several times like these and ended up ripping a part from the mic flat cable. Where I live, these can cost as much as 10 dollars to replace, so when you think you're being careful, be extra careful above that.
Guilherme Silva -
There's no real reason to pull the mic cable out with tweezers - removing the motherboard will pull the microphone out with it anyways since it's just a loose friction fit and handling the cable with tweezers significantly increases your chances of damaging it.
Nam Nguyen -
agreed! i followed your advice and had zero issues, the mic came up as i gently removed the motherboard in step 19.
un poquito junito -
during reassembly, make sure the rectangular bit of the mic slides into the rectangular slot!
un poquito junito -