Einleitung
This step-by-step guide teaches you how to disassemble your Samsung PL200 Camera to replace the motherboard.
If your camera will not turn on, won't hold a charge, or has other internal electronic failures, the cause is likely a faulty motherboard.
-
-
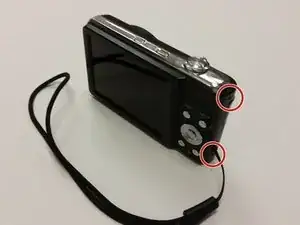
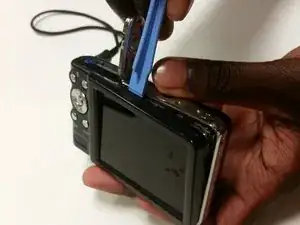
Remove the two 3mm black external scews from the camera's right side using the #000 Philips Screwdriver.
-
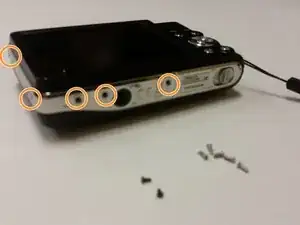
Remove the five 3mm silver external screws from the bottom and left side of the camera using the #000 Philips Screwdriver
-
-
-
Remove the 3mm screw holding the circuit board using the #000 Philips Screwdriver.
-
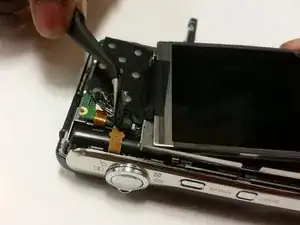
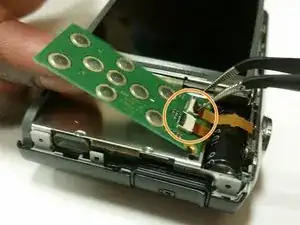
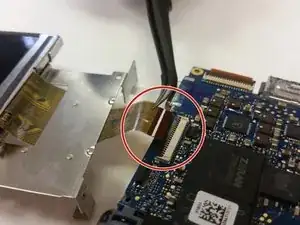
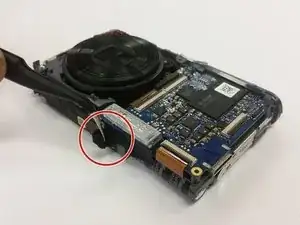
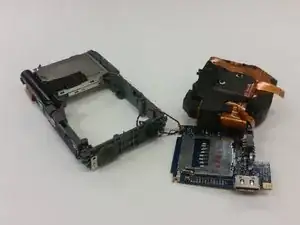
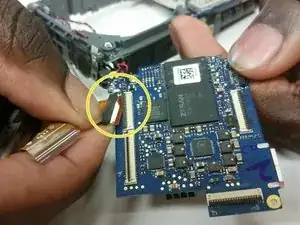
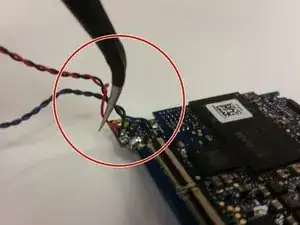
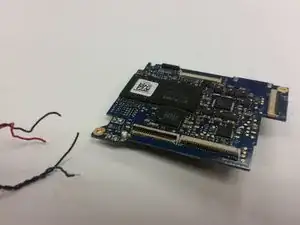
Using Tweezers, unplug the wires from the circuit board and remove the circuit board.
-
-
-
Flip the display screen forward. Remove the two silver 3mm screws beneath it using the #000 Phillips Screwdriver.
-
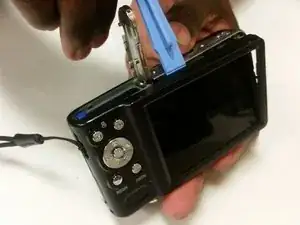
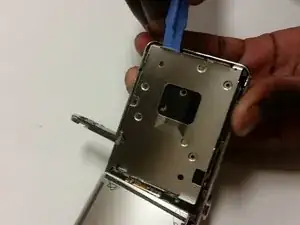
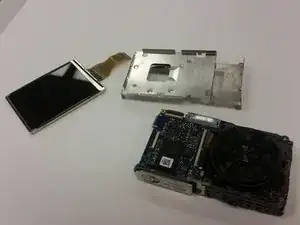
Use the Plastic Opening Tool to remove the metal brace.
-
-
-
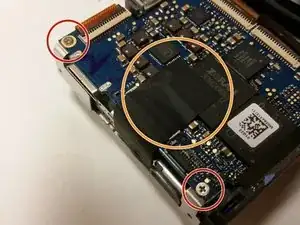
Use the #000 Phillips Screwdriver to remove the two silver 3mm screws. These hold the motherboard in place.
-
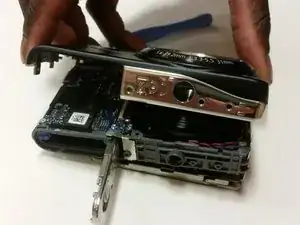
If the motherboard has black tape on it, remove it with the Tweezers.
-
-
-
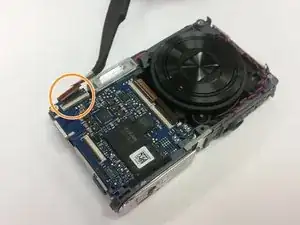
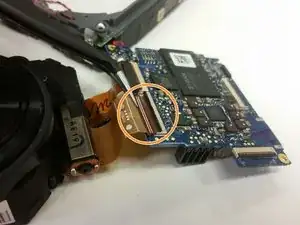
Use the Tweezers to disconnect the lens unit cord that is at the bottom of the camera below the motherboard.
-
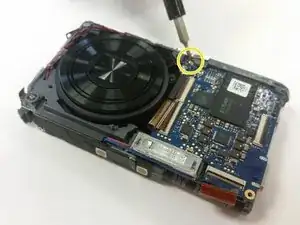
Use the #000 Phillips Screwdriver to remove the final silver 3mm screw that holds the motherboard in place.
-
-
-
-
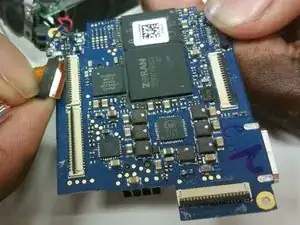
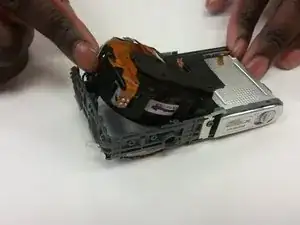
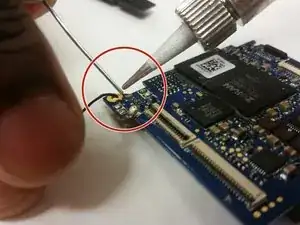
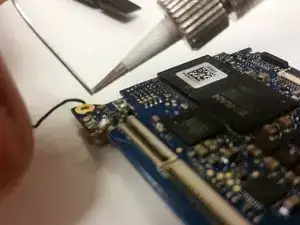
Using the Soldering Iron, solder on a functional motherboard.
-
To reassemble the camera, follow the previous steps in reverse.
-


To reassemble your device, follow these instructions in reverse order. Take your e-waste to an R2 or e-Stewards-certified recycler.