Einleitung
Wenn an deinem Sonos Roam nichts mehr geht, dann Versuche, ob ein Austausch des breiten Flachbandkabels hilft.
Dieses Flachbandkabel verbindet die Hauptplatine mit der inneren Leiterplatte. Dadurch werden Energie und Daten übertragen.
Bevor du dich ans Reparieren machst, überprüfe, ob ein einen Neustart des Gerätes Abhilfe bringt.
Bei manchen Schritten wird ein iOpener empfohlen (nicht zwingend). Damit wird das Lösen des Klebers erleichtert, mit denen manche Teile verbunden sind. u Hier erfährst du, wie der iOpener richtig verwendet wird.
-
-
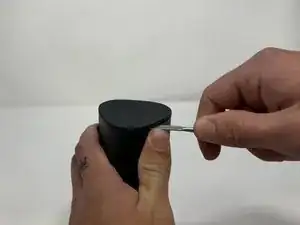
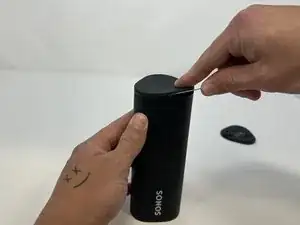
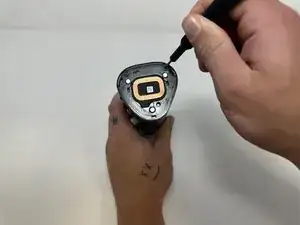
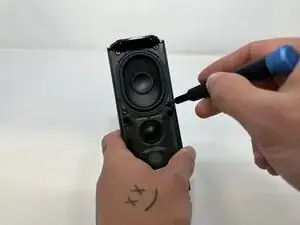
Nimm einen Spudger und heble die Abschlusskappe mit den Tasten hoch.
-
Heble ringsum, um den Kleber zu lösen.
-
-
-
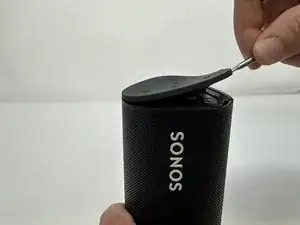
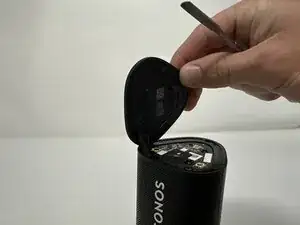
Drehe das Gerät um, so dass die andere Kappe oben ist.
-
Löse den Kleber mit dem Metallspudger ab.
-
-
-
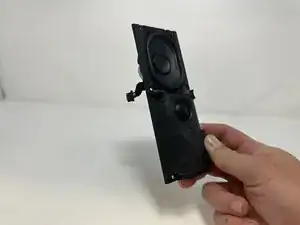
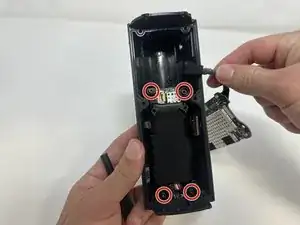
Stelle das Gerät so ab, dass das Sonos Logo oben ist.
-
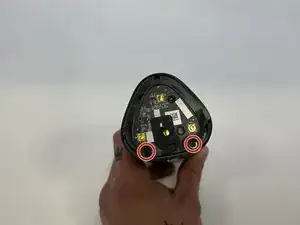
Entferne die beiden 6 mm Torx T6 Schrauben.
-
-
-
Drehe das Gerät wieder um, so dass das Sonos Logo oben ist.
-
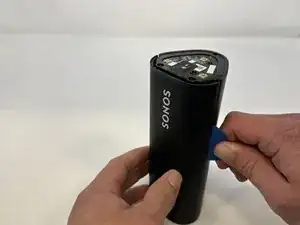
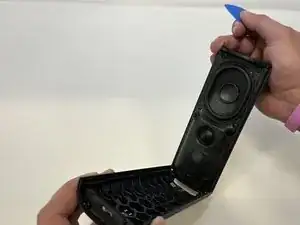
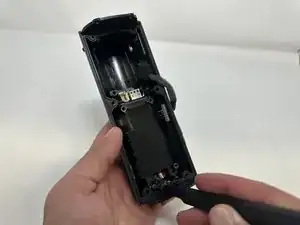
Schiebe ein Plektrum in den Spalt zwischen dem Lautsprechergitter und dem restlichen Lautsprecher ein und heble das Lautsprechergitter ab.
-
-
-
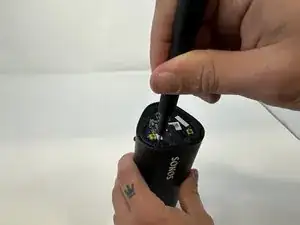
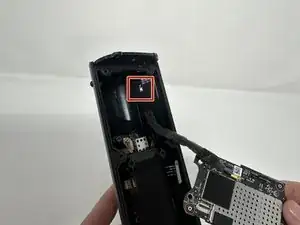
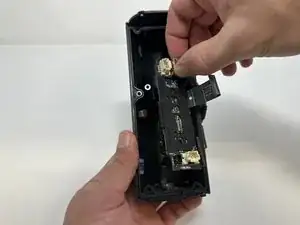
Klappe den Sicherungsbügel am breiten Flachbandkabel mit einer Pinzette hoch.
-
Fasse das breite Flachbandkabel mit der Pinzette und ziehe es nach oben aus dem Anschluss heraus.
-
Klappe den Sicherungsbügel am schmalen Flachbandkabel mit einer Pinzette hoch.
-
Fasse das schmalen Flachbandkabel mit der Pinzette und ziehe es nach oben aus dem Anschluss heraus.
-
-
-
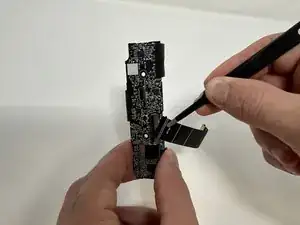
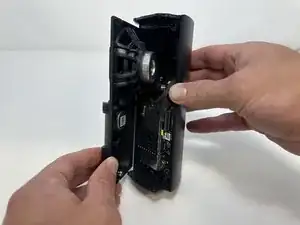
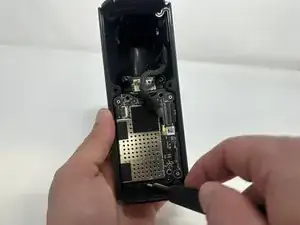
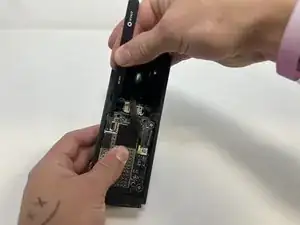
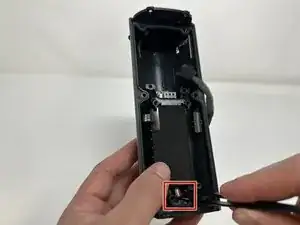
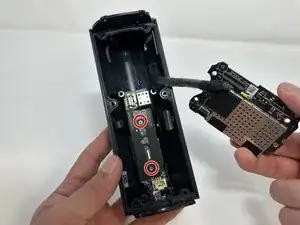
Fasse das Metallstück, welches an der Hauptplatine befestigt ist.
-
Ziehe es nach oben und entferne die Hauptplatine.
-
-
-
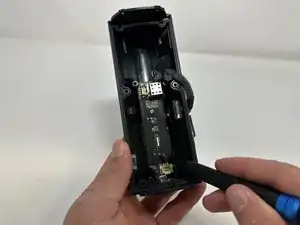
Drücke den Stecker in der Mitte fest mit einer Pinzette zusammen.
-
Ziehe den Stecker aus seinem Anschluss heraus.
-
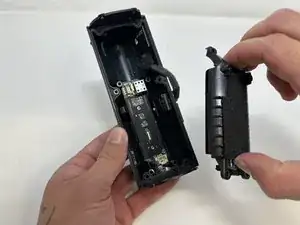
Entferne den Akku vom Gerät.
-
-
-
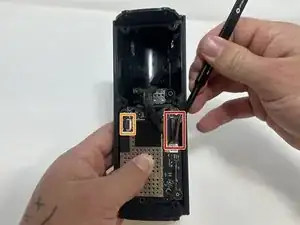
Fasse den Stecker fest in der Mitte mit einer Pinzette.
-
Ziehe den Stecker aus seinem Anschluss heraus.
-
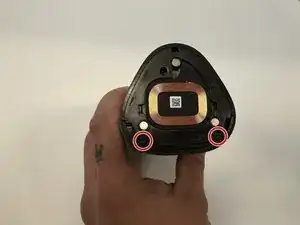
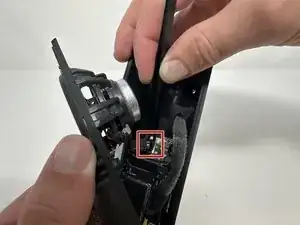
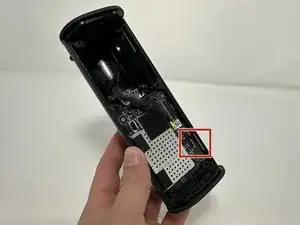
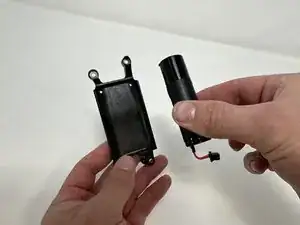
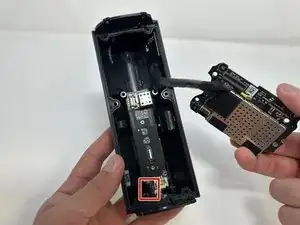
Fasse die Metallbox auf der inneren Leiterplatte und ziehe sie damit heraus.
-
-
-
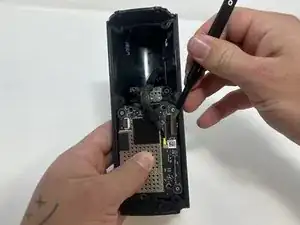
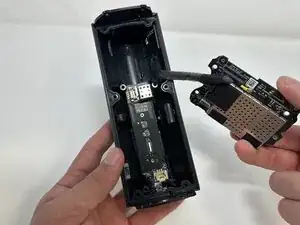
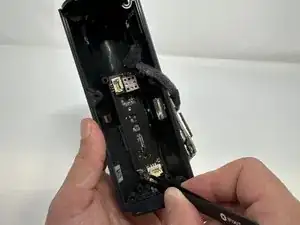
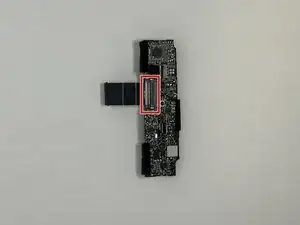
Drehe die innere Leiterplatte herum, so dass die Taste und der USB-C-Anschluss nach oben zeigen.
-
Klappe den Sicherungsbügel am Anschluss des breiten Flachbandkabels mit einer Pinzette hoch.
-
Ziehe das breite Anschlusskabel von der inneren Leiterplatte ab und entferne es.
-


Um dein Gerät wieder zusammenzubauen, folge den Schritten in umgekehrter Reihenfolge.

2 Kommentare
Replace the ribbon or reposition it?
So where do we purchase the Sonos Roam Large Ribbon to replace it?!
MareBear -
What about IP67 rating? Am I going to lose the water resistance rating if I do not reapply some glue or additional adhesive when reassembling things back?
Askar -