Einleitung
Diese grundständige Anleitung zeigt, wie das Mikrofon am iPhone 16 Pro ausgetauscht wird.
Werkzeuge
Ersatzteile
-
-
Trenne alle Kabel vom Smartphone ab.
-
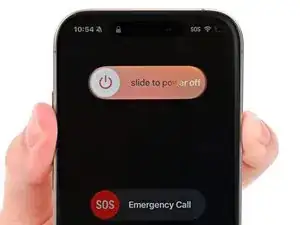
Halte die Einschalttaste und eine der beiden Lautstärketasten gedrückt. Wische dann auf dem Display zum Ausschalten nach rechts.
-
-
-
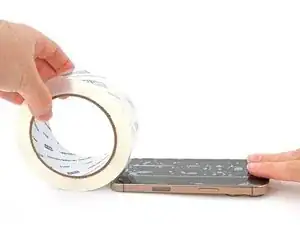
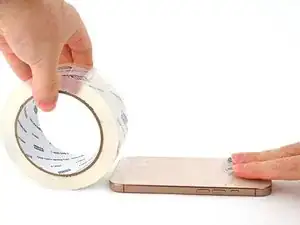
Sollte das Display oder die Rückseite stark gesplittert sein, dann überklebe die Seiten mit überlappendem Paketband. So bist du geschützt und die Demontage geht leichter.
-
-
-
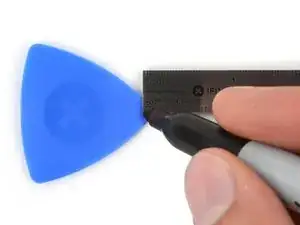
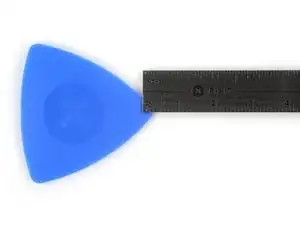
Zeichne mit einem Permanentmarker 3 mm von der Spitze des Plektrums entfernt einen Strich.
-
-
-
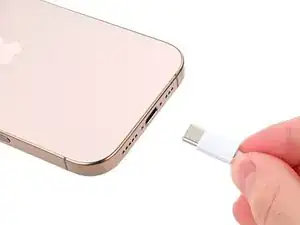
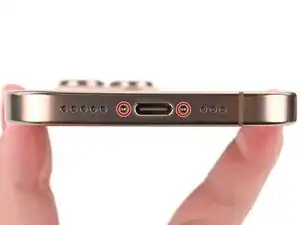
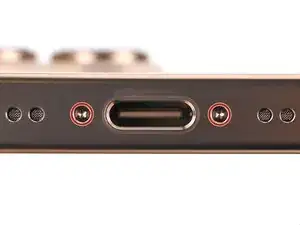
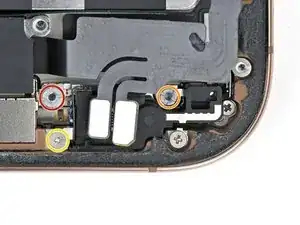
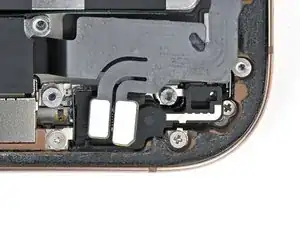
Entferne die beiden 7,4 mm langen Schrauben links und rechts vom USB-C-Anschluss mit einem P2 Pentalobe Schraubendreher.
-
-
-
Zeichne mit einem Permanentmarker 3 mm von der Spitze des Plektrums entfernt einen Strich.
-
-
-
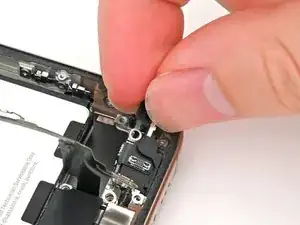
Entferne die drei Schrauben, mit denen das Mikrofon befestigt ist:
-
Eine 3,6 mm lange Abstandsschraube
-
Eine 2,9 mm lange Abstandsschraube
-
Einz1,3 mm lange Tri-Point Y000 Schraube
-
-
-
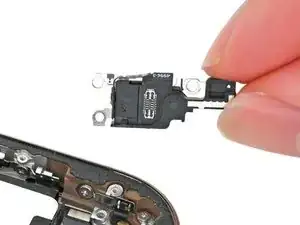
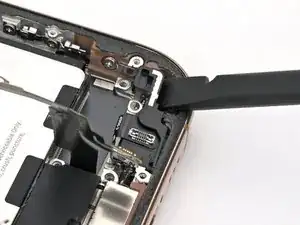
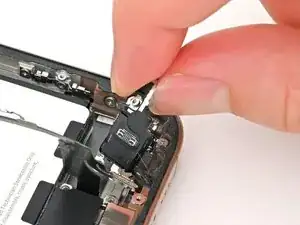
Heble das Mikrofon mit dem flachen Ende des Spudgers soweit nach oben, bis du es mit einer Pinzette oder deinen Fingern fassen kannst.
-
-
-
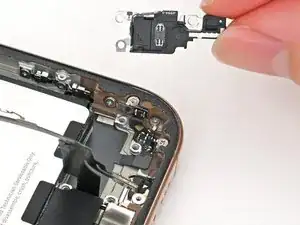
Das Mikrofon wird von einer Klebedichtung am Rahmen gehalten. Ziehe es zum Akku hin, damit es sich von der Dichtung löst.
-
Hier Übersetzung einfügen
-


Um dein Gerät wieder zusammenzubauen, folge den Schritten in umgekehrter Reihenfolge.
Entsorge deinen Elektromüll sachgerecht.
Hat die Reparatur nicht ganz geklappt? Versuche es mit ein paar grundsätzlichen Lösungen, ansonsten findest du in unserem Forum Hilfe bei der Fehlersuche.

Wilson Demosthène
Demosthène Wilson -