Introduction
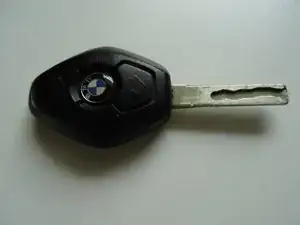
Inside this key model, there is a battery that charges inductively through the steering wheel while driving. After a few years, the battery weakens and the remote control won’t function anymore. It takes some work, but the battery can be changed. To do this, the key must be cut open and the old battery de-soldered. After the new battery is soldered-in, the key must be reprogrammed. If the key is very worn, this is a good time to install a new housing.
-
-
Try and see first if the key was simply "forgotten" by the car by reprogramming it:
-
Open the car with the second key, get in and close the door, but don't shut it all the way.
-
Put the key that needs to be reprogrammed into the starter and turn it to the "Radio" position. Leave it in this position for a few seconds and then pull it back out. The system is now ready for reprograming.
-
Press and hold-down the "open" button and then press the "close" button three times. Now, let go of the "open" button. The locking system should respond by locking and unlocking all doors, with a "click-clack"
-
Important: The second key must be reprogrammed within 10 seconds, otherwise it will no longer work. For this it must not be put back into the starter.
-
If this worked, you can stop - otherwise, follow the next steps.
-
-
-
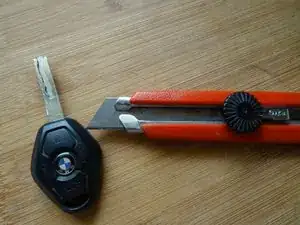
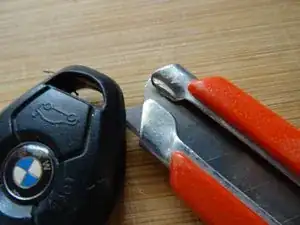
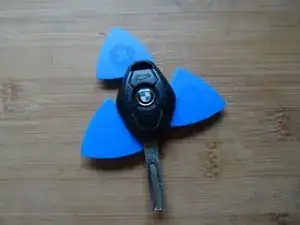
The two halves of the casing are glued together. Separate the seam between the upper and lower casing with a sharp utility knife.
-
The process is tricky and time-consuming, cutting again and again around the key. Work slowly and patiently.
-
-
-
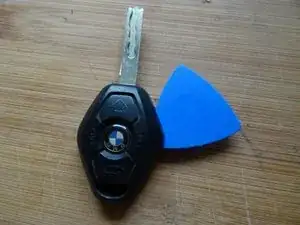
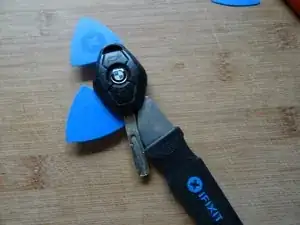
When the seam is open wide enough, slide a pick inside.
-
Then separate the casings with an appropriate tool.
-
-
-
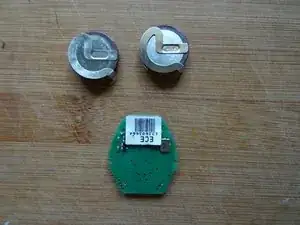
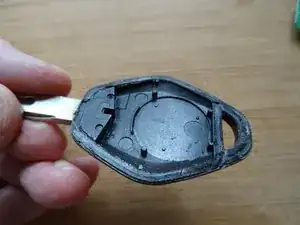
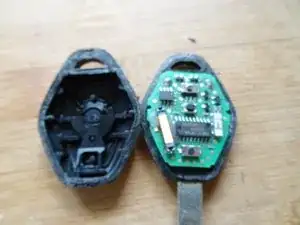
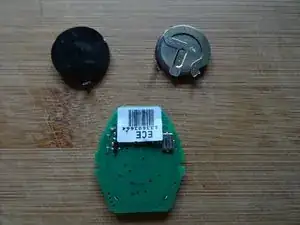
Here is what the inside of the casing looks like. The circuit board has already been removed.
-
-
-
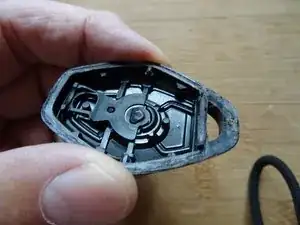
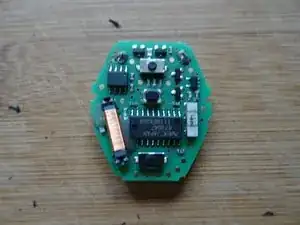
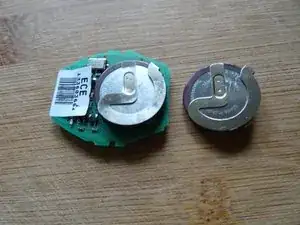
The circuit board.
-
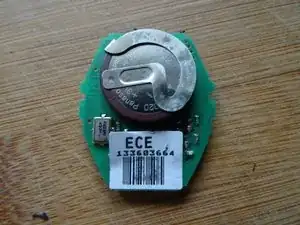
The battery type is VL2020. Pay attention to the welded flag connectors, which are in right angles of each other.
-
-
-
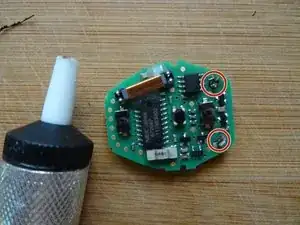
Desolder the battery from the solder joints marked in red.
-
Use a desoldering pump or desoldering wick.
-
Lift the battery out carefully.
-
-
-
Put everything back together. Do not glue the casings yet. Instead, hold them together with a rubber band.
-
Check whether the micro switches are clicking. If not, move the circuit board back into the right position again.
-
Normally, the key - as mentioned in step 1 - will have to be reprogrammed. And don’t forget about the second key.
-
When everything is working, you can glue the two halves back together with the appropriate glue – for instance Super Glue – and carefully sand off any excess glue.
-


Complete the steps in reverse order to reassemble your device.