Introduction
This guide will take you through replacing the outer tie rod ends on your Saturn. It is not a difficult job, requiring only basic tools and knowledge. I did it in my driveway in about 2 hours with around 30 dollars in tools.
The most important part is being safe with the car jacked up.
-
-
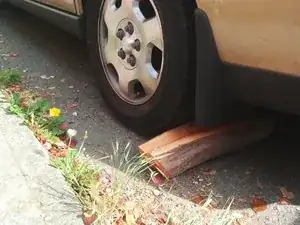
Take care to prevent the car from rolling backwards. If it rolls off the jack or stands, it may cause serious damage to the car or you.
-
-
-
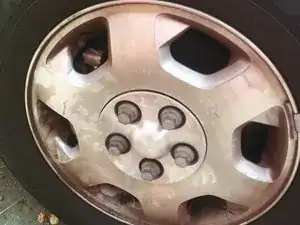
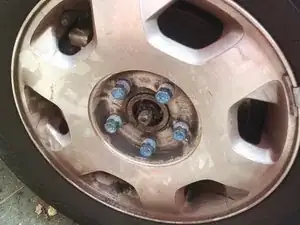
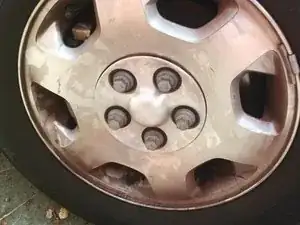
Take off the hub cover.
-
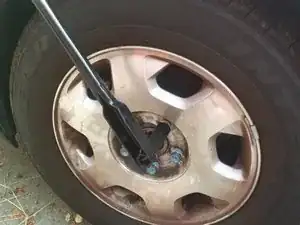
Loosen the lug bolts. Do not remove them, just break them loose. This will make it easier to take them off when the tire is off the ground.
-
-
-
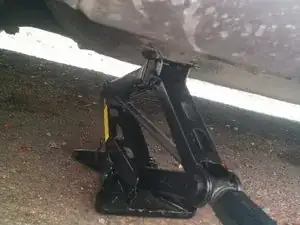
Place the jack at the jacking point and slowly raise the vehicle.
-
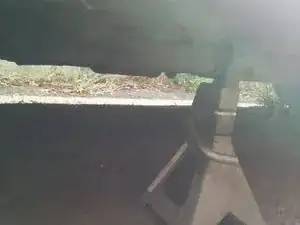
Once the tire is off the ground, find a secure spot to place the jack stand. Make sure it is a spot that can hold the weight of the car. The pinch joint under the door can hold the car.
-
Gently lower the car onto the stand.
-
-
-
Remove the lug bolts and pull the tire off.
-
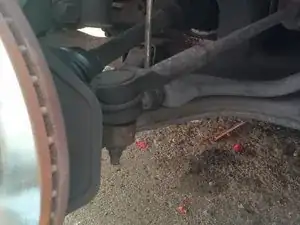
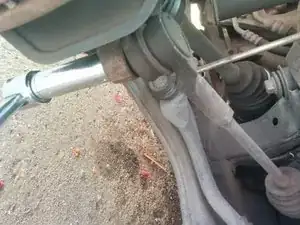
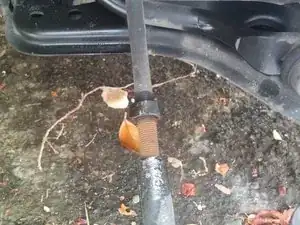
You can now see the tie rod end. It has a jam nut at the back to keep it in place.
-
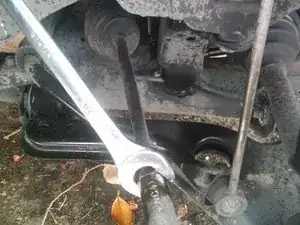
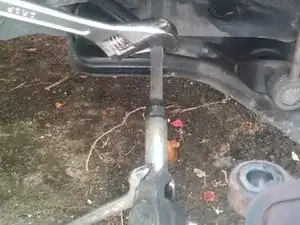
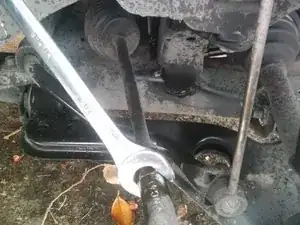
Loosen the jam nut. It is much easier to do this before removing the tie rod end from the knuckle.
-
A spritz of penetrating oil may help if it is seized.
-
-
-
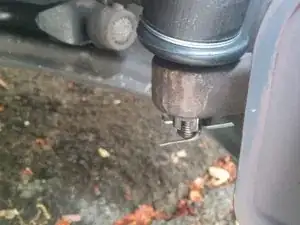
If there is a cotter pin inserted into the bolt, remove it with pliers or side cutters. This cotter pin is there to stop the nut from working its way loose. These parts had a lock nut instead.
-
Remove the nut on the bottom of the tie rod end.
-
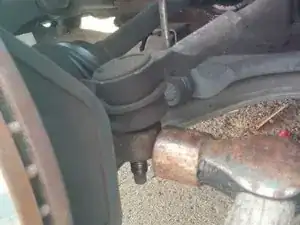
The tie rod end is now held simply by the taper in the parts.
-
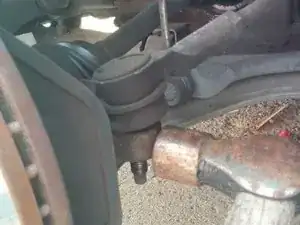
Using a heavy hammer, hit the knuckle that the bolt goes through. You will need to swing quite vigorously so take care not to miss and damage anything, including yourself. It may require several hits.
-
-
-
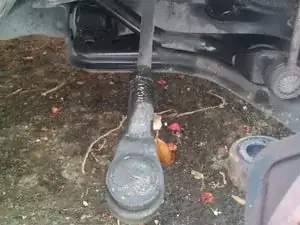
The tie rod end should now be able to be unthreaded.
-
If you need more grip to stop the inner tie rod from turning, there is a flat spot that you can grab with a wrench while you turn the outer one.
-
-
-
After the old parts are removed, compare them with the new ones to ensure they are matching.
-
Thread the new parts onto the inner tie rods until they touch the jam nut that was left on in Step 4.
-
These parts had a grease fitting that needed to be installed on top. Not all parts will have grease fittings.
-
Insert the tie rod end bolt into the knuckle. Give it a few light taps to push the bolt through so you can put the nut on it.
-
Put the nut on and tighten to specifications. I did not use a torque wrench, but you should if you are unfamiliar with turning wrenches.
-
These parts use a castle nut and cotter pin to stop the nut from working loose. Some parts will have a self-locking nut instead.
-
Once the nut is tight, put the cotter pin through the gaps in the nut and through the bolt. Then spread the legs on the pin to stop it from wiggling loose.
-
If the pin doesn't go through because the nut is in the way, TIGHTEN the nut just until it will pass.
-
-
-
Tighten the jam nut.
-
Make sure anything you loosened or removed is put back.
-
Put the tire back on and snug up the lug bolts.
-
Use the jack to lift the car off the stand. Then remove the stand.
-
Lower the car until the wheel touches firmly. Then tighten the lug bolts completely in a criss cross pattern.
-
Lower the car fully and remove the jack.
-
Give a final snug to the lug bolts and put the hub cover back on.
-
-
-
Take the car for a test drive.
-
It is recommend that you have the car aligned after doing this job.
-
To reassemble your device, follow these instructions in reverse order.
