Introduction
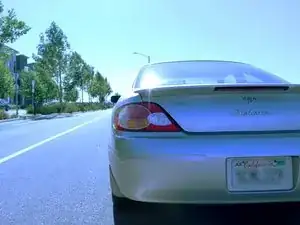
Do you have a broken tail light? Follow this guide to learn how to check and then replace a broken taillight on the 2003 Toyota Solara.
Parts
-
-
Park the vehicle and turn off the engine.
-
Step on the brake pedal to confirm whether or not the tail light is responsive.
-
-
-
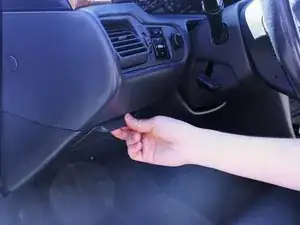
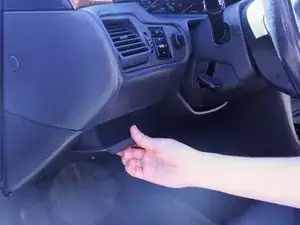
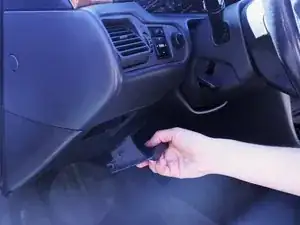
Reach underneath the steering wheel. Then, place your hand to the left to remove the fuse box cover.
-
-
-
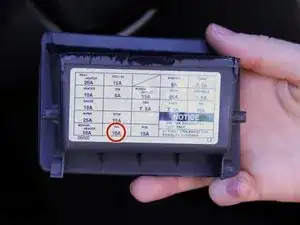
Reference the fuse box guide on the back of the cover.
-
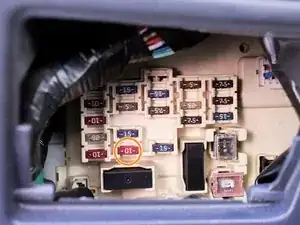
Locate the fuse number that corresponds to the tail light (2nd column, last row).
-
Replace the tail lamp if the fuse is still functional.
-
-
-
Open the vehicle's trunk.
-
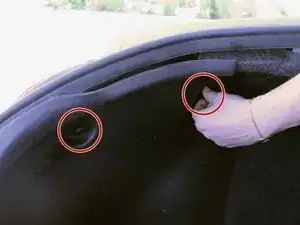
Unscrew the plastic fastenings located inside the trunk.
-
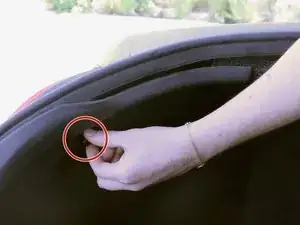
Detach the panel covering the tail light.
-
-
-
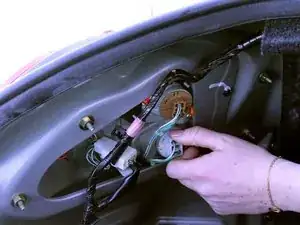
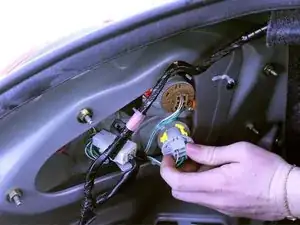
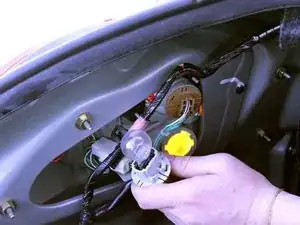
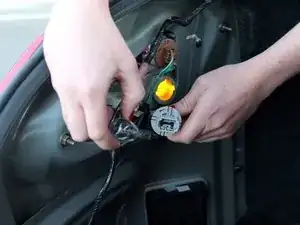
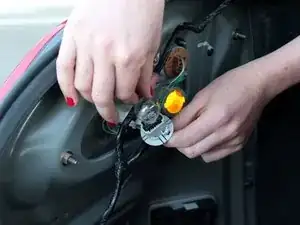
Untwist the wired socket to expose the lamp bulb.
-
Check the bulb for discoloration (if it is clouded, replace the bulb).
-
To reassemble the tail lamp, follow these instructions in reverse order.
