Introduction
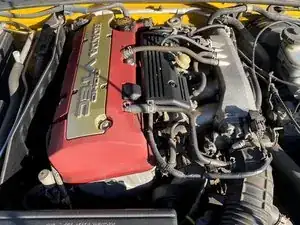
Replacing the valve cover gasket can be a very easy process. If you need any help finding the right part, here is the part number: 12040-PCX-305. You can purchase the gasket on Honda Parts Now. When valve cover gaskets go bad, the engine might misfire or small like burning oil. Oil can also leak out of the valve cover if the gasket has gone bad.
This is a safe part replacement, so there is little risk of injury; however, wear gloves will protect your hands from oil residue and grime. Don’t lose any parts or screws and store them in a secure place such as a magnetic parts dish.
Tools
Parts
-
-
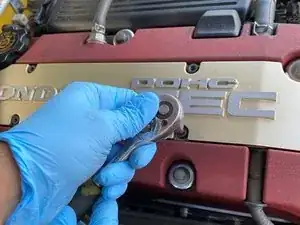
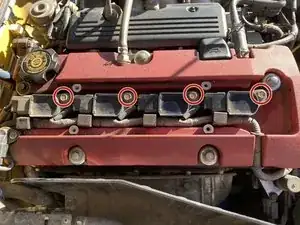
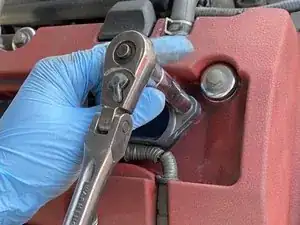
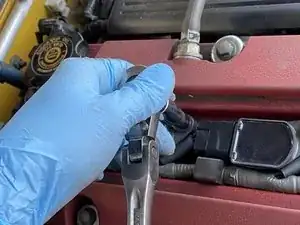
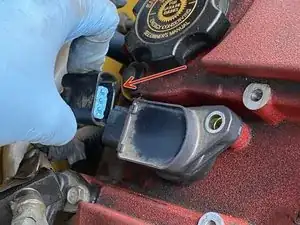
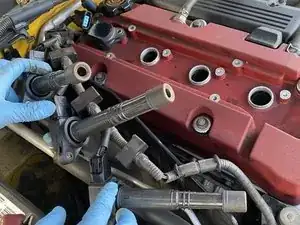
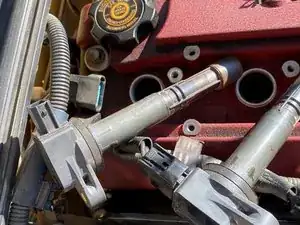
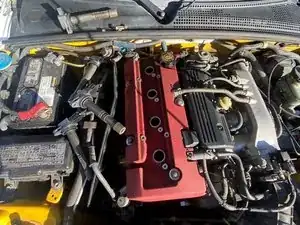
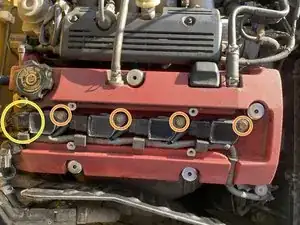
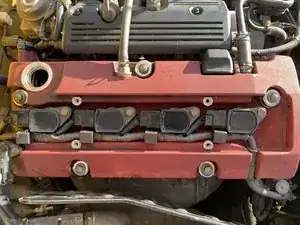
Using a 10mm deep socket and a Torque wrench, remove the four 10mm bolts from all four coil packs.
-
-
-
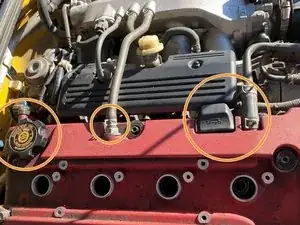
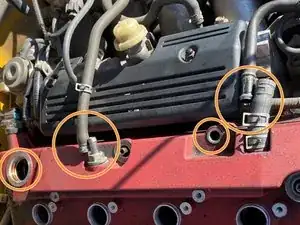
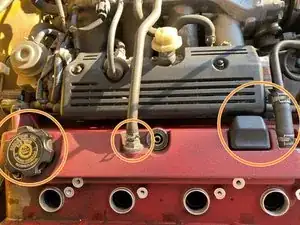
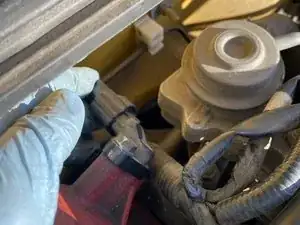
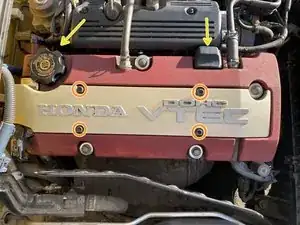
Loosen the clamps on both vacuum lines. Slide both lines off. Remove the oil dipstick and oil cap.
-
-
-
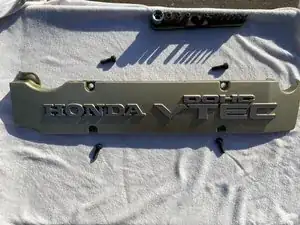
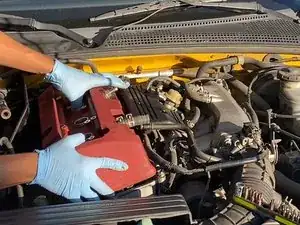
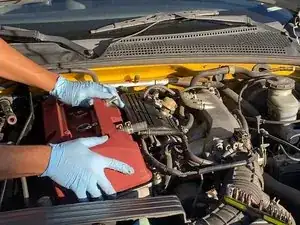
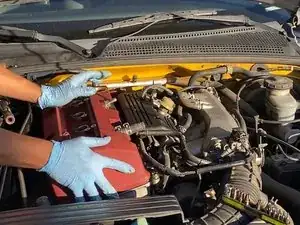
Use both hands and slowly and evenly pull up on the valve cover.
-
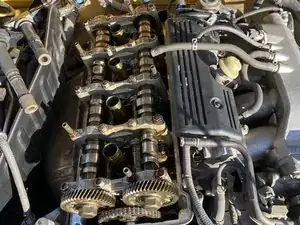
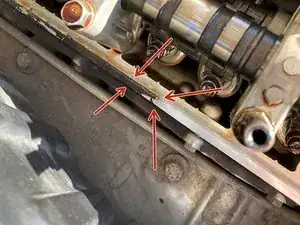
Clean any oil residue from the surface where the valve cover sits.
-
-
-
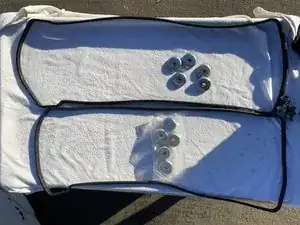
Compare the old and new parts and make sure they are the same. Clean the inside of the valve cover with an old rag.
-
-
-
Apply a small amount of force on both sides of the cover. Gently wiggle it on and ensure nothing gets caught on it.
-
-
-
Put both vacuum lines back on and tighten them down with the clamps.
-
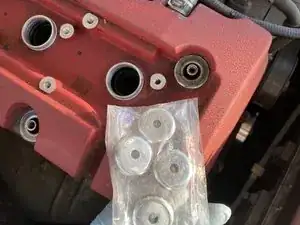
Put on the new washers that hold down the cover; these easily pop on.
-
-
-
Place the 4 coils back into the spark plug holes and tighten the bolts. Plug in the last coil pack.
-
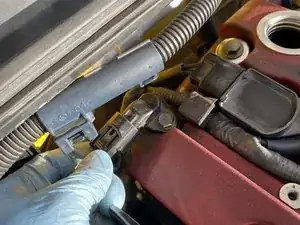
Plug in the last coil pack.
-
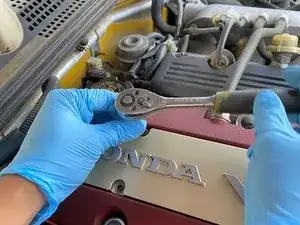
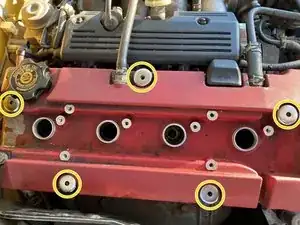
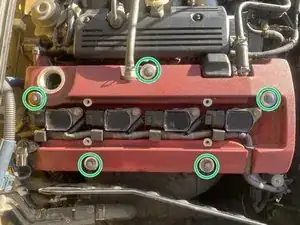
Tighten the five bolts that hold down the valve cover.
-
To reassemble your device, follow these instructions in reverse order.
