Introduction

This guide will help users replace their car battery, if they ever need perform a battery replacement. A user will know if they need to change their battery when the car dies and won't turn back on. Usually, you can charge the battery back up, but if the battery is unable to charge up, that is when you know you need to replace the whole battery completely. Replacing the battery will require removing the battery by disconnecting the cables from it, replacing it with a new one, and connecting the cables to the new battery.

  1. xJqMg1VOBEWTgCoq
    • Turn the car off.

  2. juNfZAWWJdpjWv1r
    juNfZAWWJdpjWv1r
    bcoSVId6DWDGsRp6
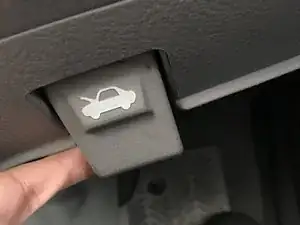
    • Locate the hood release lever near the lower left side of the steering wheel. Pop the hood by lifting up on the release lever.

  3. RpWiKsj5Gp53dBYP
    RpWiKsj5Gp53dBYP
    tLwIPpNX1UHFUEyj
    TLKXJ1TloPWl5PqF
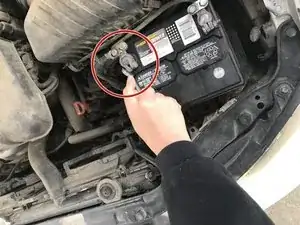
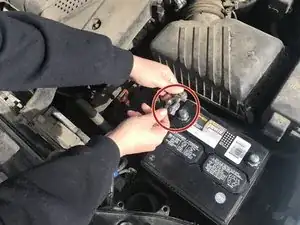
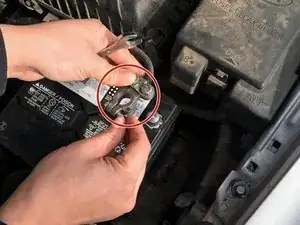
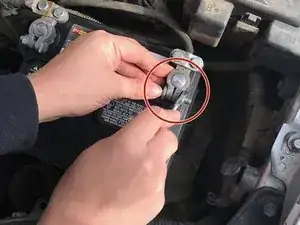
    • Remove the positive (red circle) cable from the battery using the wrench to loosen the nut and bolt.

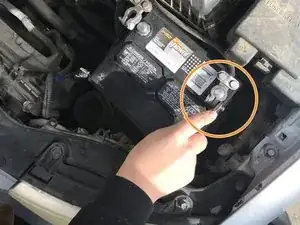
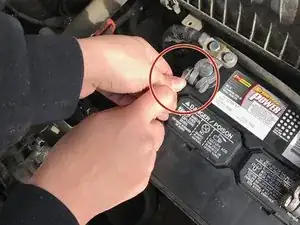
    • Then, remove the negative (orange circle) cable battery, using the wrench to loosen the nut and bolt.

  4. 5pqRAQroDXoDNT1s
    5pqRAQroDXoDNT1s
    LN31iWZsQqqZBYoG
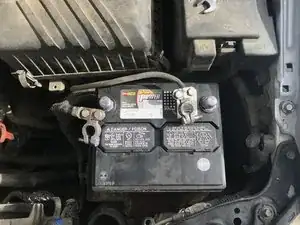
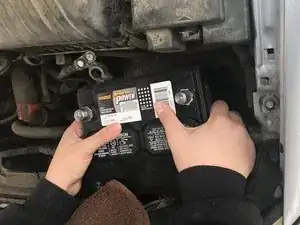
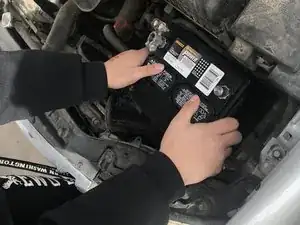
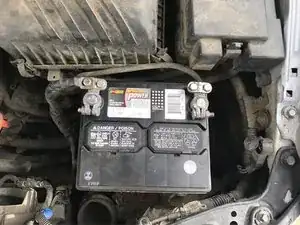
    • Take the battery out, lifting the battery.

    • The battery will be heavy.

    This skips a step. There is a battery clamp that should be holding the battery in. You need a socket set with extenders to get that out. You can see it in several of the images here. If you try to take it out without removing this clamp, you could hurt yourself or break something. It’s the rusty bit you can see that sits in front of the battery in this image: https://guide-images.cdn.ifixit.com/igi/...

    Anonymized Guest -

  5. bO4sLfdJLClGKLKX
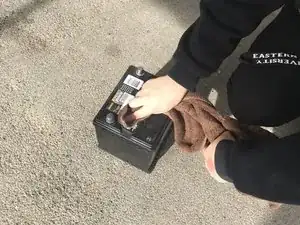
    • Clean the new battery with a rag to make sure it is ready to go.

  6. G1MLH2bMCHnhlv3h
    G1MLH2bMCHnhlv3h
    GeiYPhEVEgYdO5ij
    LnjSdxbrVC3fj2up
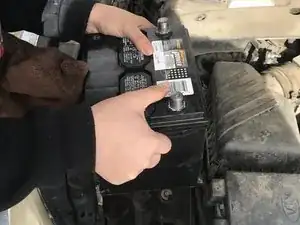
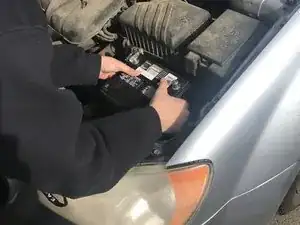
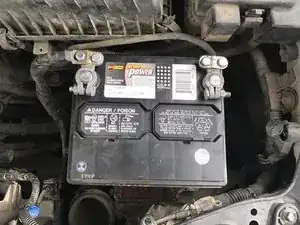
    • Place the new battery in the base where the battery goes.

  7. yoqZMlijGoPWfqCN
    yoqZMlijGoPWfqCN
    dTSoZvDuiIV3eTMR
    • Attach the positive (red cirlce) cable to the battery by screwing on the nut and bolt with the wrench.

  8. lo1HMFeHuqOmaE2c
    lo1HMFeHuqOmaE2c
    GHlf3fhDJ2TRHT2X
    Ya6OAdY5wZLUdJyP
    • Then, attach the negative (red arrow) cable to the battery by screwing on the nut and bolt with the wench.

Conclusion

To reassemble your device, follow these instructions in reverse order.
Abigail Cerrillo

Member since: 30/01/18

217 Reputation

0 comments