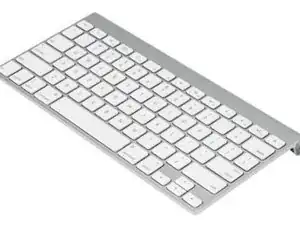
Introduction
Tools
-
-
Remove the batteries.
-
Remove the plastic cover on the bottom. (On older models, this cover is not centered.)
-
Remove the small screw.
-
-
-
Use a flat blunt tool to loosen the ribbon cable clamp. To do this, pull the front part away from the rear part.
-
Pull out the ribbon cable.
-
-
-
Put the batteries back in (without screwing the cover on).
-
Push in the batteries to release the circuit board assembly.
-
Carefully pull out the circuit board assembly. Pay attention to the ribbon cable.
-
-
-
Soak the keyboard in alcohol (methylated spirits). It should be completely covered. Use an airtight container.
-
Keep moving the container to get the liquid everywhere.
-
Wait 24 hours
-
-
-
Take the keyboard out of the liquid and shake it out well.
-
CAUTION!! This step is not absolutely necessary!! Opening the keyboard further is only necessary if you want to gain access to the circuit paths.
-
The plastic cover on the back can now be easily detached. To do this, use a flat blunt tool to go into the gap and pry off the plastic cover. The alcohol has softened the glue.
-
Let the keyboard dry well. To speed up the process, you can put it into the sun.
-
-
-
Put the parts back together in reverse order. When installing the circuit board unit, make sure that you pull the ribbon cable to the side.
-