Introduction
-
-
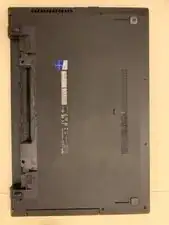
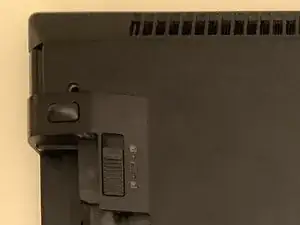
Remove the battery.
-
All screws can be removed using a PH1 screwdriver. There are 3 basic sizes. Remove in order and put into an ice cube tray or muffin tray to keep them in order.
-
-
-
Using guitar pics, pop off the clips around the edge to release the case. There is a center clip that is not accessible so care in needed to release this one.
-
-
-
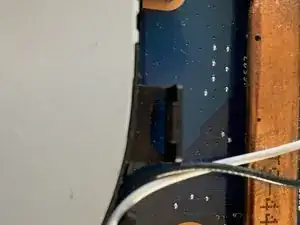
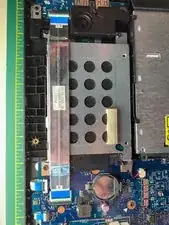
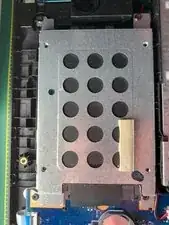
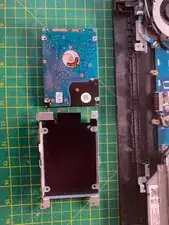
The drive in in the top RH corner when the battery connector is towards you.
-
There is a ribbon cable across it, that needs to be removed first.
-
-
-
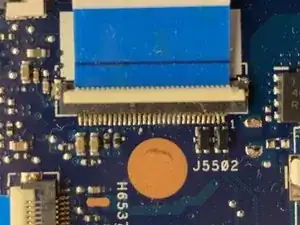
Gently lift the while plastic strip to release the ribbon cable. Do this at both ends to release the cable and remove it.
-
-
-
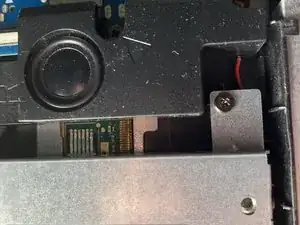
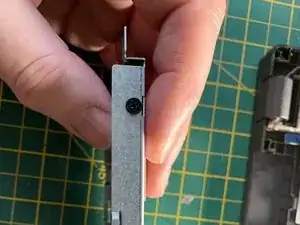
Remove the 4 retaining screws and then slide the unit back away from the connector (the black tab at the bottom of the photograph. It will then come free without bending the pins.
-
Warning! do not try and lift it out before you have slid the unit from the connector!
-
-
-
Drive is now free to be replaced.
-
Reverse the procedure to insert a replacement HHD or SSD drive.
-

To reassemble your device, follow these instructions in reverse order.