Introduction
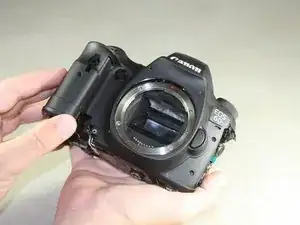
Use this guide to replace a cracked or malfunctioning top analog screen on your EOS 6D.
-
-
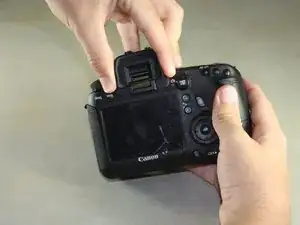
Open the battery door on the bottom of the camera.
-
Use your thumb to slide the small black tab on the inside of the battery door up and pull the door off the camera.
-
-
-
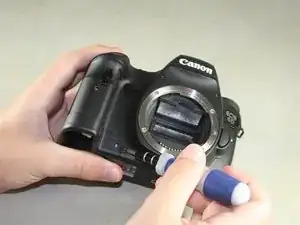
Slide your fingernail or the flat end of the spudger underneath the rubber covering and gently peel it off all sides of the camera.
-
-
-
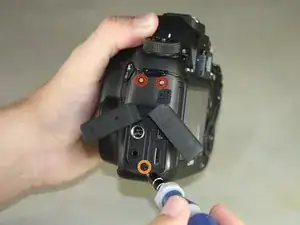
Open the covers to the HDMI/AV/MIC ports on the side of the camera by gently pulling outward on the bottom of the covers.
-
Rotate the covers to the side so that you can see the connection ports inside.
-
Remove the following screws:
-
Two silver 5mm Phillips #00
-
One black 6mm Phillips #00
-
-
-
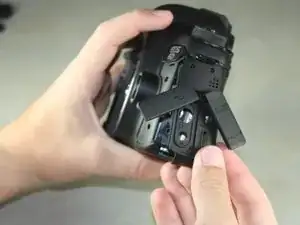
Remove the cover to the HDMI/AV/MIC ports by gently lifting the tab on the bottom edge of the camera.
-
-
-
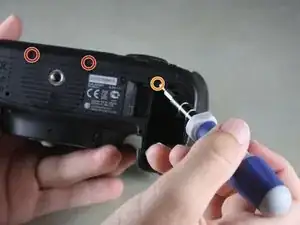
Rotate your camera so the bottom side is facing you.
-
Remove the following screws:
-
One 6mm Phillips #00
-
Two 3mm Phillips #00
-
-
-
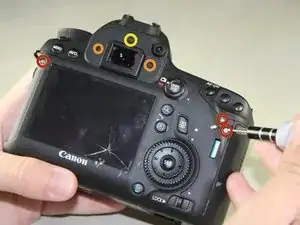
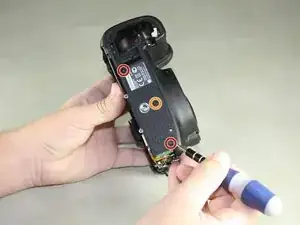
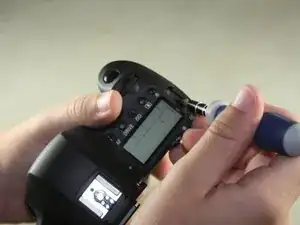
Rotate your camera so the back is facing you.
-
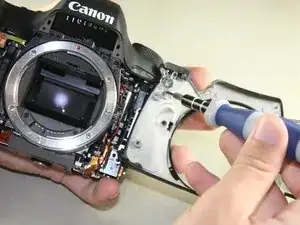
Remove the following screws:
-
Three silver 5mm Phillips #00
-
Two black 6mm Phillips #00
-
One black 4mm Phillips #00
-
-
-
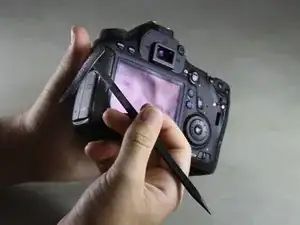
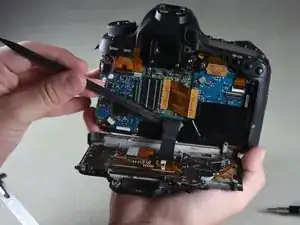
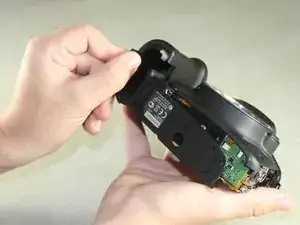
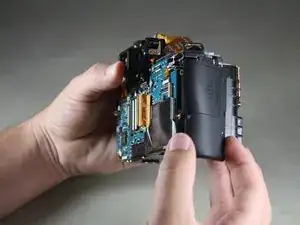
Carefully use your fingers to tilt the back panel downward to about a 90 degree angle.
-
Use the flat end of the spudger to gently pry off the ribbon wire from the inside of the camera.
-
-
-
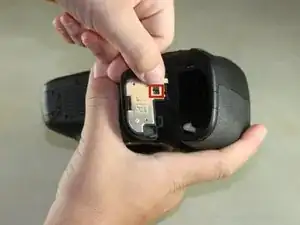
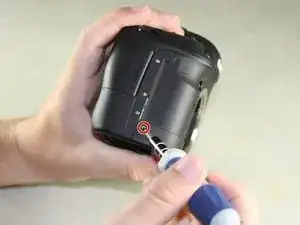
Rotate the camera so the side with the SD card slot is facing you.
-
Remove the 4mm Phillips #00 screw from the bottom edge of this side.
-
-
-
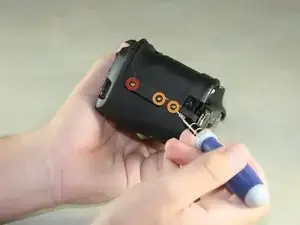
Rotate the camera so the bottom is facing you.
-
Remove the following screws:
-
Two 8mm Phillips #00
-
One 4mm Phillips #00
-
-
-
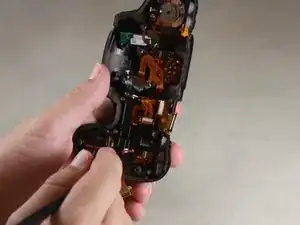
Remove the bottom panel from the camera by using your fingers to pull outward on the tab inside the battery compartment.
-
-
-
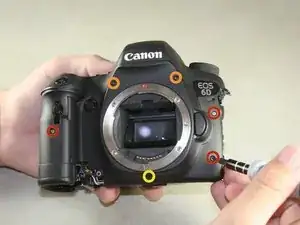
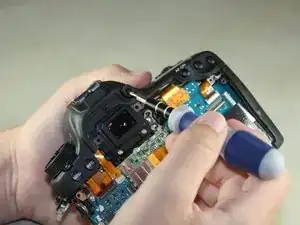
Rotate the camera so the front is facing you.
-
Remove the following screws:
-
Three 5mm Phillips #00
-
Two 6mm Phillips #00
-
One 4mm Phillips #00
-
-
-
Rotate the camera so the side with the SD card slot is facing you.
-
Remove the following screws:
-
One 4mm fine-thread Phillips #00
-
Two 4mm coarse-thread Phillips #00
-
-
-
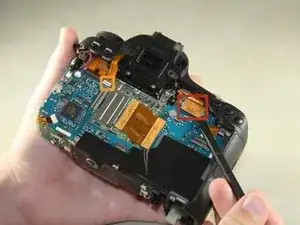
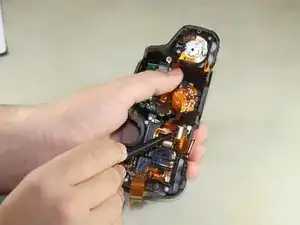
Slowly fold the front panel to the right without pulling it away from the right edge of the camera.
-
-
-
Remove the 4mm Phillips #00 screw on the inside of the front panel to separate the panel from the speaker wire.
-
-
-
Remove the 4mm Phillips #00 screw from the inside of the top panel, below the shutter button.
-
-
-
Rotate the camera so the top is facing you.
-
Remove the 6mm Phillips #00 screw from next to the analog screen.
-
-
-
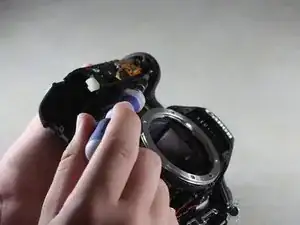
Rotate the camera so the back is facing you.
-
Remove the Phillips #00 screw from the viewfinder focus.
-
-
-
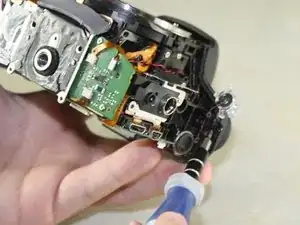
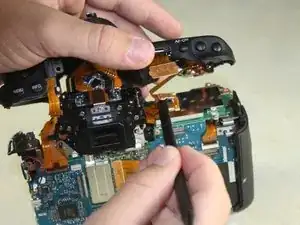
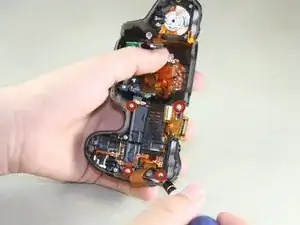
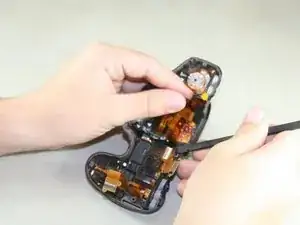
Carefully detach the two light brown ribbon wires on the top panel:
-
The right ribbon by prying it out with the flat end of the spudger.
-
The left ribbon by using tweezers to gently wiggle it out toward the top.
-
-
-
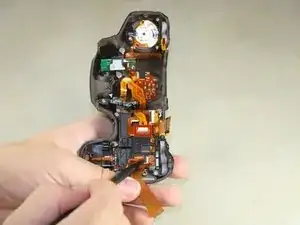
Slowly lift the top panel to about an inch above the body of the camera.
-
Carefully use the flat end of the spudger to detach the ribbon wire from the top of the camera.
-
-
-
Use the pointed end of the spudger to flip up two silver ribbon wire latches on the inside of the top panel.
-

To reassemble your device, follow these instructions in reverse order.
2 comments
any way to replace the sd card side panel without having to take the lcd panel off
Thank you Justin! Very well done. Fixed the camera for $40 rather than replacing it for 1000+