Introduction
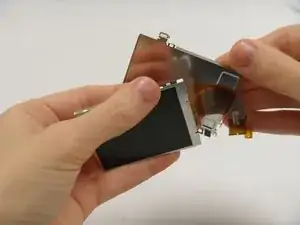
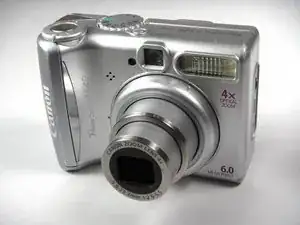
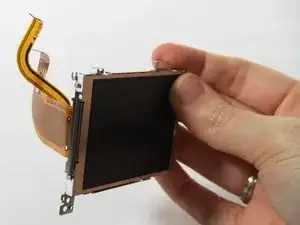
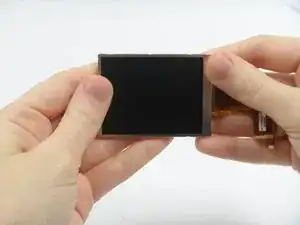
If your LCD screen is cracked, broken, unresponsive, or otherwise damaged, you may need to replace it. After removing the back cover, you will have access to the LCD screen to replace it.
Tools
-
-
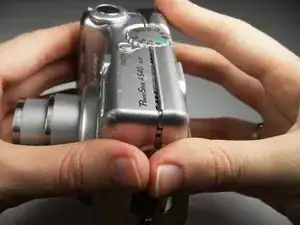
Turn off the camera.
-
Turn the camera upside-down and press the tab to release the battery cover. Remove the batteries.
-
-
-
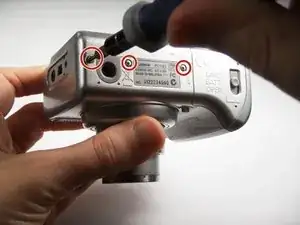
Turn the camera upside down to view the "Card/Batt. Open" Cover.
-
Use a Phillips head #000 screwdriver to remove the three (3) 4.0 mm screws.
-
-
-
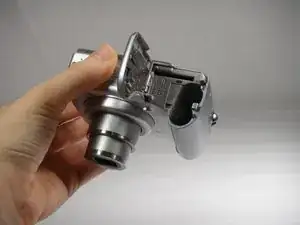
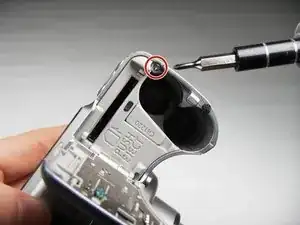
Open "Card/Batt. Open" Cover.
-
Remove the one (1) 5.0 mm screw with the Phillips head #000 screwdriver.
-
-
-
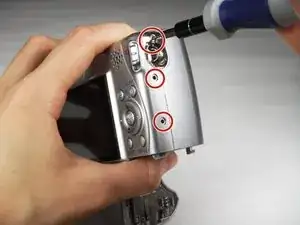
Turn the camera to the right side of the LCD screen.
-
Remove the three (3) 4.0 mm screws with the Phillips head #000 screwdriver.
-
-
-
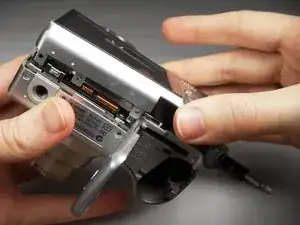
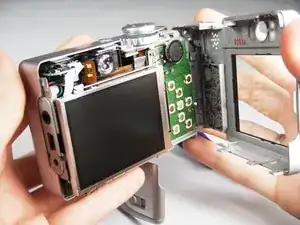
Gently remove the back cover.
-
Start at the bottom at the corner of the "Card/Batt. Open" Cover.
-
Then move onto the other edges and the top.
-
-
-
Turn the camera to view the back.
-
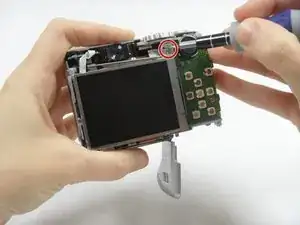
Remove the one (1) 3.0 mm screw on the top right corner of the screen.
-
-
-
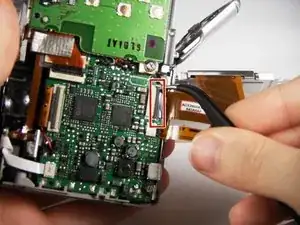
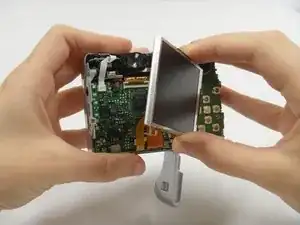
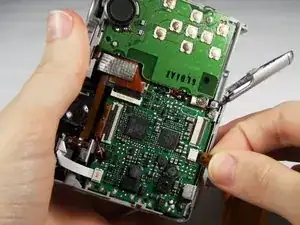
Lift the LCD Screen off of the back to view the attached ribbon cables.
-
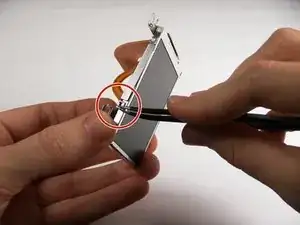
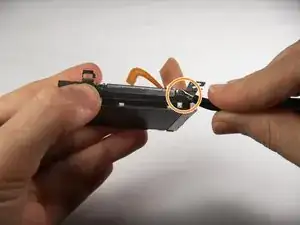
Use tweezers to flip the black bar up.
-
-
-
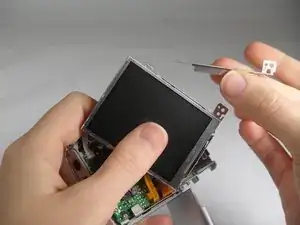
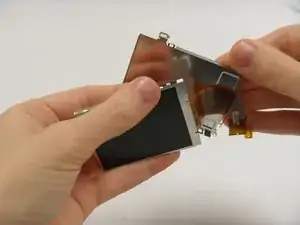
Use tweezers at the top left of the LCD Screen to wedge the top left of the Outer Frame loose.
-
Use the tweezers at the top right of the LCD Screen to wedge the top right of the Outer Frame loose.
-
To reassemble your device, follow these instructions in reverse order.
One comment
I wish to purchase a new screen. Where? I feel capable of repair per these instructions and a u tube video.
