Introduction
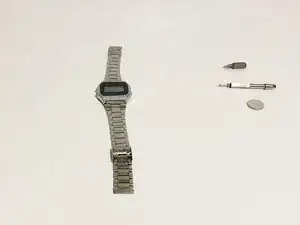
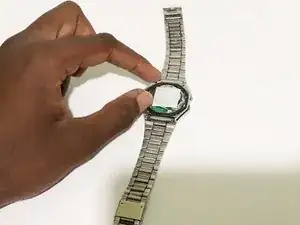
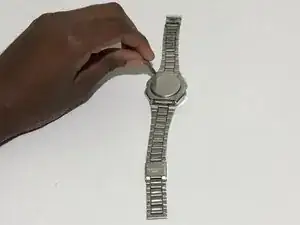
If your Casio Digital Watch (model A158W-1) unexpectedly ceases to perform its duty of telling the date, time and keeping you on your toes with its alarm function, then the watch is most likely dead. Use this guide to replace the battery of your watch.
When watches die, most of the time they are thrown away, lost in the junk drawer or even worse, end up in a landfill where its components can potentially contaminate the soil and be horrible for the environment!
This is usually because most watch owners don’t know how to change the battery or are too misguided on the complexity of the process when in reality it’s very simple and can be done with common household tools and in no more than 15 minutes!
Tools
Parts
-
-
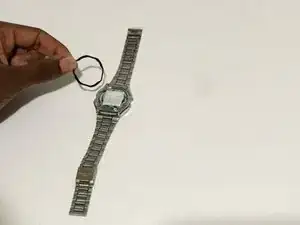
With your fingers, or tweezers if available, remove the rubber gasket surrounding the base of the watch.
-
-
-
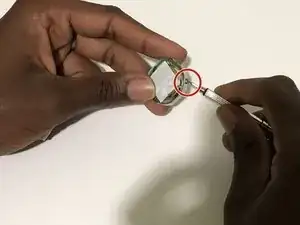
Using the Flathead screwdriver, push the four tabs located around the centerpiece inwards to open it up.
-
-
-
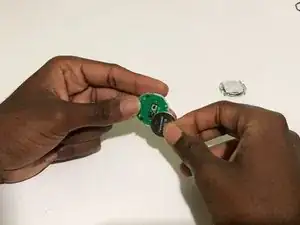
Insert the new Cr2016 3V Lithium battery into the centerpiece.
-
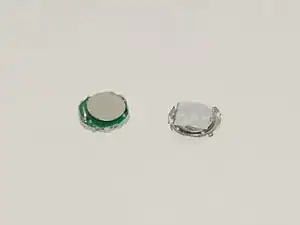
Reattach the back of the centerpiece together.
-
-
-
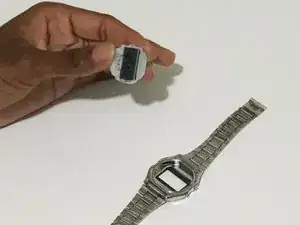
Insert the centerpiece back into the casing of the watch with the "front" facing down.
-
Position the rubber gasket back into place.
-
-
-
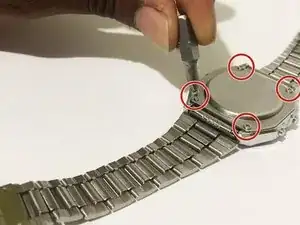
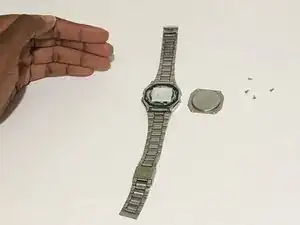
After putting the back panel of the watch into place, use the Phillips #00 screwdriver to screw four screws into place.
-
To reassemble your device, follow these instructions in reverse order.
