Introduction

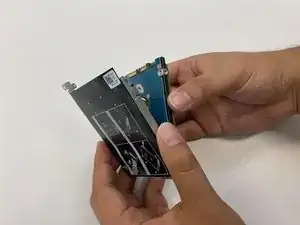
The potential for the hard drive to fail can happen with any computer. With laptops, this is especially the case due to their portable nature and limited protection. Replacing the hard drive is a useful skill in extending the lifespan of your laptop as well as maintaining storage space. In this guide, we will demonstrate how to replace the hard drive in a Dell G3 3590 (2019). No specialized skills are required for this replacement.

  1. aykAyxK2STCsivOx
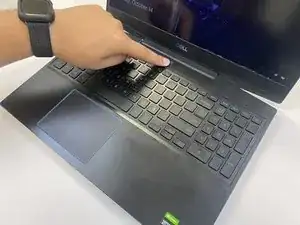
    • Shut down the laptop.

  2. Lw6J3uAPw5gEmeFQ
    Lw6J3uAPw5gEmeFQ
    VjqTYJkeUxgWxWSB
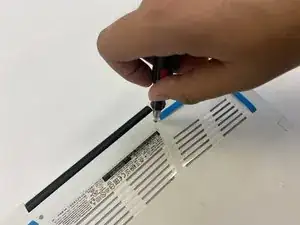
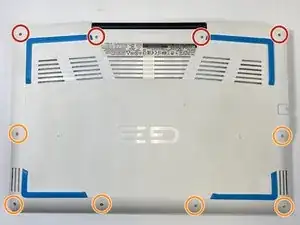
    • Use a Phillips #00 screwdriver to loosen the four captive screws in the bottom cover.

    • The captive screws will not come out. If you keep loosening the captive screws and hear clicks, then they are loosened enough.

    • Remove six silver 7 mm screws using a Phillips #00 screwdriver.

  3. KtsXiB3n5mGawIVd
    KtsXiB3n5mGawIVd
    xTHsbvTcgoOyJhC4
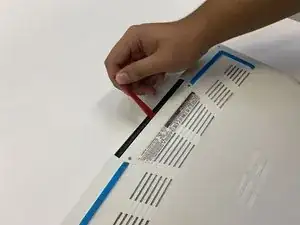
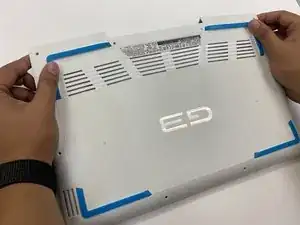
    • Use the opening tool to pry the base cover from the laptop.

    • Lift the base cover off.

  4. XtN1LNbeFcYvCncd
    XtN1LNbeFcYvCncd
    TVBnBrMq6BRQUvAg
    cI1rEhO4GkQAVZ12
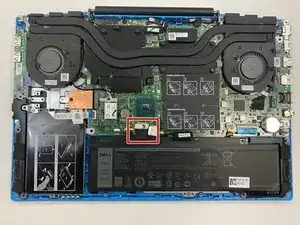
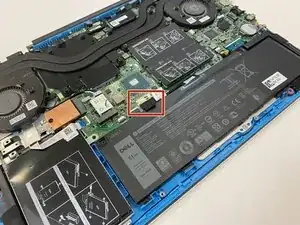
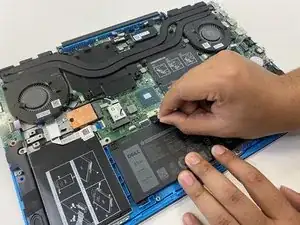
    • Disconnect the battery cable from the system board.

    • Disconnecting the battery cable will require some gentle wiggling.

  5. mlUqKniuK11qjrda
    mlUqKniuK11qjrda
    QQS5ksBFAZH3sLXM
    GKa4WtsQWWbOZCqC
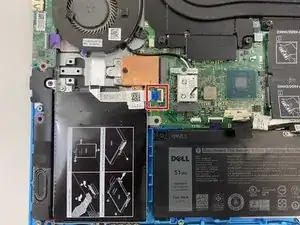
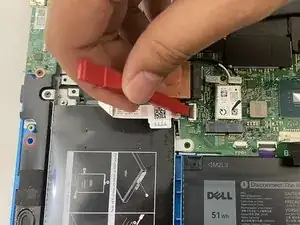
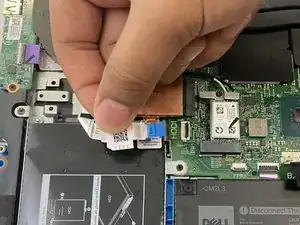
    • Open the latch.

    • Disconnect the hard drive cable from the system board.

    • The latch does not need the opening tool to open. You can use your fingernail.

  6. UKRgIcZ5PSyCRFVI
    UKRgIcZ5PSyCRFVI
    ljcGvLfGyqA5dOQn
    i2EmCNQvaYlFwuhY
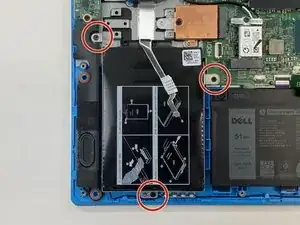
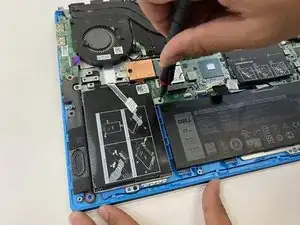
    • Use a Phillips #00 screwdriver to remove three black 3 mm screws.

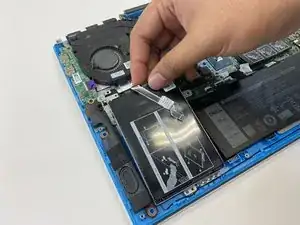
    • Lift the hard drive assembly to remove it from the laptop.

  7. hfFbYi5XW4ATDrQu
    hfFbYi5XW4ATDrQu
    VBAgFgHGPFXlVKI5
    CXTYVRHlfUQUiUlS
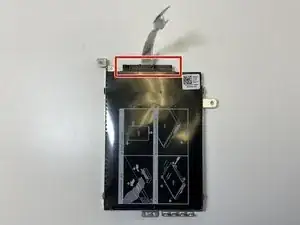
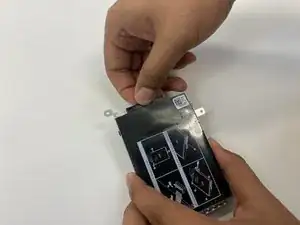
    • Gently pull the interposer from the hard drive.

    • Removing the interposer will require some work. Alternate pulling on one side, then the other until the interposer comes out.

  8. JOcuiPMRoCHkYaeC
    JOcuiPMRoCHkYaeC
    SppU4kBZwGXYP1gs
    CUgIKhqywGAeVaG4
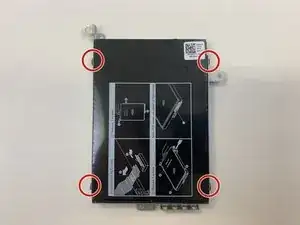
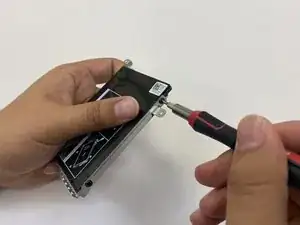
    • Use a Phillips #00 screwdriver to remove four black 3 mm screws from the hard drive bracket.

    • Remove the hard drive from the hard drive bracket.

    • Add the new hard drive into the hard drive bracket.

Conclusion

Once you’ve inserted the new hard drive into the hard drive bracket, reassembling the device can be done by reversing the instructions back to step one. You should hear clicks when you put the base cover back. The clicks ensure that the base cover is secured to the laptop. After this, start up the laptop and ensure it properly starts up.
Bryan Tang

Member since: 28/09/21

181 Reputation

0 comments