Introduction
Prerequisite guide only! This guide is part of an another procedure and is not meant to be used alone.
-
-
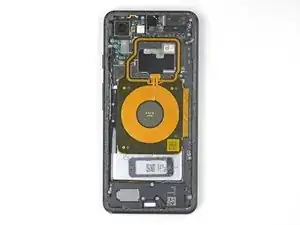
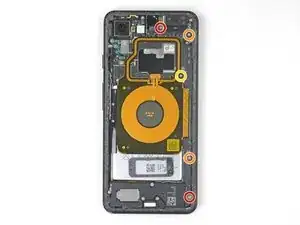
Remove the five Phillips screws securing the wireless charging coil:
-
Two 1.9 mm screws
-
Two 4.2 mm screws
-
One 4.3 mm screw
-
-
-
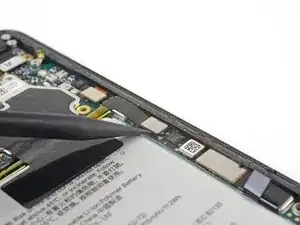
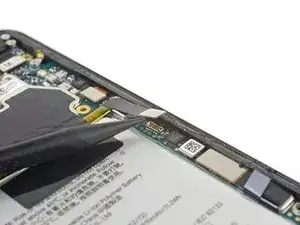
Use the point of a spudger to pry up and disconnect the battery press connector from its socket near the right edge of the phone.
-
Conclusion
To reassemble your device, follow these instructions in reverse order.

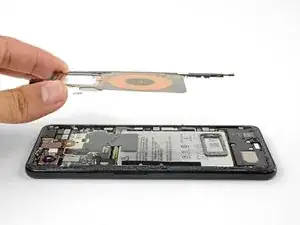
The top 1.9 mm screw can’t be totally removed — it comes out with the coil once loosened
Dmitriy -
Can I leave the wireless charging coil out?
This may also allow a bigger battery!
Jex Webster -
You may be able to! Note that this is not only the wireless charging coil, but also the NFC antenna (the upper loop).
Arthur Shi -
The 1.9 mm screws are actually screwed into the head of another screw beneath them. Sometimes the lower screw unscrews instead of the upper. That leaves both screws attached to the coil. If possible you should separate the two screws and screw the lower one back in first using a small flat blade screwdriver.
Richard Elder -
If you decide to clean the wireless coil assembly, be aware that IPA will completely remove the printed 2-D barcode on the lower right. (Hopefully that's not important.)
Bitt Faulk -
There were 7 screws!!! The last two were both near the power button.
Emily Viehland -