Introduction

This repair guide was authored by the iFixit staff and hasn’t been endorsed by Google. Learn more about our repair guides here.

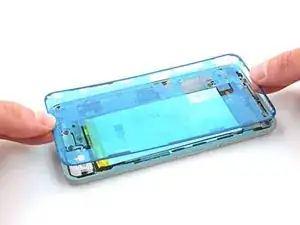
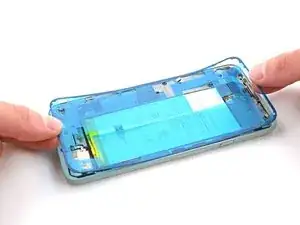
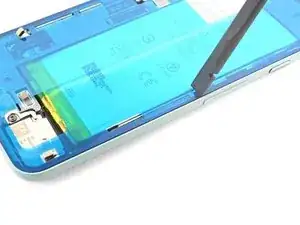
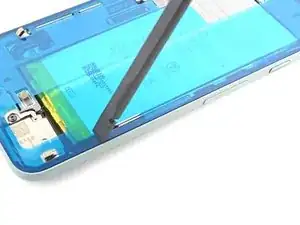
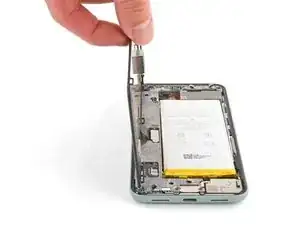
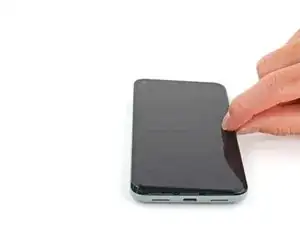
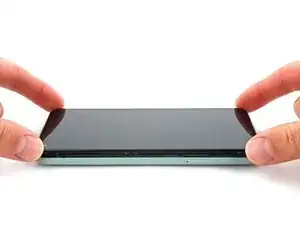
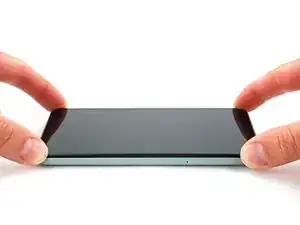
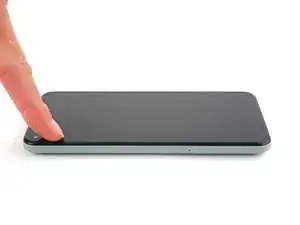
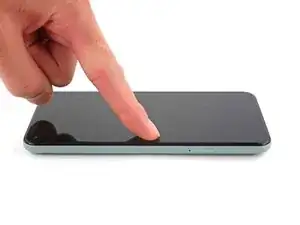
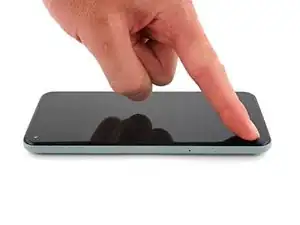
Follow this guide to correctly apply screen adhesive to your Google Pixel 5 after a repair.

Before you begin, you should have already removed your Pixel’s screen and set it aside. Detailed instructions for this can be found here.

  1. JYWxJHegqKR2SCgH
    JYWxJHegqKR2SCgH
    o6RNrOvjHAGea66P
    Ucg5eIJPimcklas1
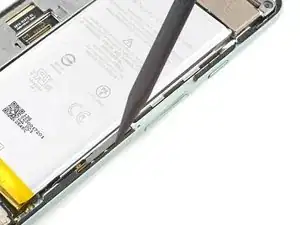
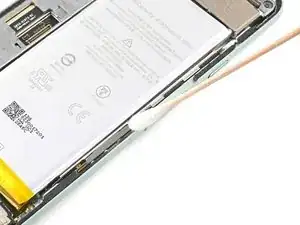
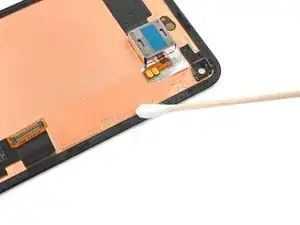
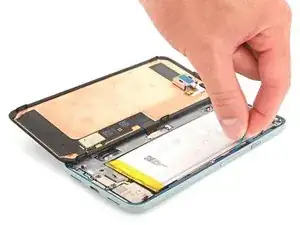
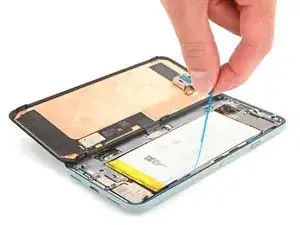
    • Peel off as much adhesive as you can with a pair of tweezers.

    • Use a spudger to scrape away any lingering adhesive.

    • Don't use metal tools to scrape away adhesive as this will damage the frame.

    • For best results, clean the area underneath the removed adhesive with 90% or greater isopropyl alcohol to prep the surface for the new adhesive.

  2. 1ywd4JTEyBP2XhVP
    1ywd4JTEyBP2XhVP
    GcSnqpI4gPQKETBL
    NLuCbPnKaB6uYqCN
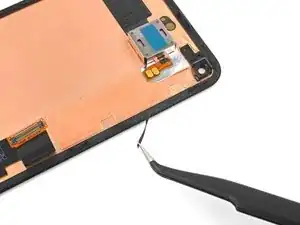
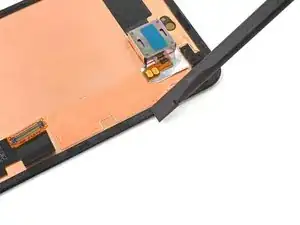
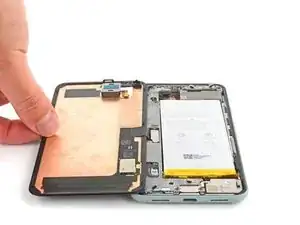
    • Repeat the previous step for the screen adhesive.

    • Don't use metal tools to scrape away adhesive as this will damage the screen.

    • Don't use isopropyl alcohol near the front camera bracket as it will loosen its adhesive.

  3. GXkoUgSgf3ecHZSO
    GXkoUgSgf3ecHZSO
    yRJ13QEgjBRXIiCY
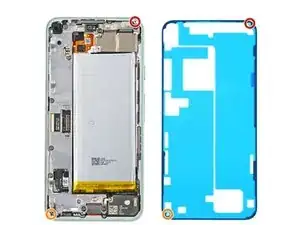
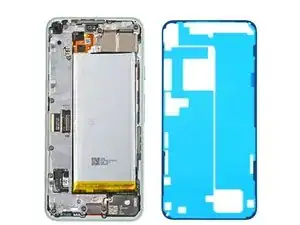
    • Use the holes in the top right and bottom left corners of the frame to correctly align the adhesive:

    • The top right hole is circular

    • The bottom left hole is oblong

  4. S3J5qetNxZDLKlh6
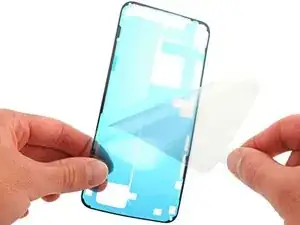
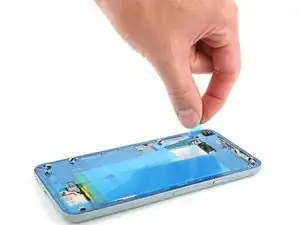
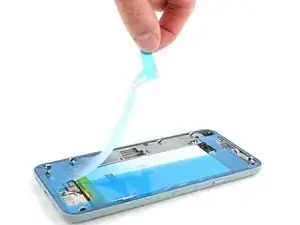
    • Peel away the clear plastic lining to expose the frame side of the adhesive.

  5. AJD2lhJeFGwSSEv1
    AJD2lhJeFGwSSEv1
    fFZSAHDgGSvUuCtQ
    • Be very careful during this step! The adhesive is very sticky and can't be repositioned once it sticks. Misaligned adhesive can lead to an improper seal.

    • Lower the adhesive onto the frame.

    • Use the holes in the top right and bottom left corners to properly align the adhesive during installation.

  6. Z5ZiSYUOOeIaJqKT
    Z5ZiSYUOOeIaJqKT
    VcYDOLdEGNwcJqKW
    • Use the flat end of a spudger or your fingernail to press down on the adhesive.

    • Slide along the perimeter to secure the adhesive to the frame.

  7. ekDKBgCVIMjnPNjT
    ekDKBgCVIMjnPNjT
    aqqJOKjblLMWj4DE
    • Peel away the blue plastic lining on the screen side of the adhesive.

  8. vcQrEGFjLNb1CVa4
    vcQrEGFjLNb1CVa4
    iTXrKUhJMDVpoLVU
  9. 3oHX2cQUMeqaqZZr
    3oHX2cQUMeqaqZZr
    WgukNoJvnnPVul2F
    • Peel away the blue plastic lining to expose the perimeter adhesive.

  10. h6SsqIEOCtjngqiG
    h6SsqIEOCtjngqiG
    d16uNUL4AiPuTxTJ
    uu3MIQQ2YAODMIJj
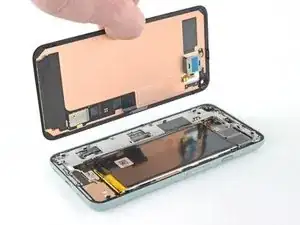
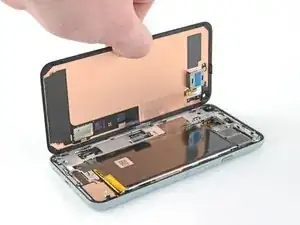
    • Position the screen so it lays on the frame.

    The front facing camera bracket has changed as compared to the original display that came with my Pixel 5. It is no longer a rigid molded part that is glued on but now is flexible has a flap that can cover the camera lens if not installed properly. I am not sure what the best method is as its very hard to access once the display is connected and the screen flipped into position.

    Greg Staples -

  11. LkVWujcOOSDYFuWQ
    LkVWujcOOSDYFuWQ
    aWmPeIgWG5DQtoBt
    • Press down the corners of the screen to secure them to the frame.

  12. c5g6KtULPCQQVtD2
    c5g6KtULPCQQVtD2
    H6WBUCy2bOGuiTTk
    IHfqUKmZ4SkYZxNZ
    • Press down on the edges of the screen.

    • Slide along the perimeter to secure it to the frame.

    • You can heat the perimeter of the screen to soften the adhesive and help it bond more securely.

Conclusion

Repair didn’t go as planned? Try some basic troubleshooting, or ask our Pixel 5 Answers community for help.
Chayton Ritter

Member since: 21/08/20

11820 Reputation

0 comments