Introduction

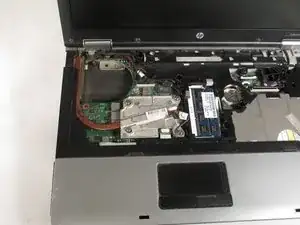
Is your laptop constantly overheating and shutting off? This could be due to a clogged vent fan and/or burnt out thermal paste on your heat sink. Thermal paste is a conductive paste that allows heat to transfer from the electrical components in your laptop to the heat sink, and ultimately out of the computer. Save yourself some money, and learn how to keep your laptop nice and cool with this guide.

  1. icuO2BU4LWKWEW3F
    icuO2BU4LWKWEW3F
    nWxYKjEEybVmdPFo
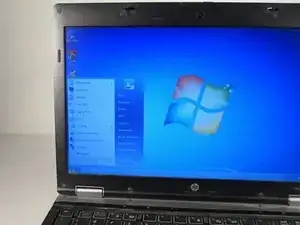
    • Shut down your laptop completely.

    • Do not simply power off your computer using the power button. This will put the laptop into sleep mode. Instead, shut down the laptop from the start menu.

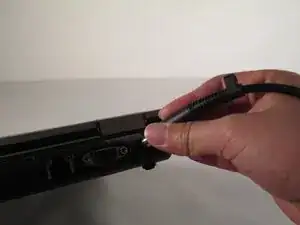
    • Unplug the charger cord and all devices connected to the computer.

  2. KOXhfYXKOOetoFUb
    KOXhfYXKOOetoFUb
    BL3C5C1cbmuTVHSr
    GmqShJDQuZQLHrfX
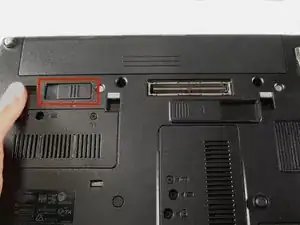
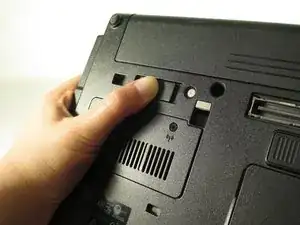
    • Flip the laptop over and locate the battery compartment release latch.

    • Slide the release latch to the left to release the battery.

  3. gP322mP1qF6jireG
    gP322mP1qF6jireG
    kE5JBCKUh2oDYMbO
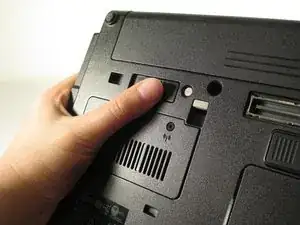
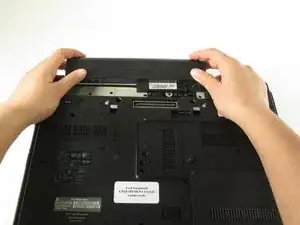
    • Remove the battery.

  4. Wq2qcPdEXkjSXKDH
    • Electrostatic shocks can damage the internal components of the computer.

    • Press and hold the power button for a minimum of 10 seconds to allow electric charge to dissipate from the motherboard and internal components.

    • Optional: You may also wear an anti-static bracelet during the repair as a safety precaution. This grounds you to the computer chassis and prevents accidental static discharge from your fingers.

  5. V64u21CSFSdNkpck
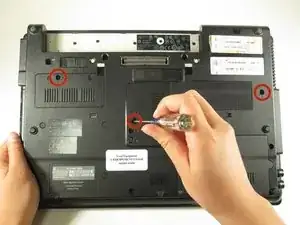
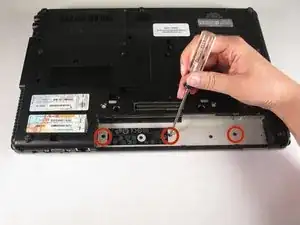
    • Locate and loosen the 3 Phillips PM 2.5 x 11.0 screws on the bottom side of the computer.

  6. Sqj3wJaPuYEQHJEL
    Sqj3wJaPuYEQHJEL
    5VJUpScDBLpyRZPA
    KrHufNUdqEuflUPM
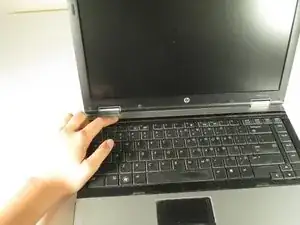
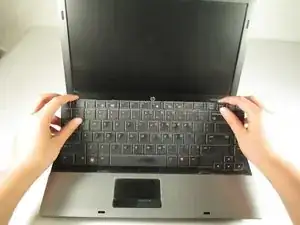
    • Flip the laptop right side up and open the screen.

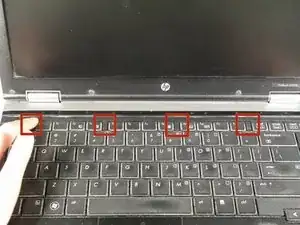
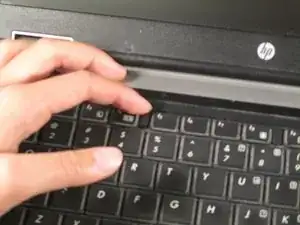
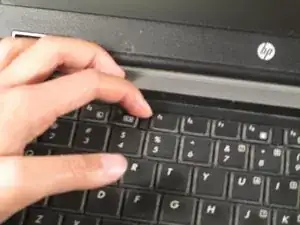
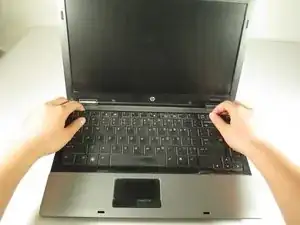
    • Locate the 4 keyboard tabs. Slide the tabs towards you.

  7. ADPEEe2TQAuSFrtB
    ADPEEe2TQAuSFrtB
    LEaJAlGsNOm4soUl
    KJkEghRPAsHvg2VO
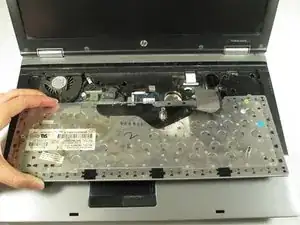
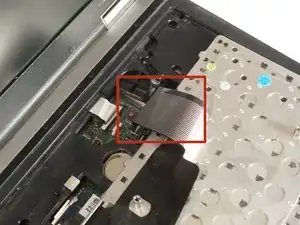
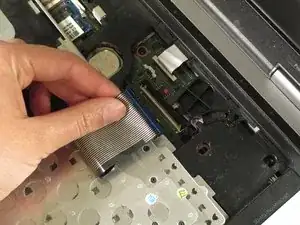
    • Lift the keyboard by the upper edge, then flip it over so the ribbon cable is exposed.

    • Do not attempt to remove the keyboard until the ribbon cable has been disconnected.

  8. xVWCuXS6gGiTwjtX
    xVWCuXS6gGiTwjtX
    WHkAoHKLejca3WdD
    bWucLyUNUmVVGJZY
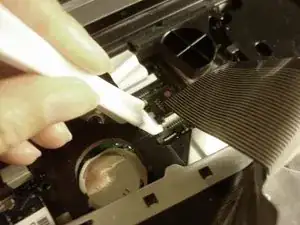
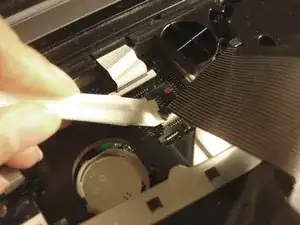
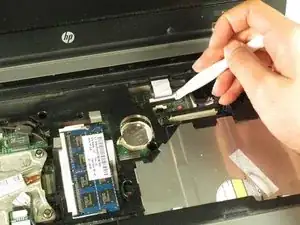
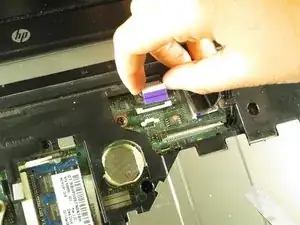
    • Lift both ends of the plastic tab securing the ribbon cable to the system board with the help of a spudger.

    • If you don't have a spudger, any plastic item with a thin edge, like the plastic opening tool pictured here, will work just as well. Guitar picks are also a good alternative.

  9. rV4MFOWZaBMQVHQE
    • Remove the keyboard ribbon cable and set the keyboard aside.

  10. BGArV4QupnppPxko
    • Close the laptop and turn it upside down.

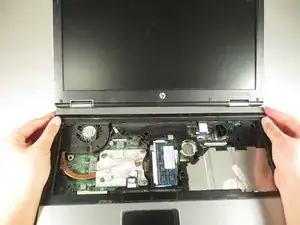
    • Remove the 3 PM 2.0 x 3.0 screws securing the switch cover.

  11. T1K6HBhdDa1CBasg
    T1K6HBhdDa1CBasg
    t2UTPiKuMctPRC4F
    • Flip the laptop right side up, and open the display.

    • Locate the LED board ribbon cable. Lift both ends of the plastic tab securing the ribbon cable to the system board.

    • Slide out the LED board ribbon cable.

  12. piCQbhcjgXRR1Hb3
    piCQbhcjgXRR1Hb3
    xCd5Hk1MEOVsDDR5
    qAZZUn4BrhSfIVRF
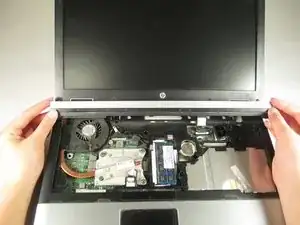
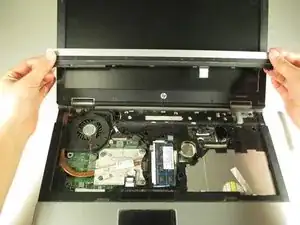
    • Remove the switch cover.

    • You may need to use the spudger or opening tool to pry open the switch cover. It is easiest to start from the top edge, closest to the screen.

  13. IAiTIjKFJkVnYHJi
    IAiTIjKFJkVnYHJi
    t3wIr2TuTfNWZ2sv
    seUtsXdV5lDRFJCK
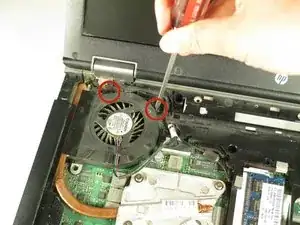
    • Locate and loosen the 2 slotted Torx T8M 2.5 x 7.0 screws securing the fan to the motherboard.

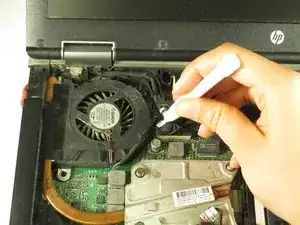
    • Disconnect the fan cable from the board.

  14. SAeftq64flwNffMe
    SAeftq64flwNffMe
    UVINbRZM2jNkktDr
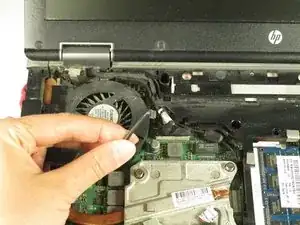
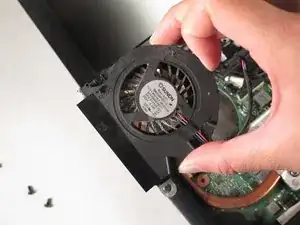
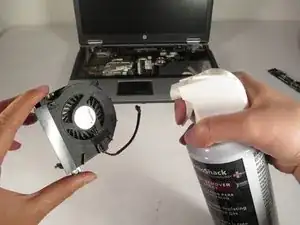
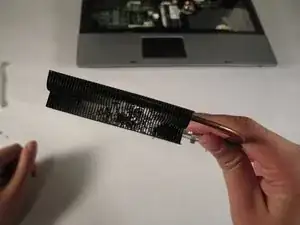
    • Lift out vent fan.

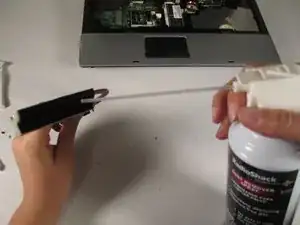
    • Clean the dust from the fan with a small brush and/or compressed air.

    • When using compressed air, avoid tilting the bottle greater than 40 degrees from vertical. Doing so will cause the part and your hand to rapidly cool.

  15. y1fLACZuFfAfTrQj
    y1fLACZuFfAfTrQj
    AIE2jKdIPqYBLPjE
    Heu1uNB51SUxBv4D
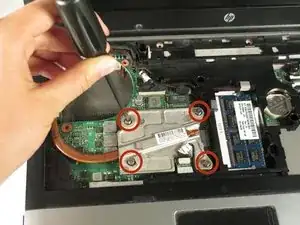
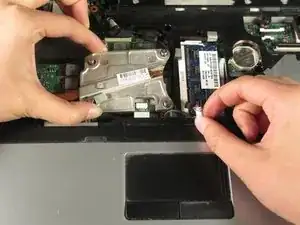
    • Locate and loosen the 4 Phillips PM 2.5 x 9.0 screws securing the heat sink.

    • You may wish to disconnect the cable adjacent to the heat sink, to make removal easier.

  16. K11txsSqIBZFxaCt
    K11txsSqIBZFxaCt
    k5MpmaNK4qKvDHUv
    OOxDLMW3MwK5l2jc
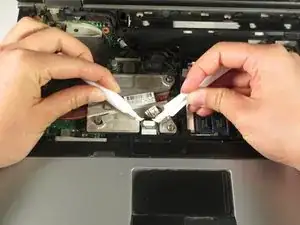
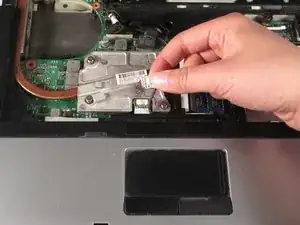
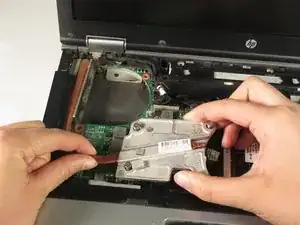
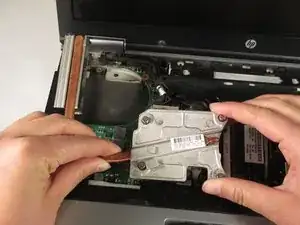
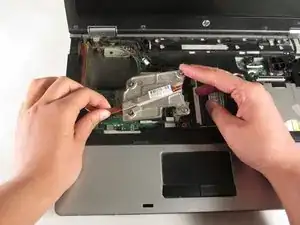
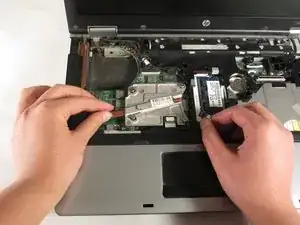
    • The thermal paste may have stuck the heat sink to the motherboard. Gently jimmy the heat sink back and forth until it is loose.

    • Extract the heat sink.

  17. oNFEHhj16bDxGhjW
    oNFEHhj16bDxGhjW
    YJKUGntRUSKe5AV5
    qm5Vfw1QlFqJUJ1W
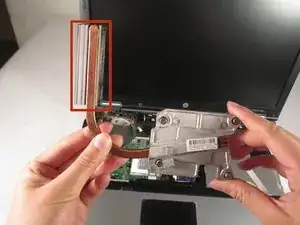
    • Remove dust trapped in the heat sink vent with compressed air and/or a small brush.

  18. ZNNlaJcEbysAhOQZ
    ZNNlaJcEbysAhOQZ
    JwRRYSlEDqrF1t2x
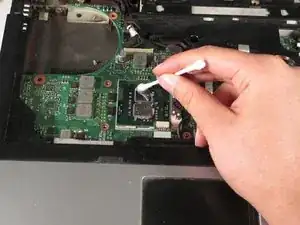
    • Remove the old thermal paste from the heat sink and the CPU with a lint free wipe or cotton swab dipped in rubbing alcohol.

  19. vIu3AcX5ZXTm2FZX
    vIu3AcX5ZXTm2FZX
    pr6eHufBNUHYmqjS
    • Allow the rubbing alcohol to dry completely.

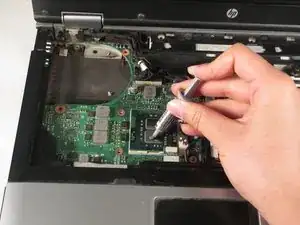
    • Squeeze a small quantity of thermal paste onto the component's surface. The gobs should be about the size of a grain of rice.

  20. hMQXiYfAZP2RswEl
    hMQXiYfAZP2RswEl
    4wwuwUuVg6AE2tiD
    A5OIQk2YHTnDNOF2
    • Reinsert the heat sink into the laptop. Tighten the screws to secure it into place.

Conclusion

To reassemble your device, follow these instructions in reverse order.

Carolyn Teng

Member since: 24/02/15

841 Reputation

5 comments

I didn't think i would find a guide for my 6540b let alone the exact procedure I need. Thanks a million!

tech4eleven -

Awesome tutorial! Cleaned mine pretty quick.

Dawn Eckel -

Your instructions are very helpful. Thank you
Stanford Kaswera -

I have cleaned it all and all went well but on start up I have a blank screen.

Any help?

Fred Paul -

Fred Paul try re seating or replacing ram.Also check .LCD ribbon cable.

Michael -