Introduction
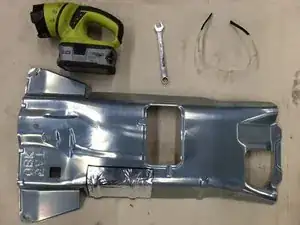
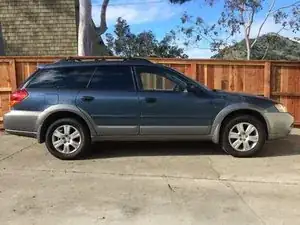
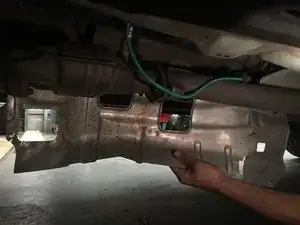
If you have a cracked or damaged exhaust front cover creating noises that can be heard when driving, this guide will help you replace it!
Tools
Parts
-
-
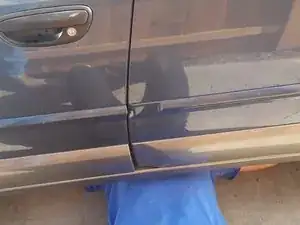
Laying on your back, maneuver yourself underneath the driver or passenger side of the car carrying the 12mm combination wrench. Locate yourself about even with the back of the front door.
-
-
-
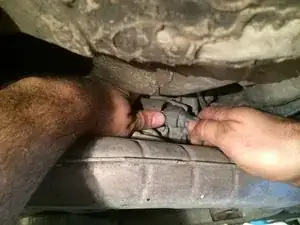
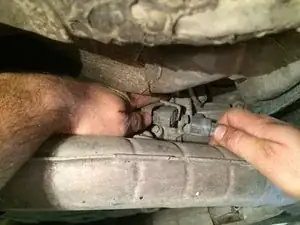
Unplug the rear oxygen sensor connector and carefully route the wires through the Exhaust Front Cover so they are no longer passing through it.
-
-
-
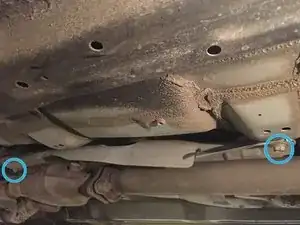
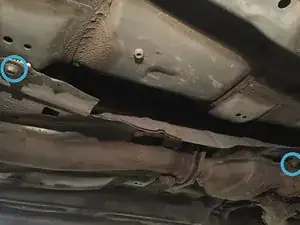
Locate the four mounting bolts for the Exhaust Front Cover.
-
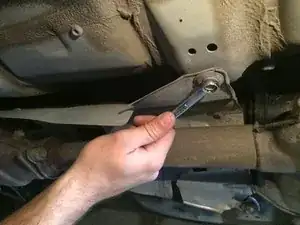
Remove the bolts by turning them counterclockwise using the 12mm combination wrench.
-
-
-
Remove the old Exhaust Front Cover taking care to prevent damage to the vehicles undercoating and the oxygen sensor wires.
-
To reassemble your exhaust front cover, follow these instructions in reverse order.
