Introduction
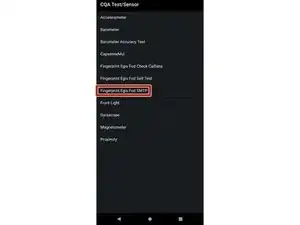
Follow this guide to calibrate the in-screen optical fingerprint sensor in your Motorola phone. You should perform the calibration whenever you replace the screen to ensure that the fingerprint sensor is accurate and secure.
You'll need the fingerprint sensor calibration toolkit in order to complete this procedure.
Tools
-
-
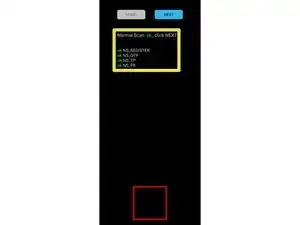
Press "START" on the top left corner of the screen.
-
You should see a menu that says "Normal Scan: ok, click NEXT" with a list of tests under it.
-
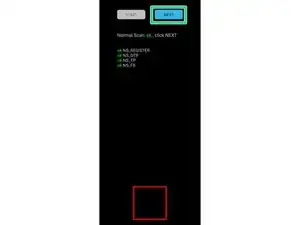
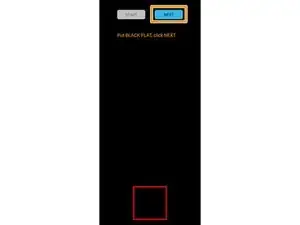
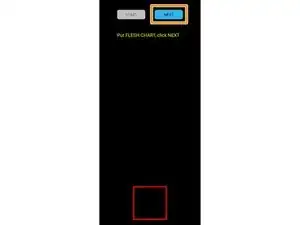
Press "NEXT" on the top right corner.
-
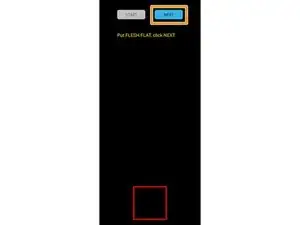
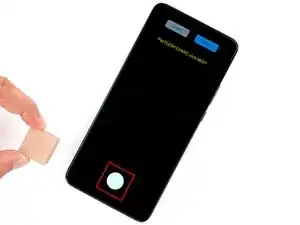
Wait until the message at the top of the screen changes to "Put FLESH FLAT, click NEXT".
-
-
-
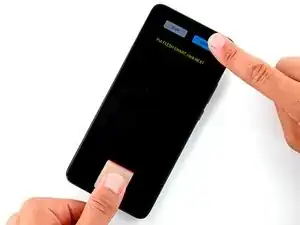
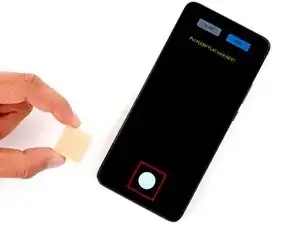
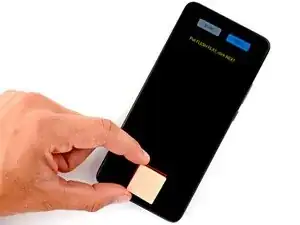
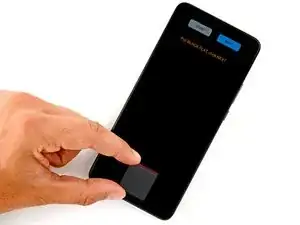
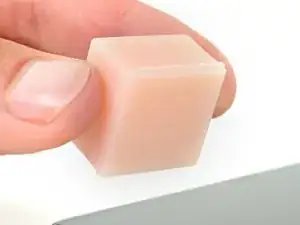
With the indented side facing down, place the pink box over the red box on the bottom of the screen.
-
-
-
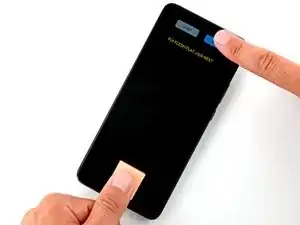
Press down on the pink box with your thumb.
-
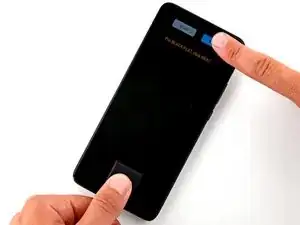
While pressing down on the box, use your other hand to select "NEXT" on the top right of the phone.
-
Continue pressing down on the box until the message at the top of the screen changes to "Put BLACK FLAT, click NEXT".
-
-
-
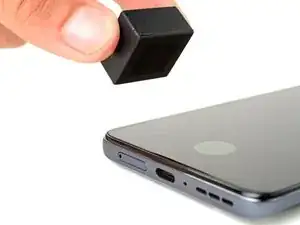
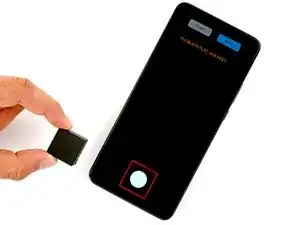
With the indented side facing down, place the black box over the red box on the bottom of the screen.
-
-
-
Press down on the black box with your thumb.
-
While pressing down on the box, use your other hand to select "NEXT" on the top right of the phone.
-
Continue pressing down on the box until the message at the top of the screen changes to "Put FLESH CHART, click NEXT".
-
-
-
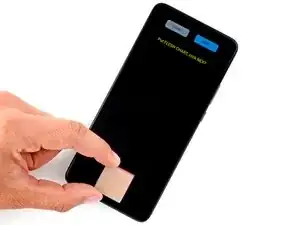
With the grooved side down and the grooves vertical, place the pink box over the red box on the bottom of the screen.
-
-
-
Press down on the pink box with your thumb.
-
While pressing down on the box, use your other hand to select "NEXT" on the top right of the phone.
-
Continue pressing down on the box until you get a message about the calibration results.
-
-
-
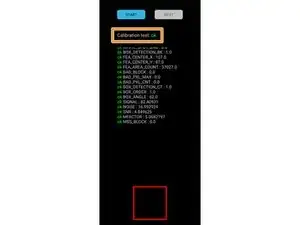
You will see "Calibration test: ok" if the calibration was successful.
-
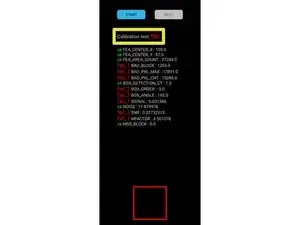
If you see "Calibration test: fail" at the top of the screen, restart from the beginning of this guide.
-
Your optical fingerprint sensor is calibrated and ready for use.
If the calibration fails for any reason, repeat the calibration procedure.
