Introduction
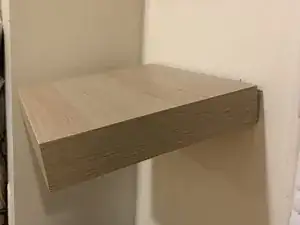
In this guide, we look at how to fix a sagging Ikea floating shelf. The Ikea Lack shelf is prone to sagging for its floating design. These shelves are mostly hanged on drywall with screws anchored into the drywall which attaches to the holes in the shelves. When heavy things are placed on these shelves, it creates enormous stress on those tiny screws eventually making them move. The plugs become loose which causes the shelf to sag. This guide shows a simple procedure of replacing the screws and wall plugs and some techniques that will help secure the screws firmly in place. Following this guide should prevent sagging in the future.
Tools
Parts
-
-
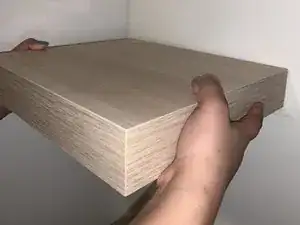
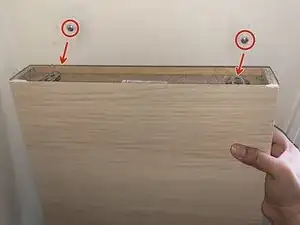
Hold the shelf on both sides and push it upwards. Slowly pull the shelf out to expose the anchored screws.
-
-
-
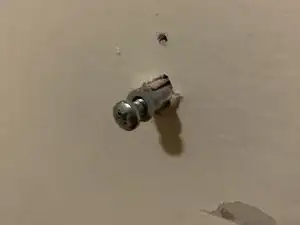
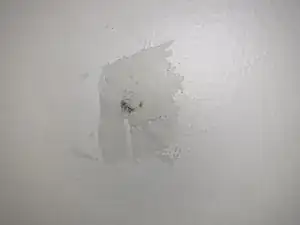
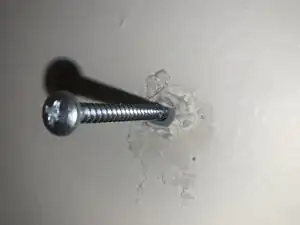
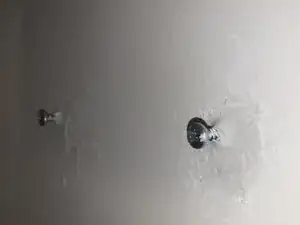
Pull out the loose screws and plugs to expose the holes in the wall.
-
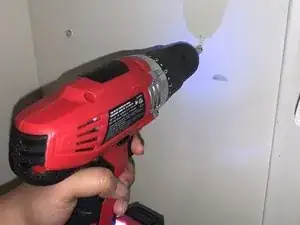
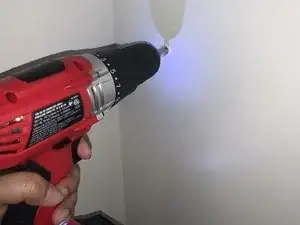
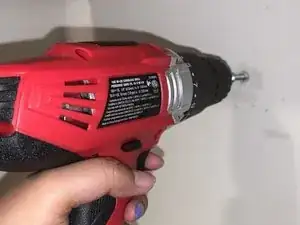
Drill into these holes using a cordless power drill machine to even out the edge of the holes and to make sure the hole is deep enough for the new screws and plugs.
-
-
-
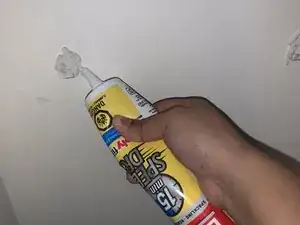
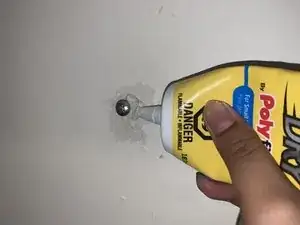
Apply the drywall filler into the holes and also over the holes to cover it.
-
This filler becomes hard as concrete when it dries, It will hold the screw firmly in place.
-
-
-
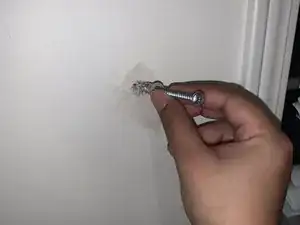
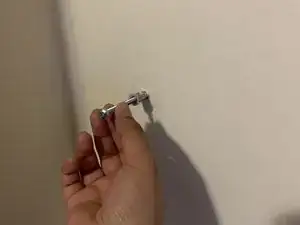
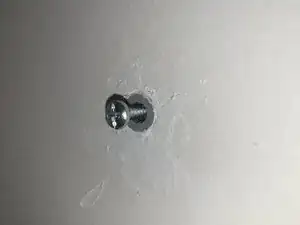
Insert a Phillips #10 screw and plug into each hole carefully.
-
Make sure the wall plug is pushed inside entirely, only exposing the edges.
-
-
-
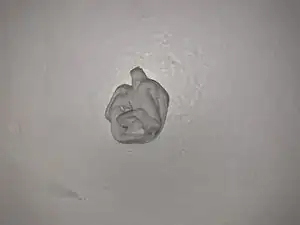
When the wall plug and screw is pushed into the hole, the smoothed out drywall filler will become messy around the edges.
-
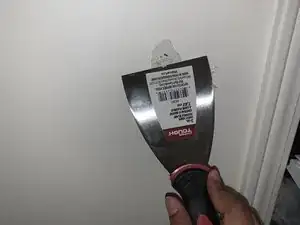
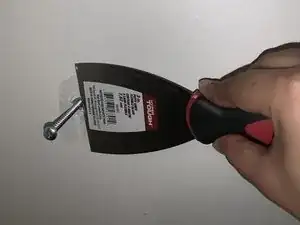
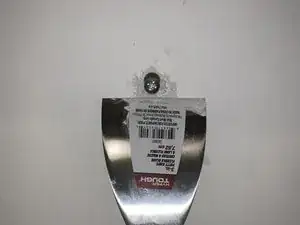
Using the taping knife, carefully smooth out the drywall filler around the screws.
-
-
-
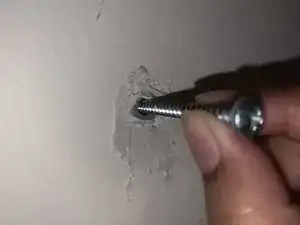
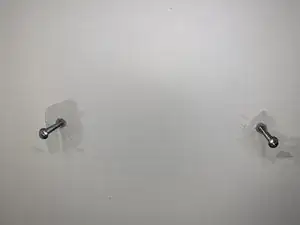
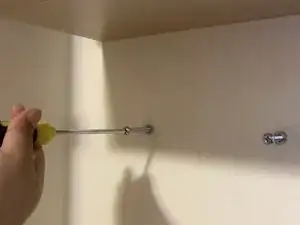
Now proceed to drive the screw into the wall plug and secure it in place.
-
Drive the screw-in until 1-1.5inch space is left between the wall and the screw head.
-
-
-
Apply more drywall filler over the edges of the wall plug to hide it.
-
Using the taping knife, smooth out the drywall filler.
-
-
-
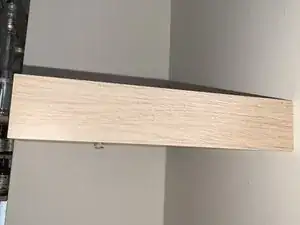
Insert the round side of the hook into each screw. Then push the shelf downwards until it is level to secure it in place.
-
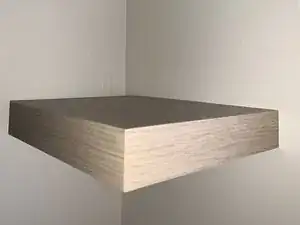
The shelf is now fixed!
