Introduction
This repair aims to resolve a potential connection issue that could occur any time after excessive use of gaming desktops. PC outlets usually charge an unfair amount of money to perform simple fixes, so this guide should help you save your wallet. Gaming monitors sometimes may not respond after pressing the start-up button and this may be simply caused by a connection issue between the internal graphics card and the monitor. I will perform how to properly check and resolve this issue so that the monitor will have a correct display using a rubber or eraser. Use caution when doing this guide that you don't get dust or debris in your PC when applying this method or use an eraser that doesn't flake.
To ensure your success on the repair, please give yourself a clean and clear area for placing additional PC parts/screws.
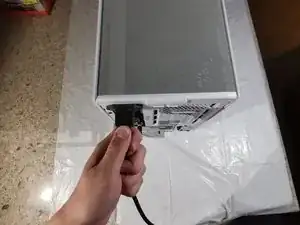
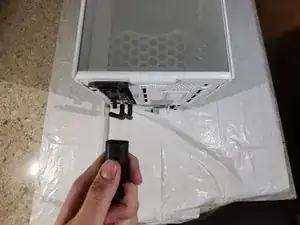
Make sure to power off your PC completely and disconnect from any external power source prior to beginning the process.
Tools
-
-
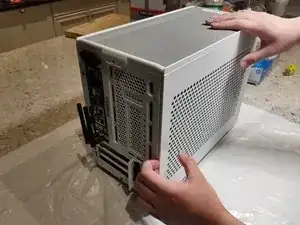
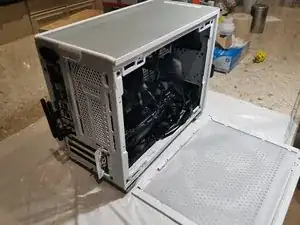
Using a screwdriver or potentially just your hands, remove the panel from the PC case. You might have to remove screws but cases vary.
-
-
-
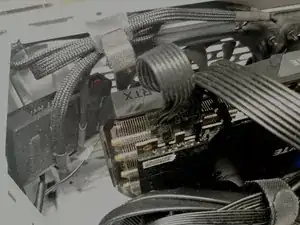
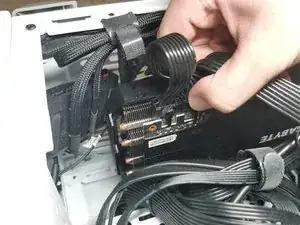
Once the back panel of your PC case is opened, disconnect the graphics card from both the monitor and the motherboard.
-
-
-
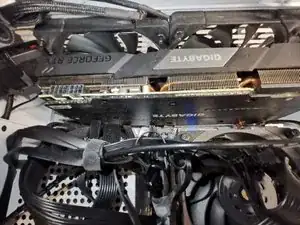
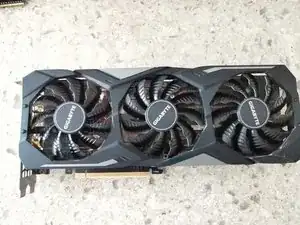
Disconnect and separate the graphics card from the motherboard and the PC case.
-
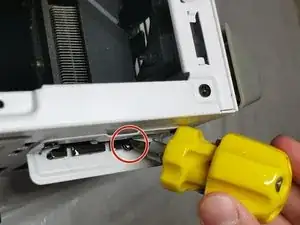
Use a screwdriver to remove the screw(s) (1.2mm factory issued) on the side panel to separate your graphics card from both your motherboard and your PC. There's one more step before you can completely release your graphics card from your case.
-
-
-
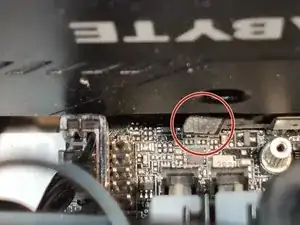
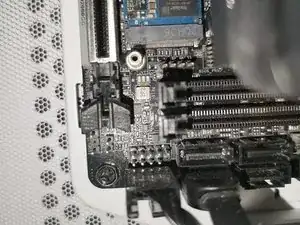
Notice the little black clip on the motherboard next to the graphics card. That is the release key.
-
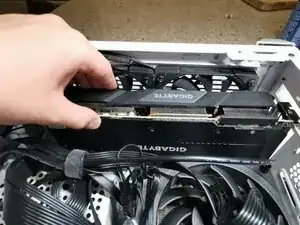
Pull out the graphics card and lay it down on a flat surface.
-
-
-
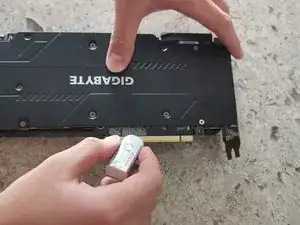
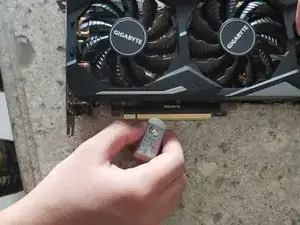
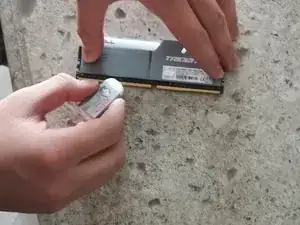
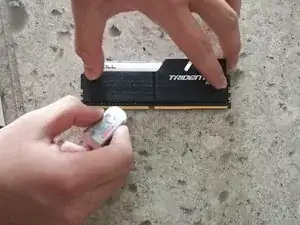
Softly clean the connecting finger with a rubber. Remember to rub both sides of the connecting finger.
-
-
-
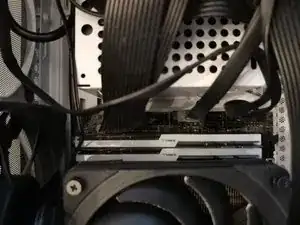
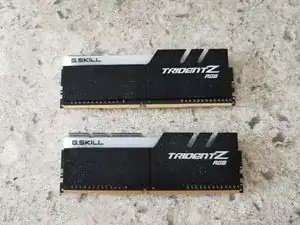
Take out the RAM sticks. These RAM sticks are fixed and attached to the RAM slots on the motherboard. They can be easily damaged if you attempt to pull them out straight.
-
Loosen the clips on both sides of the RAM slot first and then unplug the RAM. It should be fairly easy once you unclip the slot.
-
To reassemble your device, follow these instructions in reverse order.
