Introduction
Not using a printer for a long period of time can cause the ink inside it to dry. When we can’t use the dried ink cartridge, most of us get rid of it and buy a new cartridge, which contributes to the increasing e-waste. Instead of discarding a dry cartridge, this guide will help you to fix it in a few easy steps with a couple of things needed which can be found right in your house.
Tools
-
-
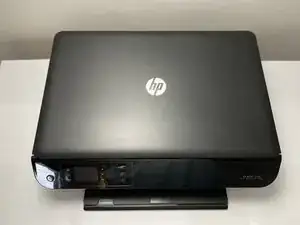
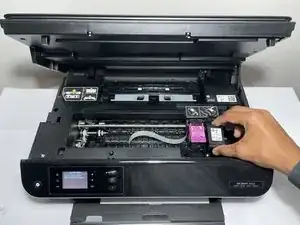
Open the top case of your printer.
-
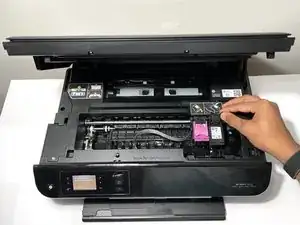
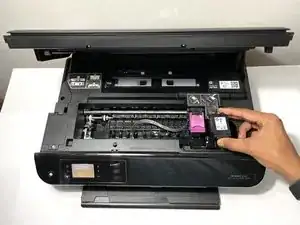
Carefully remove the dried cartridge by lifting the flap in the bottom right section of the printer.
-
-
-
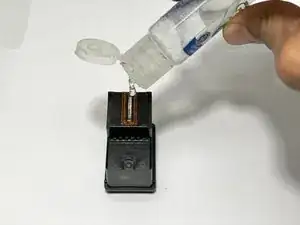
Place the cartridge on a clean surface and apply a few drops of alcohol-based hand sanitizer to the ink nozzle.
-
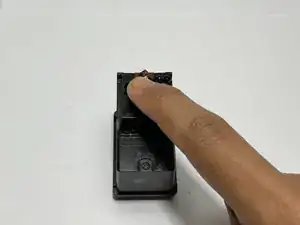
Gently rub your finger on the ink nozzle once or twice.
-
Let the sanitizer seep in for a few minutes.
-
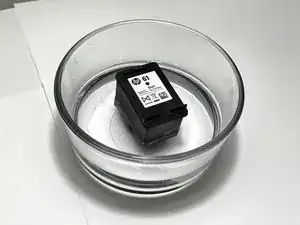
While you wait, fill a bowl halfway with warm tap water.
-
-
-
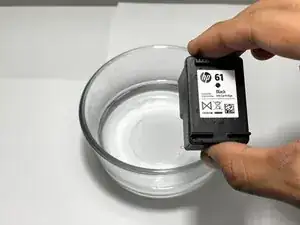
Place the nozzle side of the cartridge into a bowl filled with warm water.
-
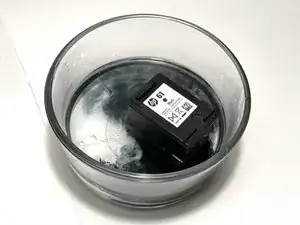
Wait for 5-10 mins or until you see ink leaking out into the water.
-
Once you see ink leaking out, remove the cartridge from the water carefully.
-
-
-
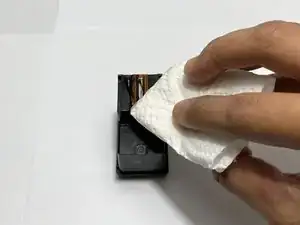
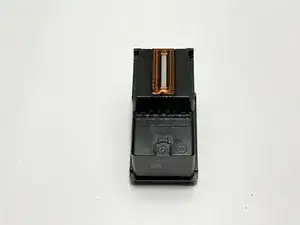
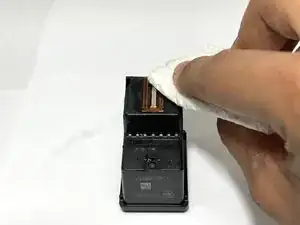
After removing it from the water, completely clean the cartridge with a soft cloth or a paper towel and dry it out.
-
-
-
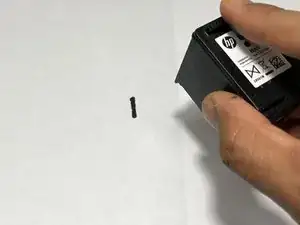
To make sure the cartridge is fully working now, take a piece of paper and rub the ink nozzle over it.
-
-
-
Once the body of the cartridge has completely dried, place it back into the slot in the printer.
-
To reassemble your device, follow these instructions in reverse order.
